In today’s fast-paced digital world, creating eye-catching visuals is no longer optional – it’s essential. Whether you’re a business owner, content creator, marketer, or student, design plays a crucial role in how your message is perceived. This is where Canva templates come in, offering a powerful shortcut to professional-quality design without the steep learning curve. What Are Canva Templates? Canva templates are pre-designed layouts that you can customize for your specific needs. They cover a wide range of formats, including: Instead of starting from scratch, you simply select a template and modify elements like text, colors, images, and fonts. Why Use Canva Templates? 1. Save Time Designing from scratch can take hours. Canva templates reduce that time to minutes, allowing you to focus on your content rather than layout. 2. Professional Quality Templates are created by experienced designers, ensuring your visuals look polished and modern – even if you have… read more

Tips and Tutorials
A collection of all tutorials across video editing, motion graphics, and creative software.

15 Channel Ideas to Make Money Are you ready to dive into YouTube, share your passion, and earn an income – all without ever showing your face? In 2026, faceless YouTube channels are hotter than ever, offering incredible opportunities for beginners to build an audience and generate revenue. With the right niche and a smart approach to tools (including AI and video templates), you can create high-quality content that stands out. We’ve scoured the latest trends to bring you 15 fresh, profitable, and beginner-friendly faceless YouTube channel ideas for 2026. Why Go Faceless in 2026? Leverage AI: Your Secret Weapon for 2026 AI isn’t just a buzzword; it’s a game-changer for faceless channels. From script generation to voiceovers and even initial video drafts, AI can drastically reduce your workload. We’ll touch on how to integrate it with each idea. Chatbots such as ChatGPT and Gemini will help identify focus points… read more

Glitch overlays are one of the quickest ways to add energy, distortion, and digital style to your edits in Adobe Premiere Pro. With just a couple of drag-and-drops, you can turn a plain cut into something dynamic, modern, and attention-grabbing. In this tutorial, I’ll show you how to use glitch overlays as a transition in Premiere Pro, plus a few extra creative tricks you can use anywhere in your timeline. To follow along step by step, download our free glitch overlay pack and save it to your Desktop. Download our free Premiere Pro glitch overlays → Watch the Tutorial Video Step 1: Download the Free Glitch Overlay Pack Grab the free glitch overlays linked below. These clips work in Premiere Pro without any plugins — just drag, drop, and blend. What’s included: Download the free Premiere Pro glitch overlay pack → Step 2: Set Up Your Cut in Premiere Pro… read more

Adding rain to your footage is one of the fastest ways to create mood and atmosphere. In this tutorial, you’ll learn how to add a rain overlay video in Adobe Premiere Pro using a free, looping rain clip — plus an optional editable rain MOGRT if you want more control. This method works in any recent version of Premiere Pro and doesn’t require After Effects. Watch: Rain Overlay in Premiere Pro (2:52) Download the Free Rain Overlay Before we start, download the free assets used in this tutorial: How to Add a Rain Overlay Video in Premiere Pro Step 1: Place the Rain Overlay Above Your Footage Open Premiere Pro and import the rain overlay video into your project. At this stage, the rain clip will usually have a black background. Step 2: Remove the Black Background Using Blend Modes To make the black background transparent: This instantly removes the… read more
Light leak overlays are one of the fastest ways to add atmosphere, movement, and polish to your edits in Adobe Premiere Pro. With just a few clicks, you can turn a boring straight cut into something cinematic and eye-catching. In this tutorial, I’ll show you how to use light leak overlays as a transition in Premiere Pro, plus a few extra creative ideas at the end. So you can follow along step by step, grab our pack of free light leaks and place them on your Desktop. Download our free bokeh light leak overlays for Premiere Pro → Watch the Tutorial Video Step 1: Download the Free Light Leak Overlays Before we start, grab the free bokeh light leak pack linked below. These clips work in Premiere Pro with no plugins required. What’s included: Download the free Premiere Pro light leak overlays → Step 2: Set Up Your Cut in… read more
Welcome to this how-to guide on installing and editing Motion Graphics templates (MOGRTs) in Premiere Pro 2025 (or later). Feel free to watch the short explainer video below, or read the post for more detailed information. Updated for Premiere Pro 2025:This guide now reflects the new Graphics Templates panel, the relocation of MOGRT editing controls to the Properties panel, and updated notes on media replacement behaviour. Quick Links What are Motion Graphics Templates (MOGRTs)? Motion Graphics Templates, or MOGRTs, are installable project files that enable quick and easy, yet professional video and text effects. You can use MOGRTs to create instant video titles, lower thirds, transitions, and overlay VFX effects. What’s more, the beauty of Motion Graphics Templates is that you can create multiple style variations from a single file. What Software is Needed to Use MOGRT Files? MOGRT files are native to Adobe Premiere Pro, so a Creative Cloud… read more
How to Export a Video from PowerPoint: A Step-by-Step Guide Microsoft PowerPoint isn’t just for static slide presentations anymore. With built-in tools that allow for animations, transitions, voice narration, and even screen recordings, PowerPoint can now double as a simple video creation tool. Whether you’re building a tutorial, pitch deck, or training module, exporting your PowerPoint presentation as a video is a great way to make your content more accessible and engaging. In this blog post, we’ll walk you through how to export your PowerPoint presentation as a video, step by step. If you’d rather see how this is done watch this tutorial video from Jamie at Teacher’s Tech, which includes a variety of tips and tricks. Why Export to Video? Before diving into the “how,” let’s talk about the “why.” Here are a few reasons you might want to export your presentation as a video: Accessibility: Videos can… read more
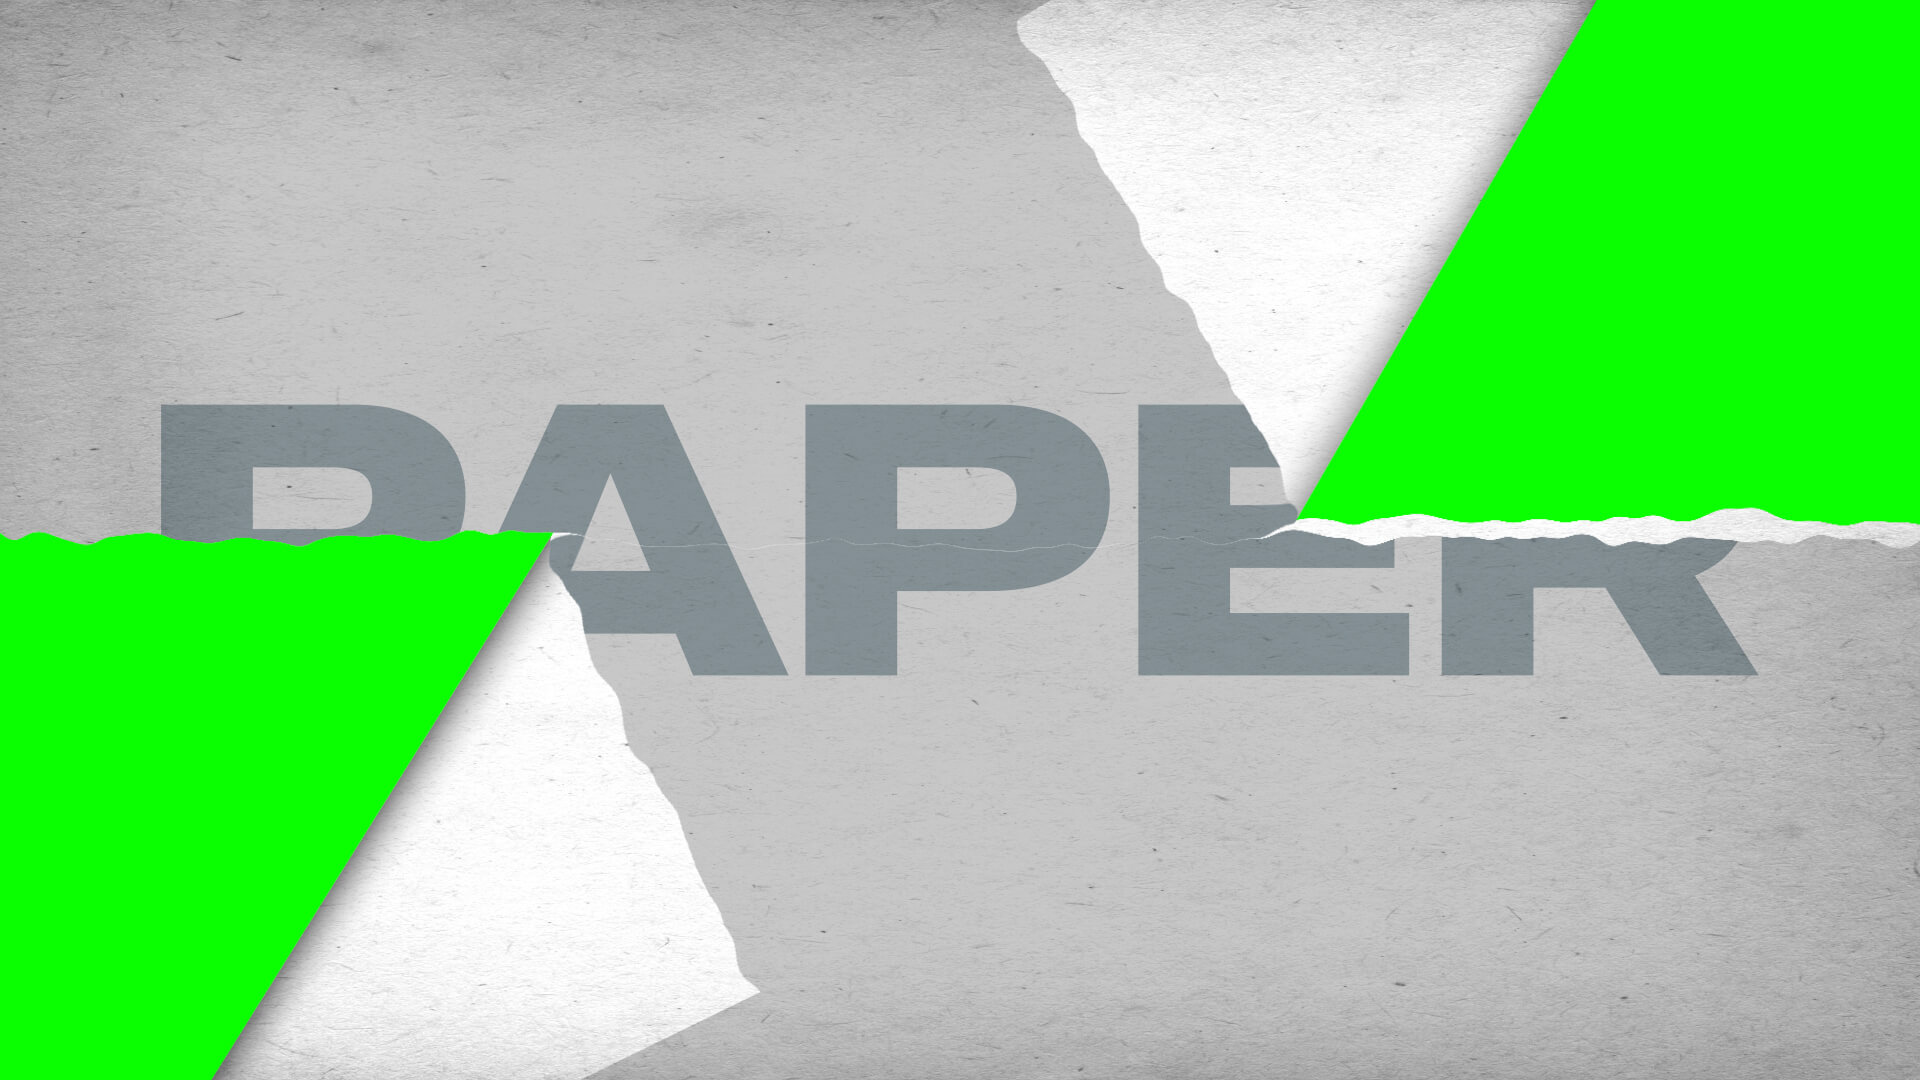
How to create a torn paper transition in After Effects Creating torn paper transition effects can add a unique, textured look to your video projects, giving them a handmade, organic feel that stands out from more typical transitions. These effects are especially popular in creative projects such as music videos, scrapbooking-style videos, or any content looking to evoke a tactile, crafted aesthetic. In After Effects, the process of creating torn paper transitions is highly customizable, thanks to its robust compositing tools and masking capabilities. You can craft the exact look of torn edges, layer textures for added realism, and use keyframes to animate the transition between scenes. This approach gives you full control over the transition, allowing you to achieve a highly detailed, professional result. In this guide, we’ll walk you through how to create torn paper transition effects in After Effects, showing you step-by-step techniques that you can adapt… read more
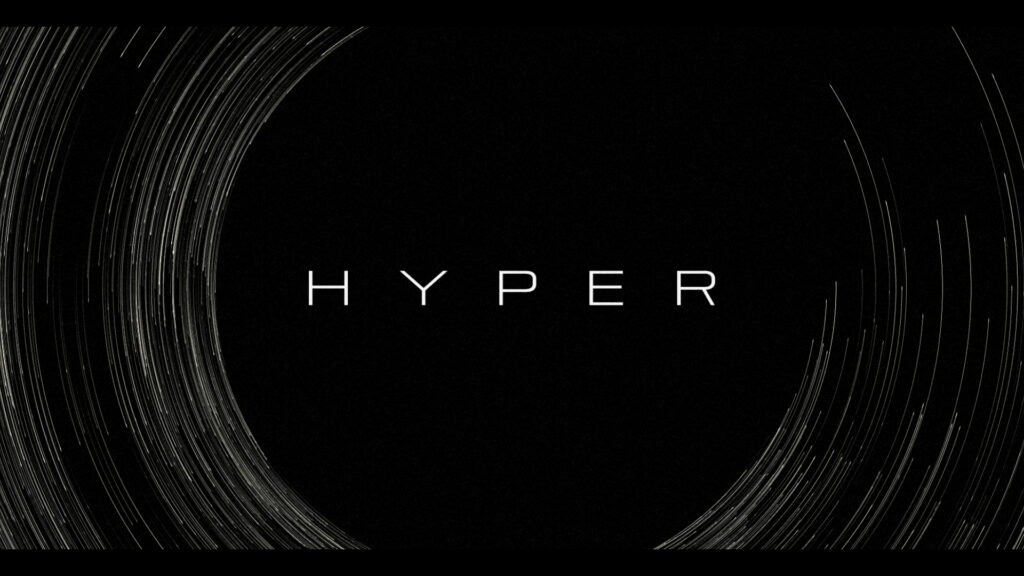
The goal was to create an atmospheric title sequence using only the built-in Adobe After Effects tools and without using any external images or footage. Firstly we wanted faded lines, akin to fiber optics, to be emitted horizontally from the side of the screen. After experimenting with CC Particle World using the default lines it was obvious that a bespoke particle would be needed. A long, thin Solid layer was faded using a Gradient Ramp of white to black. An additional tiny white Solid square was added for the tip. This formed the particle element. In a CC Particle World composition the Particle Type was changed to Textured Square and the Texture Layer set to our new particle element. For Physics, the Animation was set to Direction Axis with 0.10 Velocity and zero Gravity. Extra and Extra Angle values were zeroed out. Once done, it was time for some variations…. read more
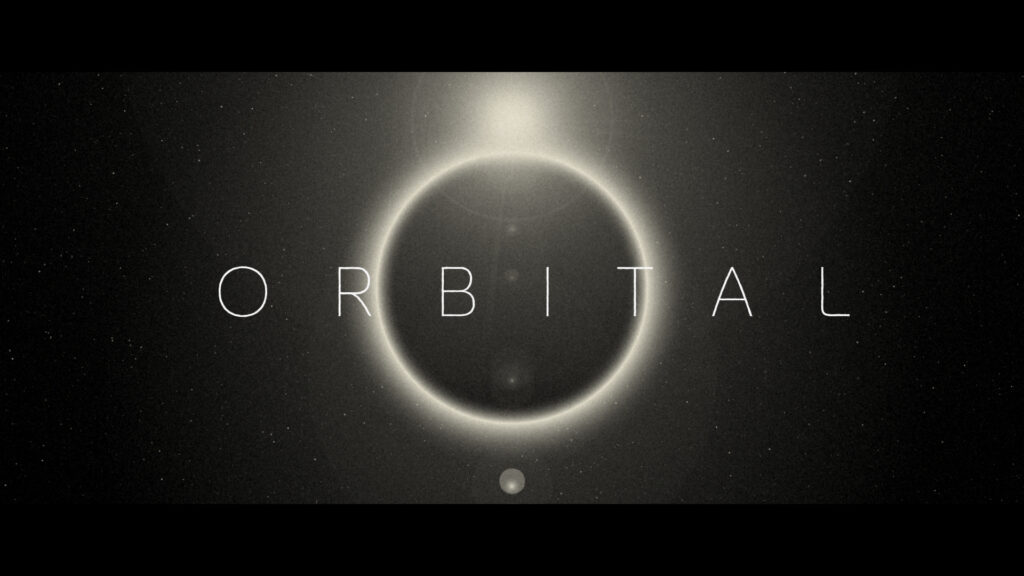
The goal was to create an atmospheric title sequence using only the built-in Adobe After Effects tools and without using any external images or footage. After some initial layout sketches were done, several scene compositions were created using just circular Shape layers. Using Layer Styles, adding a combination of Inner Glow and Outer Glow it was possible to create a realistic, spherical look. This was then applied to all the circle shapes. The ‘spheres’ were attached to Nulls and rotated to achieve the appearance of planets orbiting a sun. Lens Flare, Glow and CC Lens effects were added to provide additional brightness and distortion to the sun elements. Text was added over the top. Good Headline Pro Light was chosen as an elegant, timeless typeface that sits well within the concept of a vast solar system. CC Star Burst was used in the background of each scene to add faint… read more
The goal was to create an atmospheric title sequence using only the built-in Adobe After Effects tools and without using any external images or footage. Firstly, admittedly, Adobe Illustrator was used to create the lozenge shapes which were imported into After Effects. Though, to animate these they had to be converted into Shape layers inside of After Effects. The lozenge shapes could have been formed directly inside After Effects but Illustrator is much more suited to this design task. Once the layered Illustrator files were imported and converted to shapes a Stroke was added, along with a Trim Paths effect. With an End Point of 50% the Offset was animated with the expression ‘time*40’ which moved the line going around the shapes at the desired speed. Each Shape layer was switched to 3D and their Z positions moved backwards in 3D space. To add texture to the lines a Solid… read more
Adding a background image to your PowerPoint slides can make your presentation visually engaging and memorable. Here’s a step-by-step guide on how to do it, using Microsoft PowerPoint (versions may vary slightly, but these steps should guide most recent versions): Step 1: Open Your Presentation Step 2: Select the Slide Step 3: Access the Background Settings Step 4: Insert the Background Image Step 5: Adjust the Image Options Step 6: Apply to All Slides (Optional) Step 7: Check and Modify Step 8: Save Your Presentation Additional Tips By following these steps, you can effectively enhance your PowerPoint presentations with custom background images, making your slides visually appealing and engaging. Need some free background images for PowerPoint? Look no further! We have some free cool, abstract images perfect for PowerPoint slides. Create your own backgrounds for PowerPoint with Adobe Firefly Fancy creating your very own PowerPoint background images quickly and easily?… read more
Exporting Video Sequences from Premiere Pro So, you’ve finished your amazing video and need to send it the client or upload to YouTube – but how to keep the file size down whilst maintaining quality? Easy, just export in MP4 format. Thankfully, Adobe has made it easy to export MP4 video directly from Premiere Pro, without the need for additional software. This short and simple video tutorial by Adobe in a Minute explains how to export a video in Premiere Pro. https://www.youtube.com/watch?v=5ycfaspPMWk Here’s how to export your Premiere Pro video as an MP4: Step 1 – Go to File > Export Access the Export menu in Adobe Premiere Pro by going to File > Export > Media, or use the keyboard shortcut Ctrl+M (Windows) or Command+M (Mac). Ensure the format is set to H.264 to save the file as an MP4, which is widely used and compatible across various platforms…. read more
Close-up or medium shot? High angle or POV shot? What type of camera angle is best? We break down the basic camera shot types so you can storyboard your video or animation sequence with confidence! For video makers, film directors and animators using the correct, conventional camera terminology is key to giving the impression that you know what you’re doing! One of the basics is learning how to describe the framing of your subject matter to other people. This is where you’ll want to brush up on the language (or grammar) of camera shots. Of course, you can simply disregard all of the tried and tested findings from a hundred years of cinema, and develop your own unique style of communicating! But, it’s important to know the rules before you break them. Bear in mind everyone in the television and film industry will be using the same lingo, so don’t… read more
Creating cool animations in After Effects is often really quite straightforward, but to make things even easier you’ll want to be using these handy tips and expressions. We’ve spent years creating motion graphics and animated sequences, so we thought we’d share our go-to, time-saving pointers – the shortcuts we use all the time! Included in this list : → Handy Tips for After Effects – general hints, tips and pointers for making life easier!→ Useful After Effects Expressions – exciting code snippets to automate and elevate your animations!→ Essential AE Keyboard Shortcuts – memorize these simple keystrokes to speed up your workflow! Download this After Effects tips and expressions list as a PDF : Try After Effects for Free Use the link below to access a trial version of Adobe’s incredible motion graphics software. Handy Tips for After Effects Let’s start with some general After Effects hints and tips, from… read more

Turn your footage into 8mm film! In the realm of visual storytelling, the allure of vintage film formats endures, with 8 mm and Super 8 standing as iconic representatives of a bygone era. These compact films, once threaded through mechanical reels, capture moments with an intimate graininess that speaks to the artistry of analog recording. In this article, we look to achieve a vintage Super 8 film look using Adobe After Effects and find some handy free film overlays. But first, let’s quickly recap on the 8 mm film types. 8 mm Film: Overview: 8 mm film is a motion picture film format that is 8 millimeters wide. It was introduced by Eastman Kodak in 1932 as a more affordable and accessible alternative to expensive 16 mm and 35 mm film. Common Use: 8 mm film was popular for home movies and amateur filmmaking due to its compact size and… read more
More Posts
- PowerPoint Transitions: Every Effect Explained
- Canva Templates: The Ultimate Guide to Designing Faster and Smarter
- The 5 Best CapCut Alternatives in 2026
- Why Choose Adobe After Effects?
- The Ultimate Guide to Faceless YouTube Channels in 2026
Adobe Stock Search
Please use the search form below to find footage and video templates directly from Adobe Stock.
Great Value Packs
Sponsored Resources