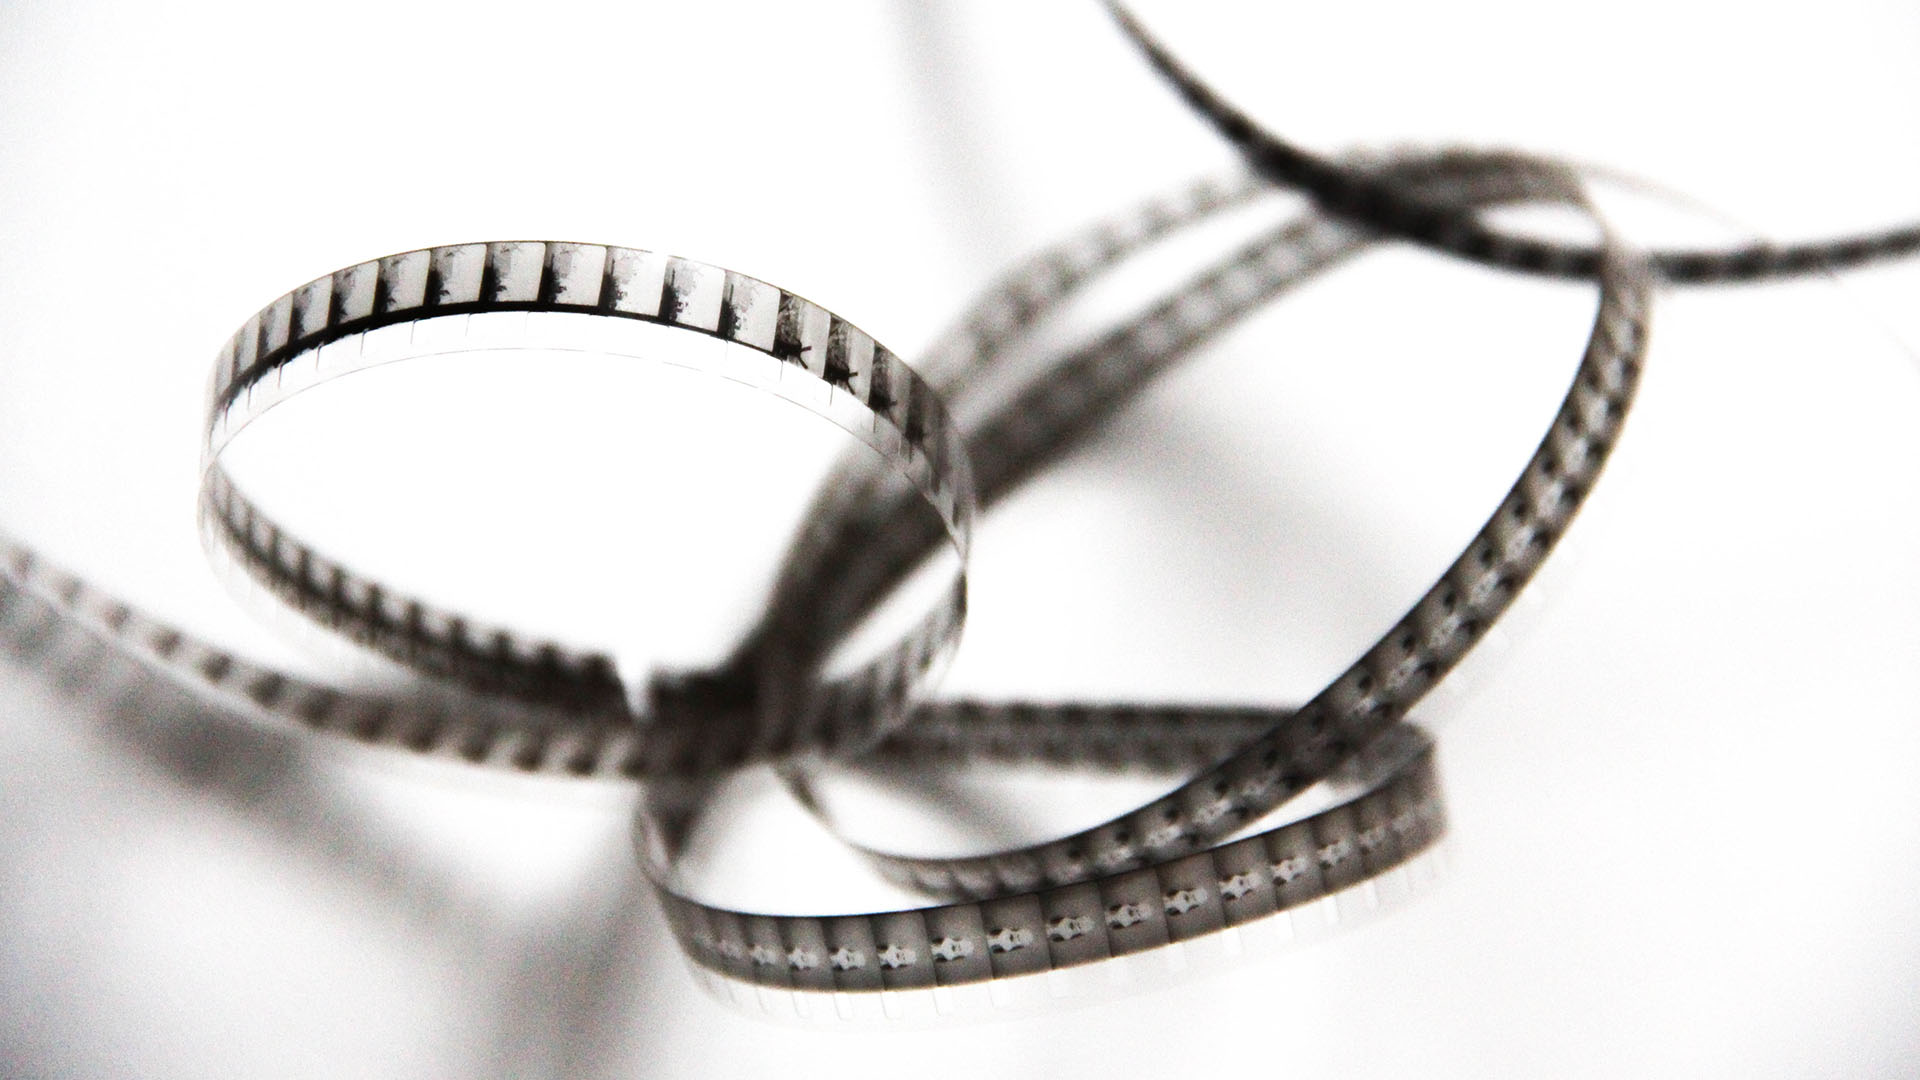
Turn your footage into a silent movie! Creating a vintage silent movie look in After Effects involves emulating the characteristics of early film, such as black and white imagery, vignetting and film grain. Here’s a step-by-step guide to achieve this effect: Step 1: Import Footage Step 2: Convert to Black and White Step 3: Adjust Contrast and Brightness Step 4: Add Film Grain Step 5: Apply Vignette Step 6: Simulate Dust Marks Step 7: Simulate Scratches Step 8: Lower Frame Rate Step 9: Add a Film Frame Overlay (Optional) You can add a rounded overlay box, in an aspect ratio similar to vintage film, as follows: Step 10: Export Once satisfied with the vintage silent movie look, export your composition by clicking on File > Export > Add to Render Queue. By following these steps, you should be able to give your footage a convincing vintage silent movie look in… read more

Tips and Tutorials
A collection of all tutorials across video editing, motion graphics, and creative software.
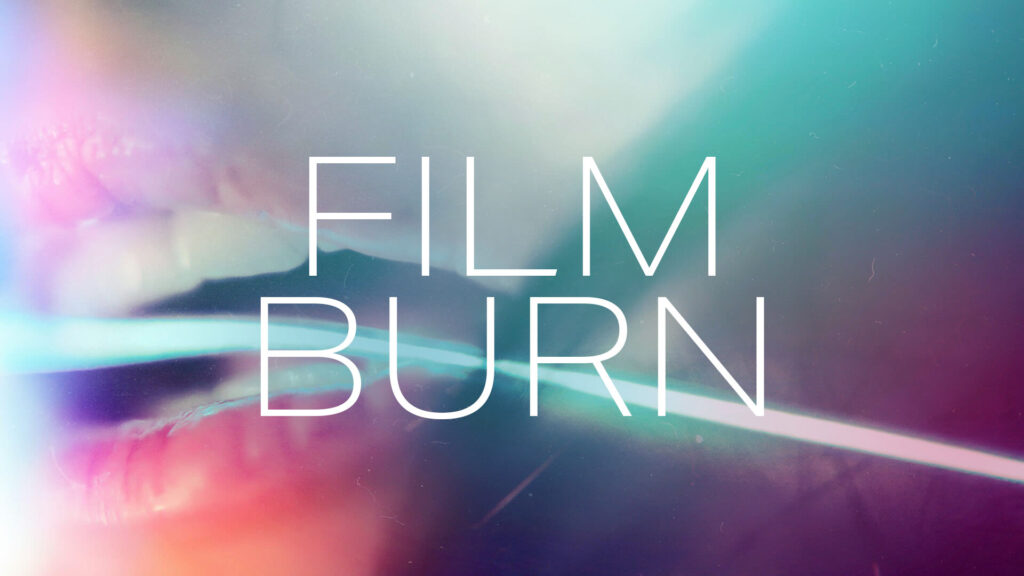
How to Add a Film Burn Overlay | Video Tutorials | Free Overlays | Handy Templates What are film burns (light leaks)? Film burns and light leaks are visual artifacts that originated from the analog film era. These effects were unintended and often considered flaws, but in the digital age, they have become popular as creative elements in filmmaking and photography to add a vintage or nostalgic look. Here’s a brief description of each: Film Burns: A film burn is a sudden change in brightness or color saturation that occurs during the exposure of film. It is often characterized by a burst of light that washes out the image temporarily, creating a warm or reddish tone. Film burns can occur due to various factors, including light leaks in the camera, improper film winding, or exposure to unexpected light sources. In modern filmmaking, these effects are often simulated to evoke a… read more
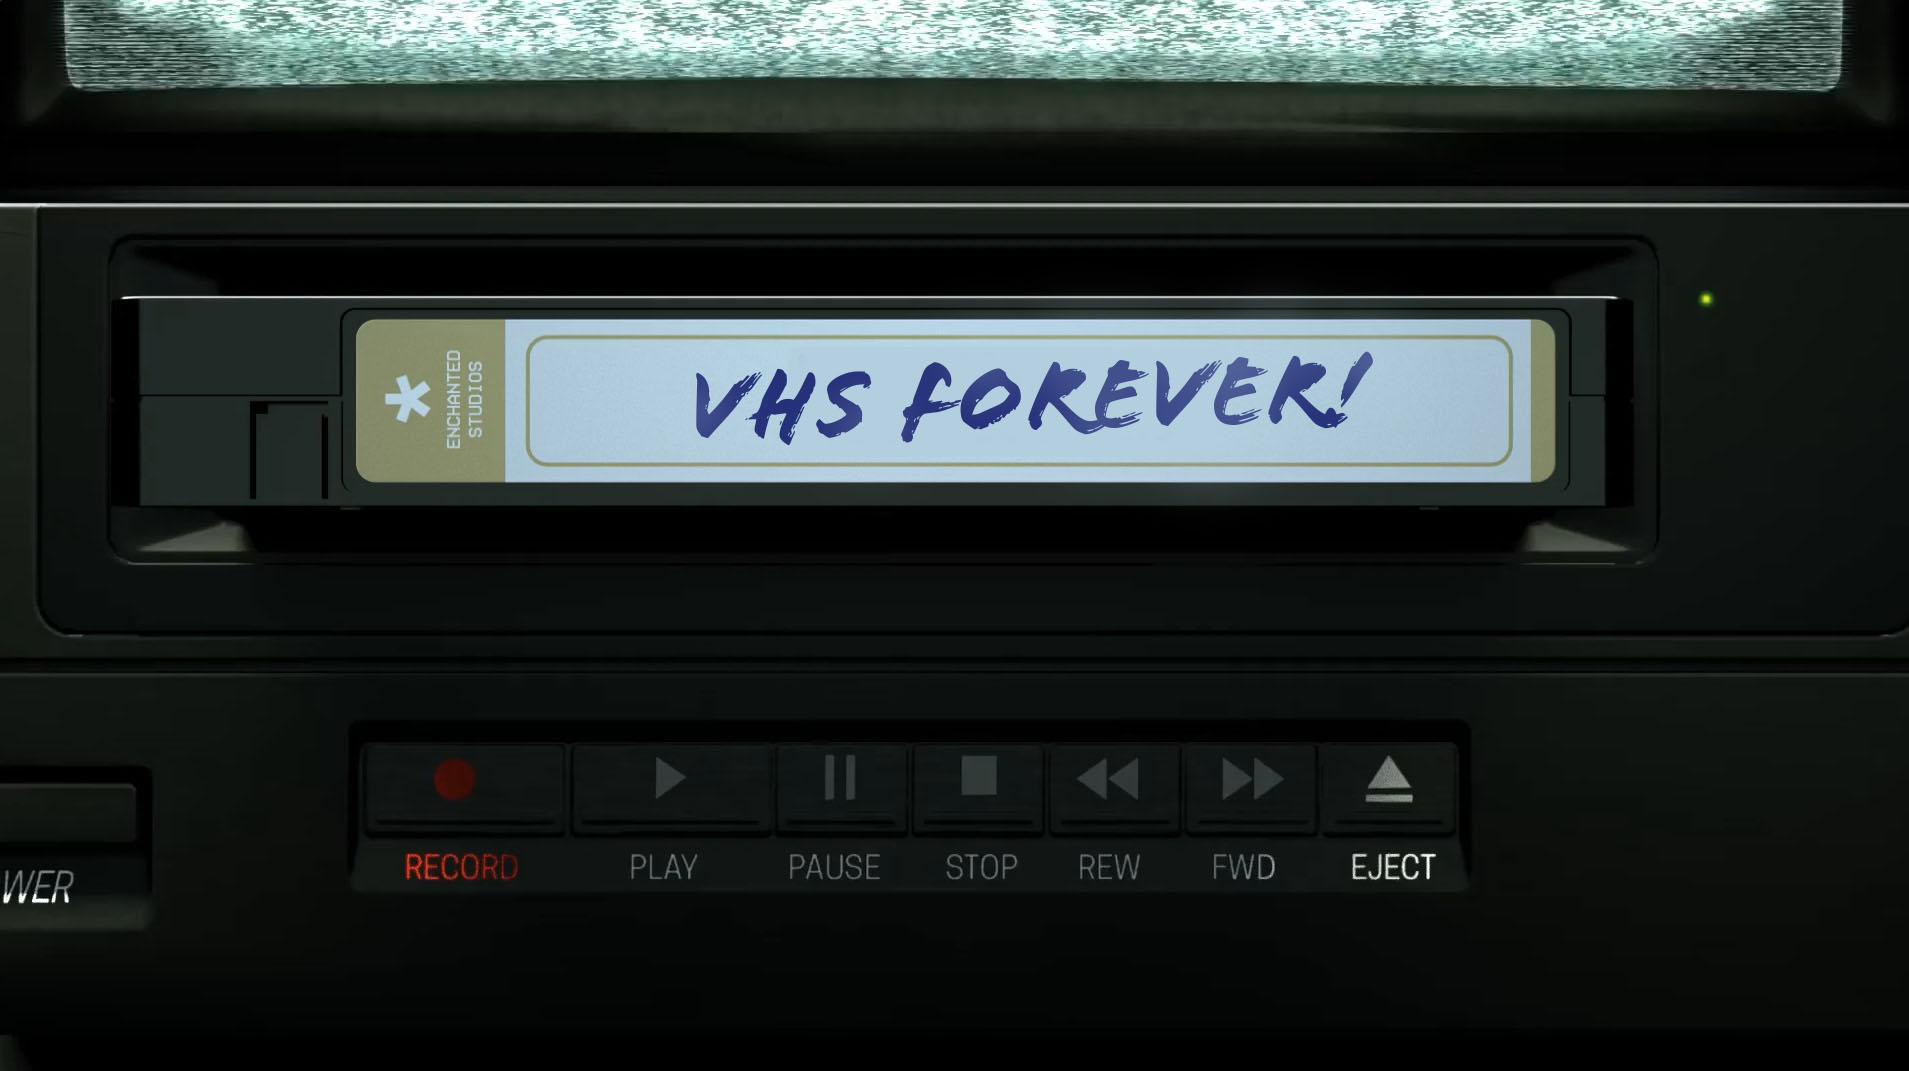
Using After Effects to create the VHS effect Text Guide | Video Tutorials | Free Overlays | Handy Templates The VHS look refers to the distinctive visual characteristics associated with video recordings on VHS (Video Home System) tapes, a popular consumer video format during the late 20th century. This aesthetic has experienced a resurgence in recent years, as filmmakers, photographers, and digital artists intentionally emulate the nostalgic and gritty qualities of VHS footage. The VHS look is characterized by its low resolution, analog artifacts, color bleed, and a unique texture that results from the limitations of the VHS format. One of the most recognizable aspects of the VHS look is the visible scan lines that run across the screen, giving the footage a retro and dated appearance. The color palette often exhibits a warm and slightly faded tone, with noticeable distortions in color accuracy. Additionally, VHS recordings are prone to… read more
What is double exposure? Double exposure is a photographic technique that involves exposing a single frame of film or digital sensor to multiple images. Traditionally achieved by taking two separate photographs on the same frame, this technique results in a merged image where the elements from both exposures coexist in a single frame. This effect can be achieved easily through post-processing software, allowing photographers greater control and flexibility in creating surreal and dreamlike images. What’s the double-exposure effect used for? The double exposure style is versatile and can be employed for various artistic and expressive purposes. Here are some of its notable applications: Artistic Expression: Double exposure allows artists and photographers to create visually striking and surreal images that go beyond the boundaries of traditional photography. It provides a unique way to blend two separate visual elements into a single frame, resulting in a composition that is often dreamlike, abstract,… read more
If you want to add digital glitch effects to your text or logo then After Effects is the perfect place to do it. As a video manipulation program, creating digital distortions comes easy, and there are plenty of different techniques to choose from – all using After Effects’ built-in effects. Quick Links: Tutorial Text | Instant Glitch Overlays | More Glitch Tutorials In this video tutorial Avnish Parker shows how to add the glitch effect using a displacement map. Full, step-by-step text instructions can also be found below the video. Step 1: Setting Up the Composition Step 2: Create the Background Step 3: Logo Animation Step 4: Creating a Glitch Effect Step 5: Adding Displacement Step 6: Create Multiple Glitches Step 7: Add an Old TV Effect Step 8: Create RGB Split Effect (Optional) Step 9: Add Secondary Text Step 10: Create a Vignette Your glitch logo animation is complete!… read more
In this After Effects tutorial, we create a responsive box behind text using just the text layer itself. No shape layers are needed. Perfect for quick and easy social media caption overlays. Step 1: Add a Fill effect Add a Generate > Fill effect and choose your box color. Step 2: Add a Shift Channels effect Add a Channel > Shift Channels effect. Change ‘Take Alpha From’ to ‘Full On’. Step 3: Add a CC RepeTile effect Add a Stylize > CC RepeTile effect. Change all values to 40. This is the padding of your box so feel free to increase these values. Step 4: Add a CC Composite effect Add a Channel > CC Composite effect. This will make your original text visible again. Step 5: Add 2 Simple Choker effects For rounded corners add two Matte > Simple Choker effects. Use values of 15, and negative 15. These… read more
Creating 3D Text in After Effects – No Plugins In this article we’ll look at creating 3D text inside After Effects using a variety of techniques and approaches. Text Guide | Video Tutorials | Editable Templates Creating extruded 3D text in After Effects involves using its built-in 3D capabilities and may require some knowledge of the software. Here’s a step-by-step guide to help you achieve this without the need for any third-party plugins. Step 1: Create a New Composition Open Adobe After Effects on your computer and create a new composition by clicking on Composition > New Composition. Under Basic, set your preferred composition settings, including resolution, duration, and frame rate. Before you close this dialogue box, under 3D Renderer, choose Cinema 4D. This will enable 3D extrusions and environments. Step 2: Create a 3D Text Layer Click on the “T” icon in the toolbar to create a text layer…. read more
Replacing a sky in After Effects is a powerful and creative technique that can completely transform the mood and atmosphere of your videos. Whether you want to replace a dull sky with a beautiful sunset or create a fantasy world in your footage, here’s a step-by-step guide on how to do it: Step 1: Prepare Your Footage Before you start, make sure you have your footage and the replacement sky ready. Your replacement sky should ideally have a similar lighting and perspective to the original sky for a more realistic result. If you’re shooting your own sky footage, ensure the lighting and angles match. Step 2: Import Your Footage Step 3: Create a Composition Step 4: Add the Replacement Sky Step 5: Arrange Layers Step 6: Rotoscoping (if necessary) If your original footage includes subjects like people or objects that overlap with the sky, you may need to use the… read more
A quick After Effects basics video tutorial showing how to export video with a transparent background (alpha channel). Please note that not all video codecs support alpha channels. In this example we are exporting in Quicktime MOV format which is an uncompressed file type. Compressed video formats such as MP4 do not support transparency. Using video with transparency, often referred to as an alpha channel, offers a wide range of creative and practical possibilities in various contexts. One primary use is within video editing and compositing, where transparent areas allow for seamless integration of video elements onto different backgrounds. This is invaluable in film production, advertising, and visual effects, as it enables the superimposition of characters, objects and effects (VFX) onto new scenes. How to Export Transparent Video from After Effects Here’s a list of instructions for exporting video with transparency from Adobe After Effects: You can check to see… read more
Sometimes you only want to show part of your footage, revealing the underlying layer or transparency, or to mask off specific areas. Here’s a short After Effects basics video tutorial showing two ways to crop footage (or image) layers. Cropping Footage Using a Layer Mask Cropping Footage Using the Linear Wipe effect For a free trial of Adobe After Effects use the link below. For more handy After Effects tips and templates subscribe to our YouTube channel.
In this Adobe After Effects tutorial, Avnish Parker guides us through the process of creating a captivating Flipped Text Animation. We’ve taken the time to list out the instructions in text format. So, let’s dive in and make your text come to life! Setting the Stage Creating the Background 3. Add a new solid layer and name it “background.” Adjust its size and choose your preferred background color. In this case, we’ve gone with a stylish dark grey. Working with Text 4. Select the text tool from the toolbox. The chosen font here is Bebas Neue. Animating the Text 10. Open the rotation by pressing ‘R’ on your keyboard. Adding Bounce Effect 15. Open the scale and unlink proportion scaling by clicking on the link icon. Fine-tuning and Motion Blur 22. Return to the main timeline and enable motion blur for the text layer. Duplication and Final Touches 24. Duplicate… read more
Want to make confetti cannon video effects? Wondering how to add confetti explosion overlays onto video? Well, if you have Adobe After Effects look no further! We’ve got three simple video tutorials which will have you emitting colorful particles in minutes. These short video guides explain how to create amazing confetti particles using both the built-in CC Particle World effect, and the additional (but highly recommended) Trapcode Particular plugin from Maxon. So, if you need to add a celebration effect to your event promotion, product launch or milestone achievement video, fire up After Effects and follow these handy tips. How to make a confetti cannon – no plugins In this short video tutorial Joe, from Goatman Arts, explains how to create a confetti cannon in After Effects using the built-in CC Particle World effect. Joe adjusts the Particle World physics and emitter settings to produce a confetti explosion with falling… read more

Learn After Effects Today, For Free! 15 Essential After Effects Tutorials for Beginners Want to pick up Adobe After Effects basics quickly? There’s no better way of learning a new piece of software than by sitting back and watching some video tutorials from pro users revealing their secrets! So, grab a coffee and a notepad and get ready to learn something new with our list of the best basic After Effects tutorials! Try After Effects for Free Use the link below to access a trial version of Adobe’s incredible motion graphics software. What is Adobe After Effects? Want to know what After Effects is? Brian Maffet from Total Training gives us a short intro, explaining why it’s an essential software tool for video creators. He touches on its flexibility to offer simple-to-use non-destructive color correction, video compositing and motion graphics whilst maintaining the high level of fine-tuning required by broadcast… read more
Need to remove black background from your VFX footage? Often with overlay video effects such as snow, fog, glitch and flash fx the files will have black backgrounds. This is due to pre-keyed video formats (which include transparency) having incredibly large file sizes and issues with software compatibility. Sometimes you might have green screen backgrounds, where you would need to use keying effects to create transparency, but in cases where you want to remove a black background the simplest way to achieve this is to use blending modes. Blending modes change the way your effect layer displays over the footage beneath by, in short, only showing the bright or the dark areas depending on the setting. Add or Screen modes will only display the light areas, effectively keying out the blacks. This is useful for VFX overlays which are generally bright elements on dark backgrounds. Conversely, Multiply or Darken blending… read more
Ever needed to spice up a dull slide presentation? Microsoft’s PowerPoint has long been the go-to app for quick and effective slideshow creation, but are you doing enough to keep the attention of your audience? What’s the quickest way to turn your tedious AGM data presentation into an engaging production for the whole office to enjoy? Video is the answer and, thankfully, it’s a breeze to include. Why use video in PowerPoint? Making sure the facts are right, the spellings are correct, the slides are in the right order – these are the things crucial to a successful presentation. But slideshows can be a bore, let’s face it. And most slides are cobbled together at the last minute. This is where the right graphics, and the inclusion of video can do wonders to elevate your creation. It’s important to think of video as an enhancement to the on-screen information, and… read more
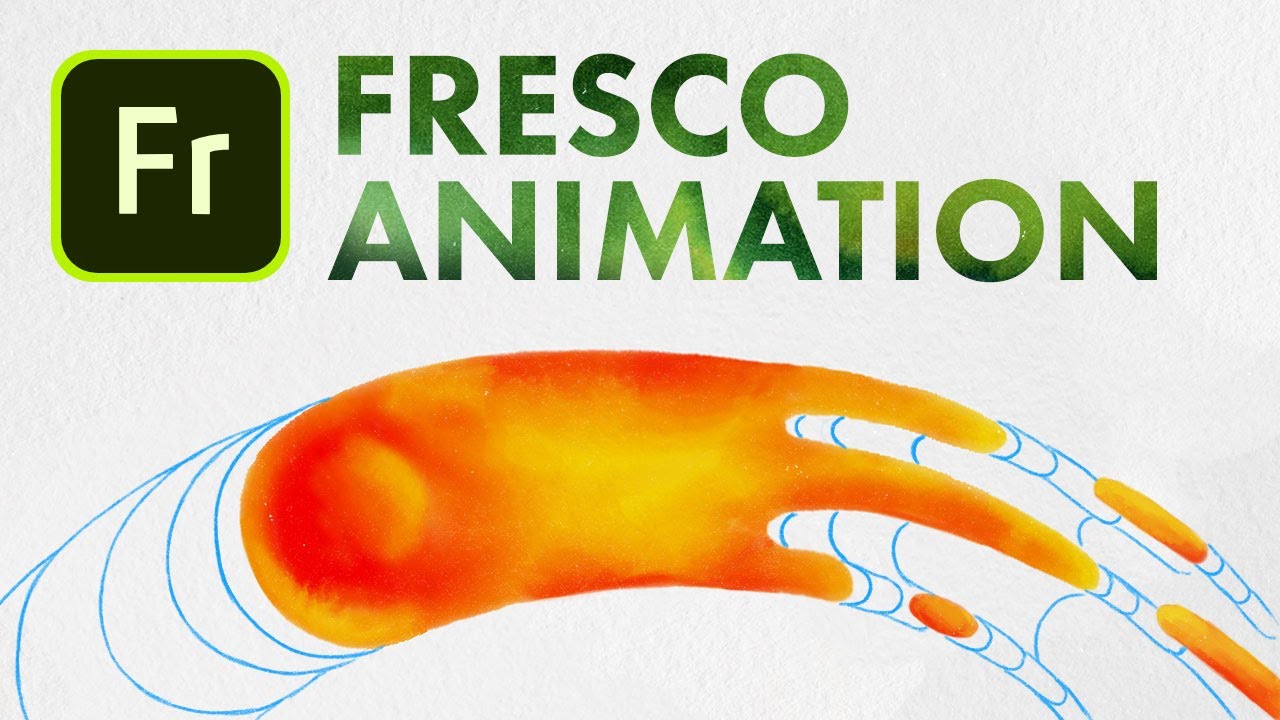
Have You Tried Adobe Fresco yet? Fresco is a digital painting app from Adobe, specifically for tablets. It includes both pixel-based painting as well as vector drawing tools. We especially like the new Live Brushes which behave like real watercolor and oil, mixing and blending together as they would in the real world. In this short video workflow tutorial, Sydney-based motion designer and illustrator Ben Marriott shows us how he animates simple, painted elements created in Fresco using an onion-skinning technique. To start with he sketches the outline of his frames using the pencil tool, then creates each painted animation frame on a separate layer, exporting the layered file as a PSD, from Adobe Fresco. Use After Effects to quickly sequence animation frames After importing the layers into After Effects he then trims them to one frame each and sequences the layers across the Timeline. To complete the hand-drawn look… read more
More Posts
- PowerPoint Transitions: Every Effect Explained
- Canva Templates: The Ultimate Guide to Designing Faster and Smarter
- The 5 Best CapCut Alternatives in 2026
- Why Choose Adobe After Effects?
- The Ultimate Guide to Faceless YouTube Channels in 2026
Adobe Stock Search
Please use the search form below to find footage and video templates directly from Adobe Stock.
Great Value Packs
Sponsored Resources