15 Channel Ideas to Make Money Are you ready to dive into YouTube, share your passion, and earn an income – all without ever showing your face? In 2026, faceless YouTube channels are hotter than ever, offering incredible opportunities for beginners to build an audience and generate revenue. With the right niche and a smart approach to tools (including AI and video templates), you can create high-quality content that stands out. We’ve scoured the latest trends to bring you 15 fresh, profitable, and beginner-friendly faceless YouTube channel ideas for 2026. Why Go Faceless in 2026? Leverage AI: Your Secret Weapon for 2026 AI isn’t just a buzzword; it’s a game-changer for faceless channels. From script generation to voiceovers and even initial video drafts, AI can drastically reduce your workload. We’ll touch on how to integrate it with each idea. Chatbots such as ChatGPT and Gemini will help identify focus points… read more

Video Editing
Quick tips and techniques for improving your editing workflow, storytelling, and visual style.

Glitch overlays are one of the quickest ways to add energy, distortion, and digital style to your edits in Adobe Premiere Pro. With just a couple of drag-and-drops, you can turn a plain cut into something dynamic, modern, and attention-grabbing. In this tutorial, I’ll show you how to use glitch overlays as a transition in Premiere Pro, plus a few extra creative tricks you can use anywhere in your timeline. To follow along step by step, download our free glitch overlay pack and save it to your Desktop. Download our free Premiere Pro glitch overlays → Watch the Tutorial Video Step 1: Download the Free Glitch Overlay Pack Grab the free glitch overlays linked below. These clips work in Premiere Pro without any plugins — just drag, drop, and blend. What’s included: Download the free Premiere Pro glitch overlay pack → Step 2: Set Up Your Cut in Premiere Pro… read more

Adding rain to your footage is one of the fastest ways to create mood and atmosphere. In this tutorial, you’ll learn how to add a rain overlay video in Adobe Premiere Pro using a free, looping rain clip — plus an optional editable rain MOGRT if you want more control. This method works in any recent version of Premiere Pro and doesn’t require After Effects. Watch: Rain Overlay in Premiere Pro (2:52) Download the Free Rain Overlay Before we start, download the free assets used in this tutorial: How to Add a Rain Overlay Video in Premiere Pro Step 1: Place the Rain Overlay Above Your Footage Open Premiere Pro and import the rain overlay video into your project. At this stage, the rain clip will usually have a black background. Step 2: Remove the Black Background Using Blend Modes To make the black background transparent: This instantly removes the… read more
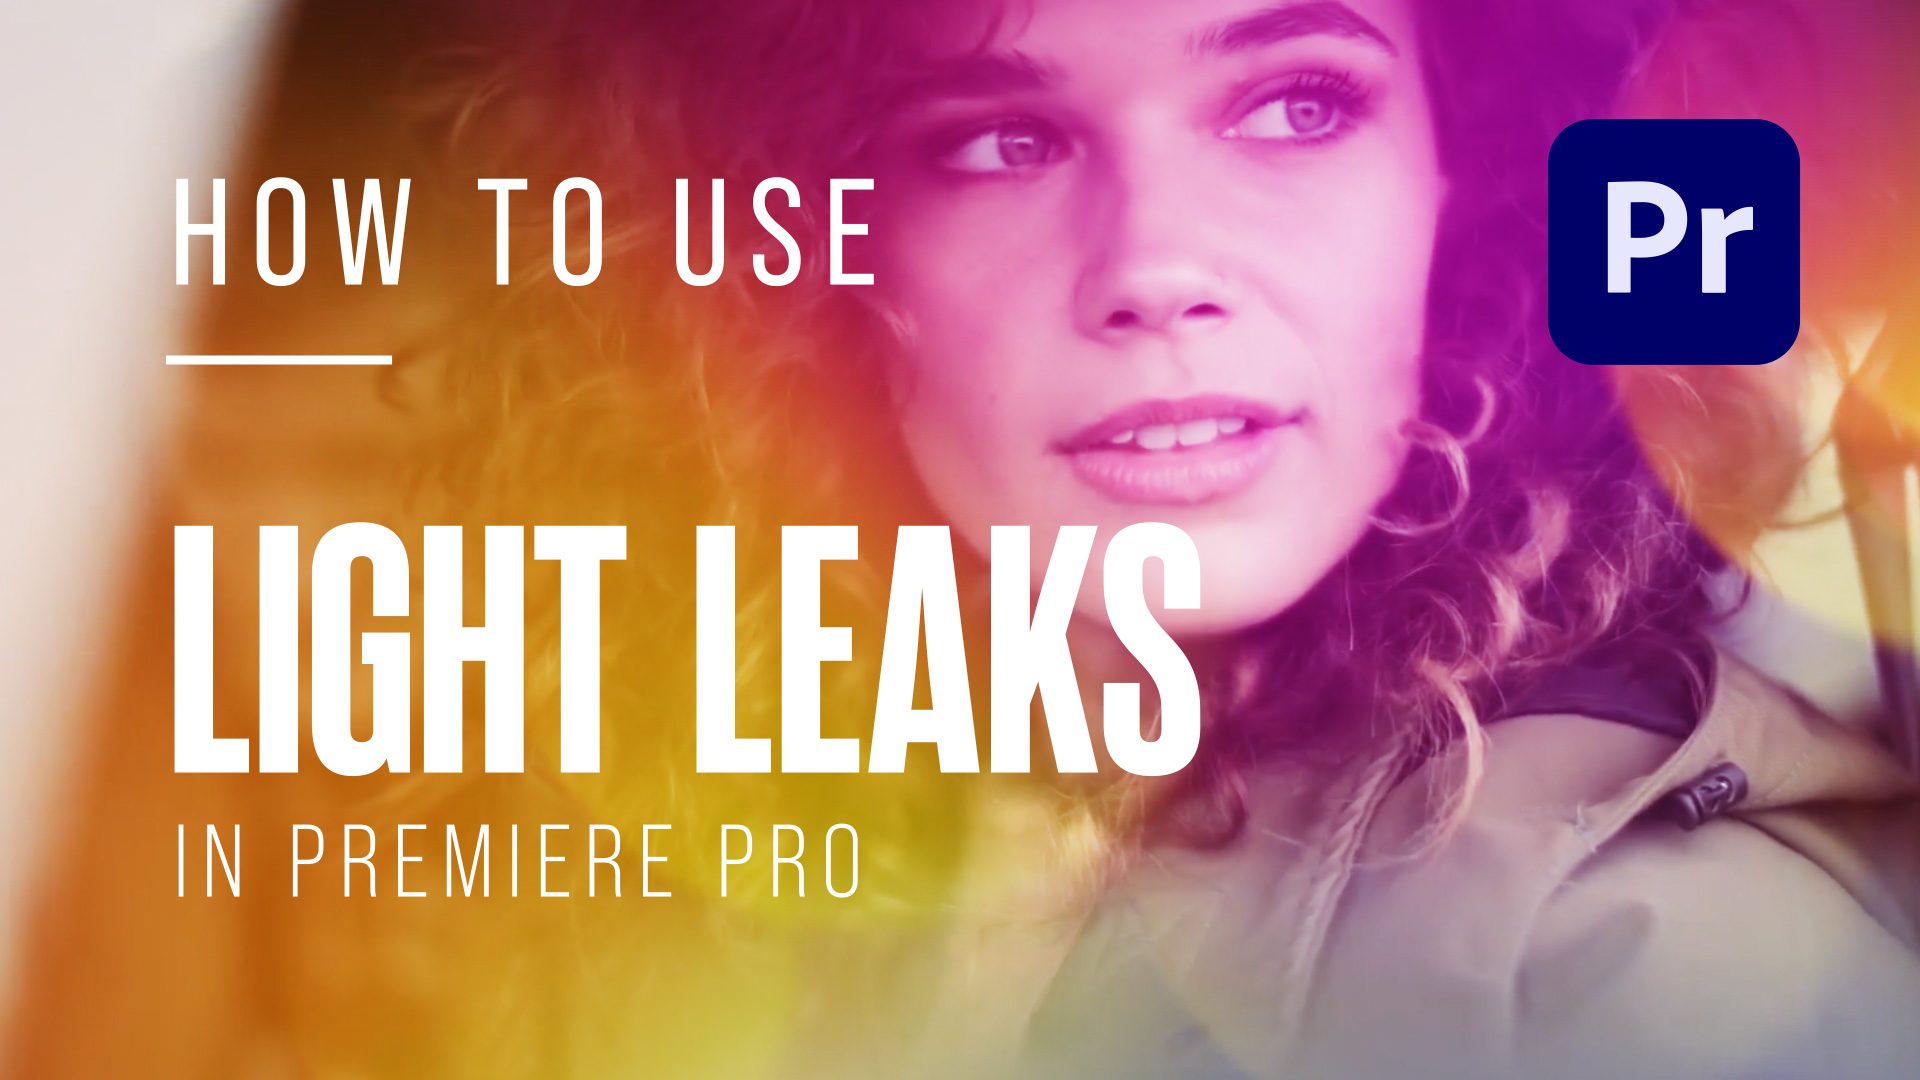
Light leak overlays are one of the fastest ways to add atmosphere, movement, and polish to your edits in Adobe Premiere Pro. With just a few clicks, you can turn a boring straight cut into something cinematic and eye-catching. In this tutorial, I’ll show you how to use light leak overlays as a transition in Premiere Pro, plus a few extra creative ideas at the end. So you can follow along step by step, grab our pack of free light leaks and place them on your Desktop. Download our free bokeh light leak overlays for Premiere Pro → Watch the Tutorial Video Step 1: Download the Free Light Leak Overlays Before we start, grab the free bokeh light leak pack linked below. These clips work in Premiere Pro with no plugins required. What’s included: Download the free Premiere Pro light leak overlays → Step 2: Set Up Your Cut in… read more
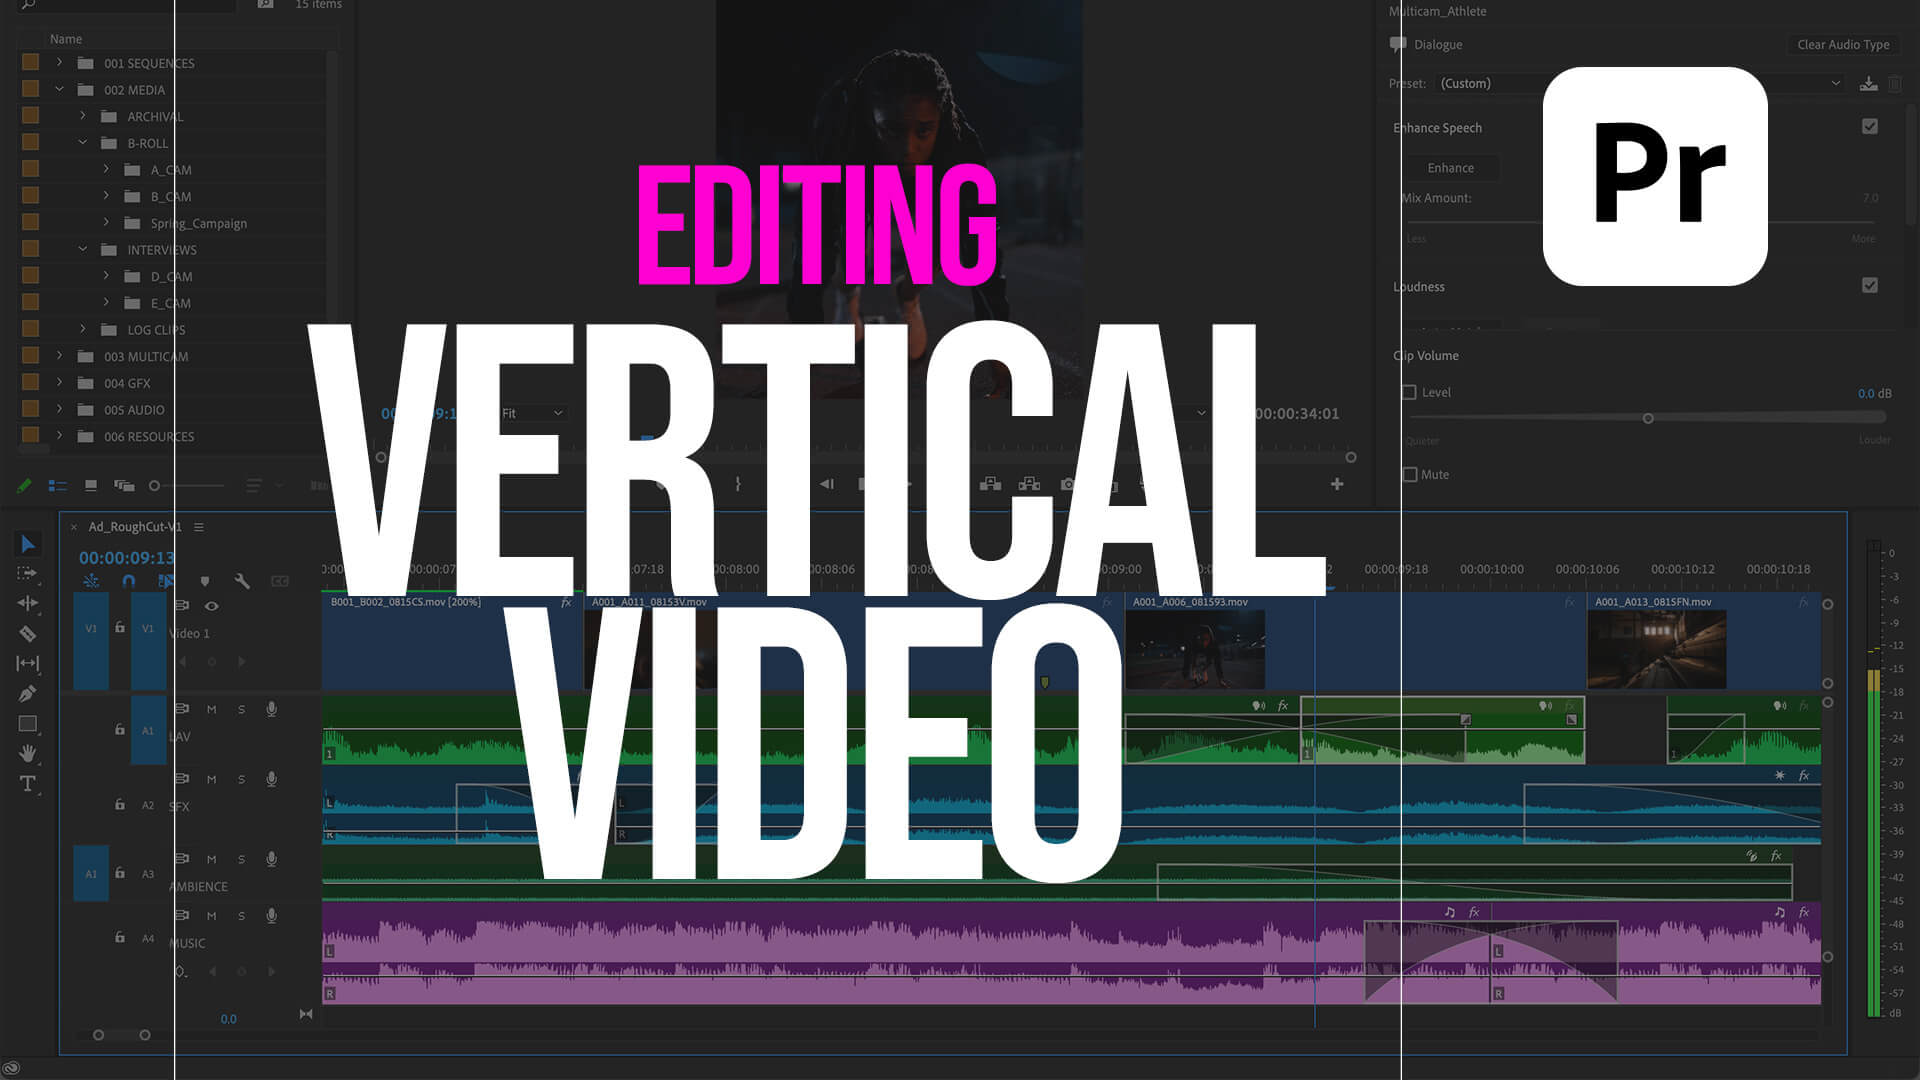
Learn how to professionally edit vertical videos in Adobe Premiere Pro. This tutorial covers motion graphics, framing, rotoscoping, and more. Perfect for YouTube Shorts, Instagram Reels, and TikToks. View Full Transcript Introduction Editing vertical videos on your phone is super convenient on the go, right? But it’s hard to get that precision with, you know, your fingertips. That’s why I prefer to edit my vertical videos in Premiere Pro—because I just get more control. But if you’re intimidated by Premiere Pro and don’t know where to start, don’t worry. You’re in the right place. In this video, I’m going to show you everything you need to know. Let’s jump on in. 🎵 [Music] Getting Started with Premiere Pro Right now, I’m inside of Premiere Pro’s vertical editing workspace. And all that means is that it puts the program monitor on the right so you can see things more clearly. If… read more
How to Export a Video from PowerPoint: A Step-by-Step Guide Microsoft PowerPoint isn’t just for static slide presentations anymore. With built-in tools that allow for animations, transitions, voice narration, and even screen recordings, PowerPoint can now double as a simple video creation tool. Whether you’re building a tutorial, pitch deck, or training module, exporting your PowerPoint presentation as a video is a great way to make your content more accessible and engaging. In this blog post, we’ll walk you through how to export your PowerPoint presentation as a video, step by step. If you’d rather see how this is done watch this tutorial video from Jamie at Teacher’s Tech, which includes a variety of tips and tricks. Why Export to Video? Before diving into the “how,” let’s talk about the “why.” Here are a few reasons you might want to export your presentation as a video: Accessibility: Videos can… read more
Video editing requires a powerful machine with a fast processor, a dedicated GPU, and plenty of RAM. While desktops have long been the go-to choice for professional editors due to their superior power and upgradeability, laptops are now more capable than ever. Modern video editing laptops can handle intensive tasks like 4K rendering, color grading, and special effects, all while offering the flexibility of portability. A laptop allows you to edit from anywhere—whether you’re working on location, traveling, or simply moving between different workspaces. Advances in GPU technology, high-refresh-rate displays, and ultra-fast SSD storage mean that high-end laptops can now rival desktops in performance. If you value mobility without sacrificing power, a video editing laptop is the way to go. We’ve compiled a list of the best laptops for video editing in 2025. What to Look for in a Video Editing Laptop Before diving into our top picks, here are… read more
Exporting Video Sequences from Premiere Pro So, you’ve finished your amazing video and need to send it the client or upload to YouTube – but how to keep the file size down whilst maintaining quality? Easy, just export in MP4 format. Thankfully, Adobe has made it easy to export MP4 video directly from Premiere Pro, without the need for additional software. This short and simple video tutorial by Adobe in a Minute explains how to export a video in Premiere Pro. https://www.youtube.com/watch?v=5ycfaspPMWk Here’s how to export your Premiere Pro video as an MP4: Step 1 – Go to File > Export Access the Export menu in Adobe Premiere Pro by going to File > Export > Media, or use the keyboard shortcut Ctrl+M (Windows) or Command+M (Mac). Ensure the format is set to H.264 to save the file as an MP4, which is widely used and compatible across various platforms…. read more
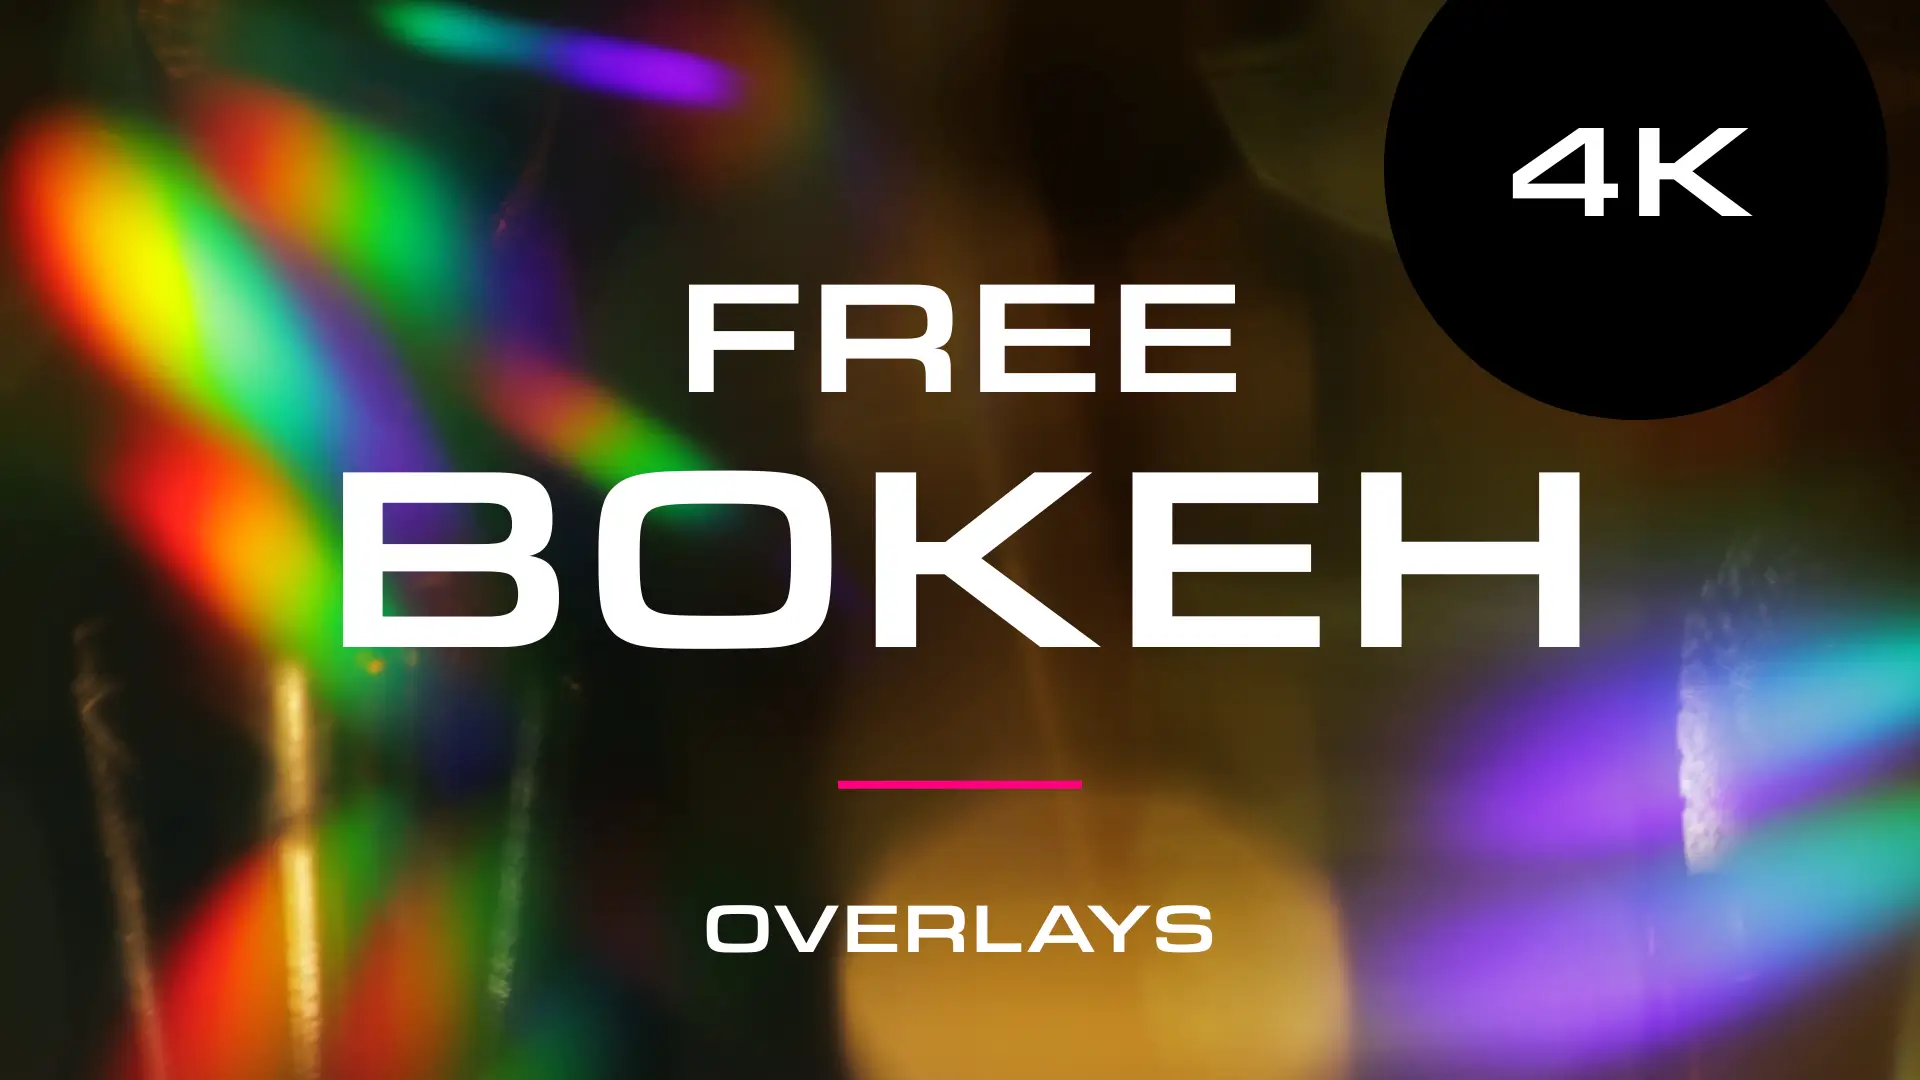
A selection of beautiful bokeh light leak overlays to download for free from Adobe Stock. Perfect for Christmas holiday videos and adding a touch of glamor to your productions. Available in up to 4K resolution. The bokeh light effect is a mesmerizing and aesthetically pleasing phenomenon in photography, characterized by the out-of-focus areas in an image. Derived from the Japanese word “boke,” meaning blur or haze, bokeh is achieved when a camera lens creates a soft, defocused background, turning distant lights into beautifully blurred, glowing orbs. These free bokeh video effects from Adobe Stock will work in all major video editing software including Premiere Pro, Final Cut, After Effects, and iMovie. Bokeh overlay free downloads Click on the images to download these free bokeh light leak video clips from Adobe Stock: How to use these overlays Whilst the clips won’t have transparency you can use blending modes to make sure they combine… read more
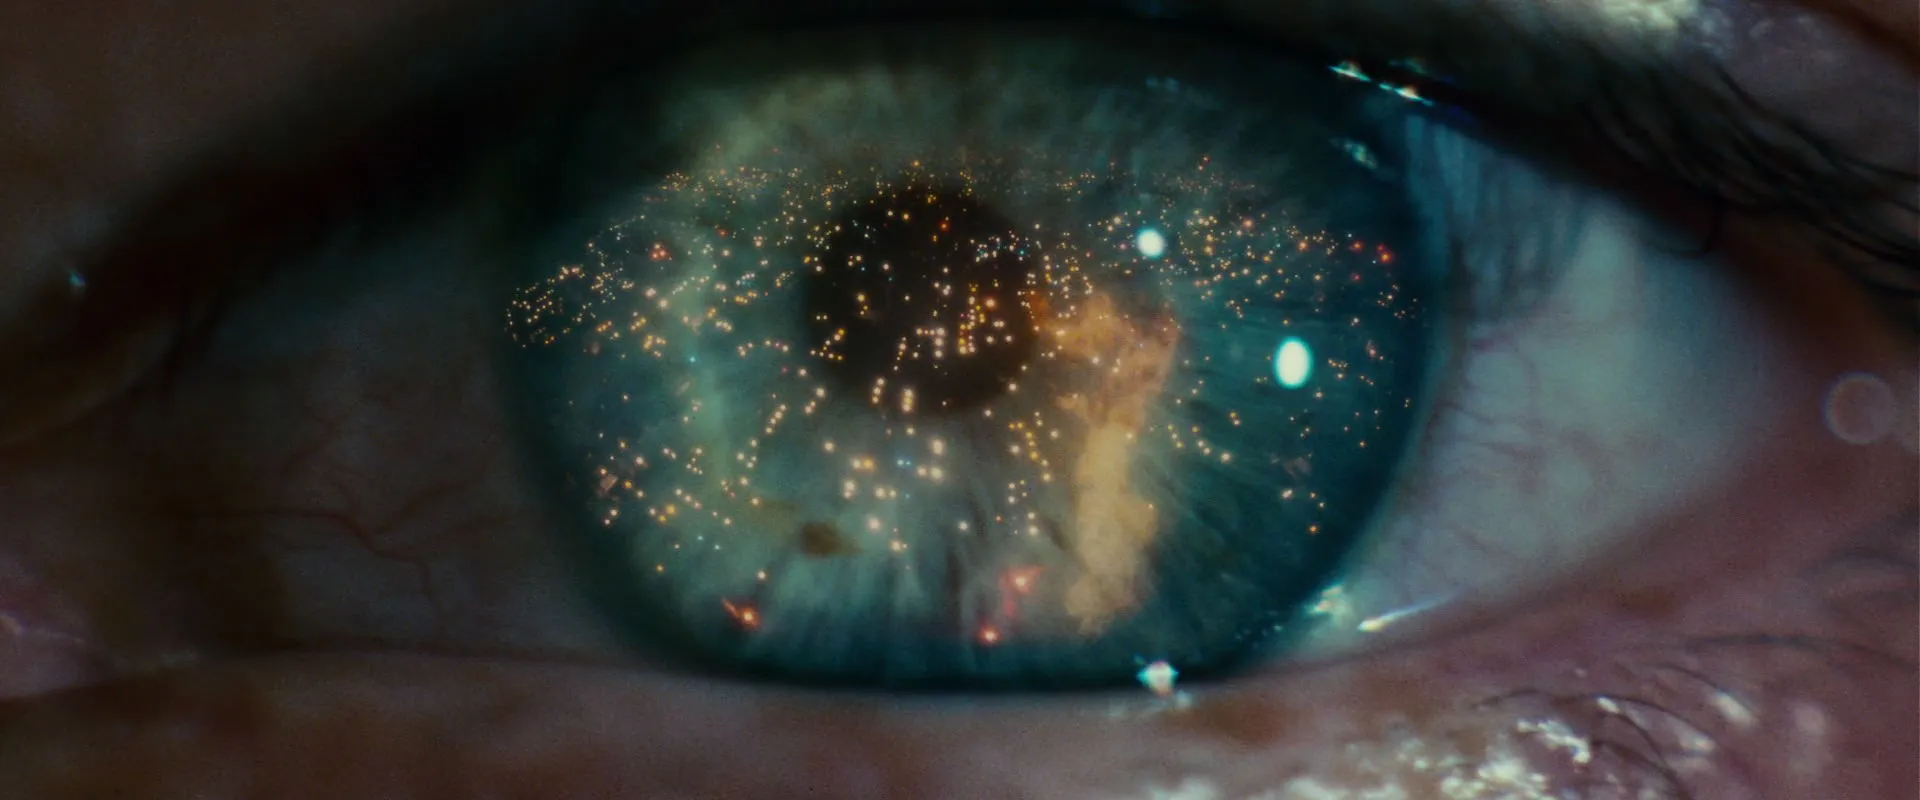
Close-up or medium shot? High angle or POV shot? What type of camera angle is best? We break down the basic camera shot types so you can storyboard your video or animation sequence with confidence! For video makers, film directors and animators using the correct, conventional camera terminology is key to giving the impression that you know what you’re doing! One of the basics is learning how to describe the framing of your subject matter to other people. This is where you’ll want to brush up on the language (or grammar) of camera shots. Of course, you can simply disregard all of the tried and tested findings from a hundred years of cinema, and develop your own unique style of communicating! But, it’s important to know the rules before you break them. Bear in mind everyone in the television and film industry will be using the same lingo, so don’t… read more

HD SMPTE Color Bars With Tone – Free Download I quickly generated this color bars test pattern for a recent video project. It may not be 100% accurate but it looks professional enough! Feel free to download it using the link at the bottom of this page. Originating in the 1970s, the SMPTE color bars is a standard test pattern, utilised by video engineers, to conform multiple sources of video content to a single specification. The pattern can also be used to calibrate chroma and luminance values on video monitors. Understanding the SMPTE Color Bars: A Guide to Video Calibration In the world of video production, quality and accuracy are paramount. Ensuring that the colors, tones, and levels in your video are calibrated correctly is crucial for delivering a professional and visually appealing product. One tool that has been a staple in video calibration for decades is the SMPTE color bars. What… read more
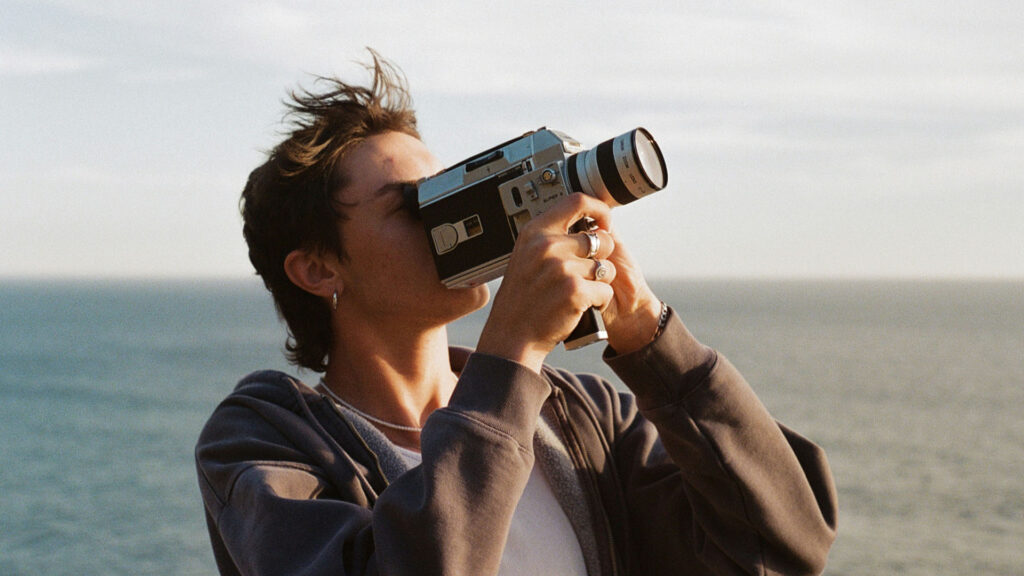
Turn your footage into 8mm film! In the realm of visual storytelling, the allure of vintage film formats endures, with 8 mm and Super 8 standing as iconic representatives of a bygone era. These compact films, once threaded through mechanical reels, capture moments with an intimate graininess that speaks to the artistry of analog recording. In this article, we look to achieve a vintage Super 8 film look using Adobe After Effects and find some handy free film overlays. But first, let’s quickly recap on the 8 mm film types. 8 mm Film: Overview: 8 mm film is a motion picture film format that is 8 millimeters wide. It was introduced by Eastman Kodak in 1932 as a more affordable and accessible alternative to expensive 16 mm and 35 mm film. Common Use: 8 mm film was popular for home movies and amateur filmmaking due to its compact size and… read more
Turn your footage into a silent movie! Creating a vintage silent movie look in After Effects involves emulating the characteristics of early film, such as black and white imagery, vignetting and film grain. Here’s a step-by-step guide to achieve this effect: Step 1: Import Footage Step 2: Convert to Black and White Step 3: Adjust Contrast and Brightness Step 4: Add Film Grain Step 5: Apply Vignette Step 6: Simulate Dust Marks Step 7: Simulate Scratches Step 8: Lower Frame Rate Step 9: Add a Film Frame Overlay (Optional) You can add a rounded overlay box, in an aspect ratio similar to vintage film, as follows: Step 10: Export Once satisfied with the vintage silent movie look, export your composition by clicking on File > Export > Add to Render Queue. By following these steps, you should be able to give your footage a convincing vintage silent movie look in… read more

How to Add a Film Burn Overlay | Video Tutorials | Free Overlays | Handy Templates What are film burns (light leaks)? Film burns and light leaks are visual artifacts that originated from the analog film era. These effects were unintended and often considered flaws, but in the digital age, they have become popular as creative elements in filmmaking and photography to add a vintage or nostalgic look. Here’s a brief description of each: Film Burns: A film burn is a sudden change in brightness or color saturation that occurs during the exposure of film. It is often characterized by a burst of light that washes out the image temporarily, creating a warm or reddish tone. Film burns can occur due to various factors, including light leaks in the camera, improper film winding, or exposure to unexpected light sources. In modern filmmaking, these effects are often simulated to evoke a… read more
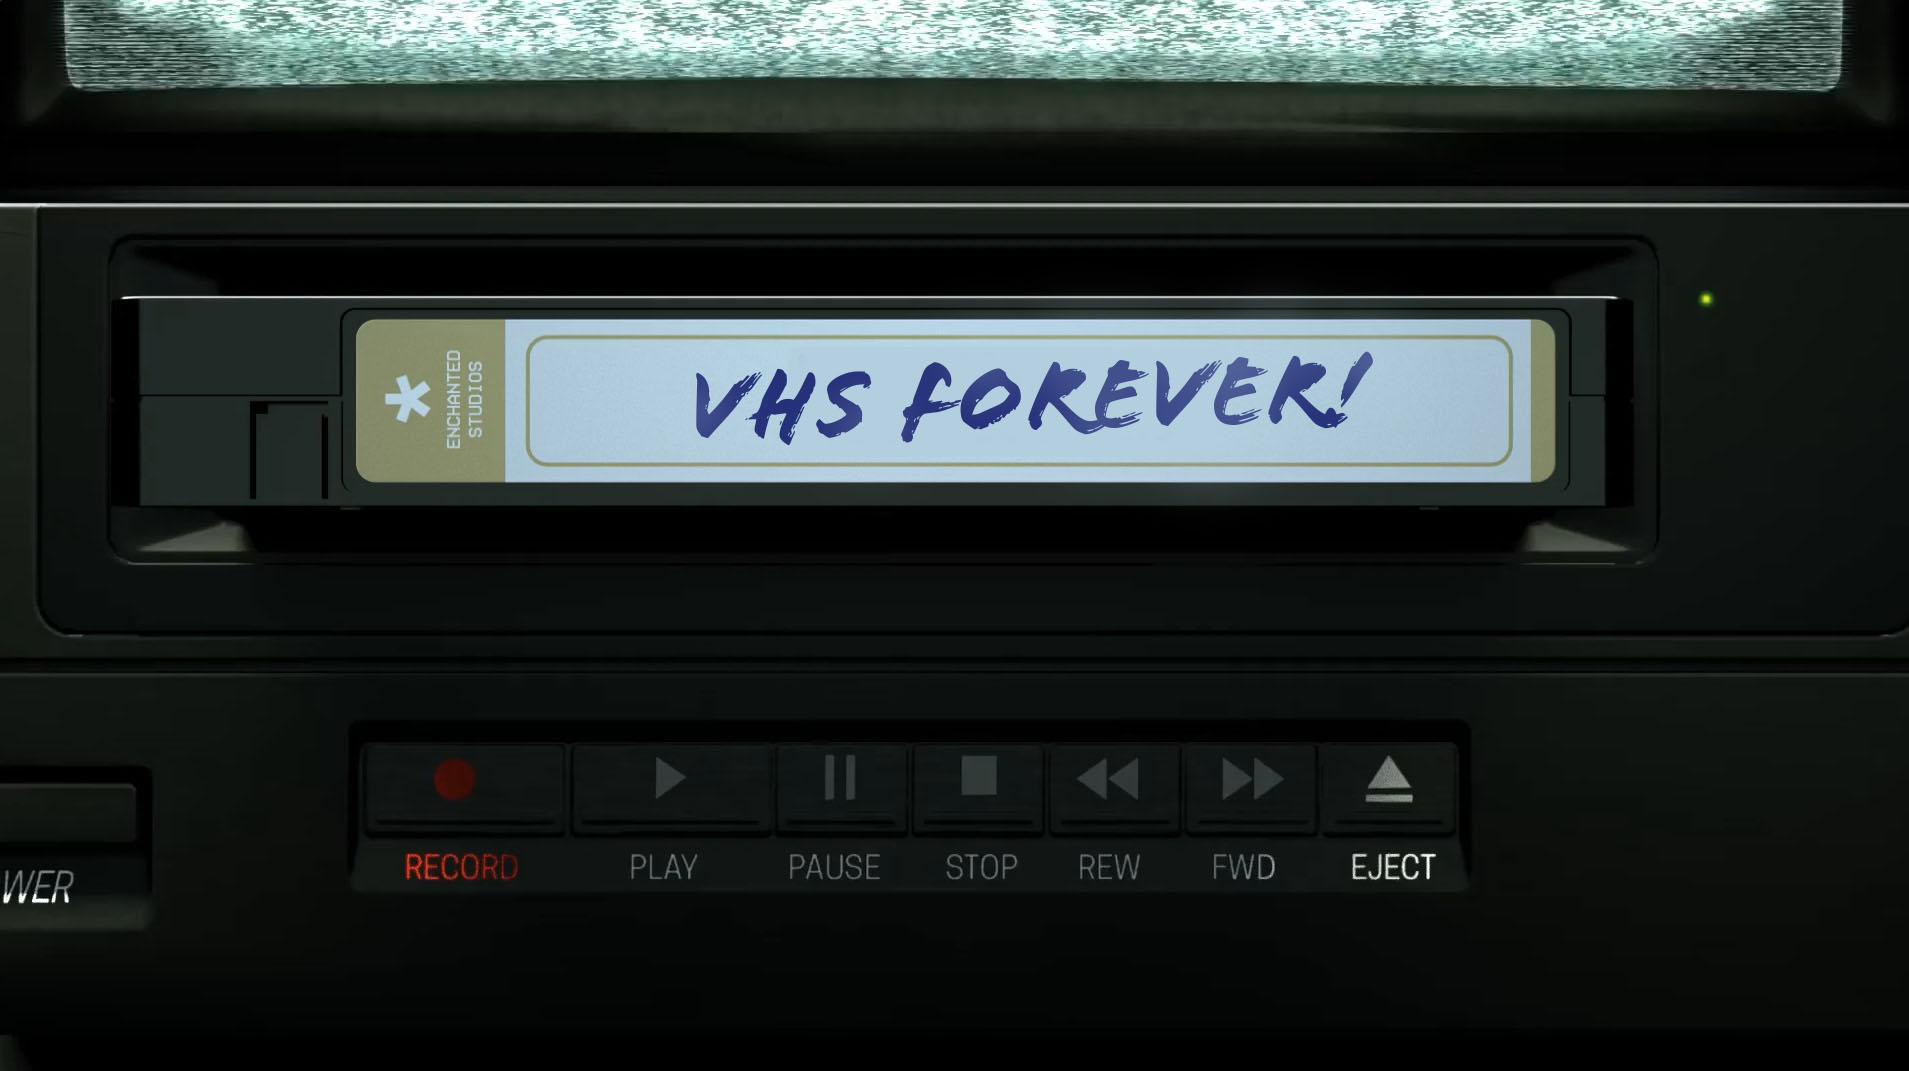
Using After Effects to create the VHS effect Text Guide | Video Tutorials | Free Overlays | Handy Templates The VHS look refers to the distinctive visual characteristics associated with video recordings on VHS (Video Home System) tapes, a popular consumer video format during the late 20th century. This aesthetic has experienced a resurgence in recent years, as filmmakers, photographers, and digital artists intentionally emulate the nostalgic and gritty qualities of VHS footage. The VHS look is characterized by its low resolution, analog artifacts, color bleed, and a unique texture that results from the limitations of the VHS format. One of the most recognizable aspects of the VHS look is the visible scan lines that run across the screen, giving the footage a retro and dated appearance. The color palette often exhibits a warm and slightly faded tone, with noticeable distortions in color accuracy. Additionally, VHS recordings are prone to… read more
Need to remove black background from your VFX footage? Often with overlay video effects such as snow, fog, glitch and flash fx the files will have black backgrounds. This is due to pre-keyed video formats (which include transparency) having incredibly large file sizes and issues with software compatibility. Sometimes you might have green screen backgrounds, where you would need to use keying effects to create transparency, but in cases where you want to remove a black background the simplest way to achieve this is to use blending modes. Blending modes change the way your effect layer displays over the footage beneath by, in short, only showing the bright or the dark areas depending on the setting. Add or Screen modes will only display the light areas, effectively keying out the blacks. This is useful for VFX overlays which are generally bright elements on dark backgrounds. Conversely, Multiply or Darken blending… read more
More Posts
- PowerPoint Transitions: Every Effect Explained
- Canva Templates: The Ultimate Guide to Designing Faster and Smarter
- The 5 Best CapCut Alternatives in 2026
- Why Choose Adobe After Effects?
- The Ultimate Guide to Faceless YouTube Channels in 2026
Adobe Stock Search
Please use the search form below to find footage and video templates directly from Adobe Stock.
Great Value Packs
Sponsored Resources