

Glitch overlays are one of the quickest ways to add energy, distortion, and digital style to your edits in Adobe Premiere Pro. With just a couple of drag-and-drops, you can turn a plain cut into something dynamic, modern, and attention-grabbing.
In this tutorial, I’ll show you how to use glitch overlays as a transition in Premiere Pro, plus a few extra creative tricks you can use anywhere in your timeline.
To follow along step by step, download our free glitch overlay pack and save it to your Desktop.
Download our free Premiere Pro glitch overlays →
Watch the Tutorial Video
Step 1: Download the Free Glitch Overlay Pack
Grab the free glitch overlays linked below. These clips work in Premiere Pro without any plugins — just drag, drop, and blend.
What’s included:
- Multiple glitch variations (bursts, distortions, interference)
- High-resolution files
- Works in any video editor
- Easy drag-and-drop workflow
Download the free Premiere Pro glitch overlay pack →
Step 2: Set Up Your Cut in Premiere Pro
Place two clips in your timeline with a simple straight cut between them.
Glitch overlays are perfect here — instead of relying on standard transitions, a glitch adds punch, motion, and visual impact with almost no setup.

Step 3: Add the Glitch Overlay
To bring in your glitch file, you can either:
- Drag it directly from your Desktop into the timeline, or
- Import several clips into the Project panel and choose the one you want
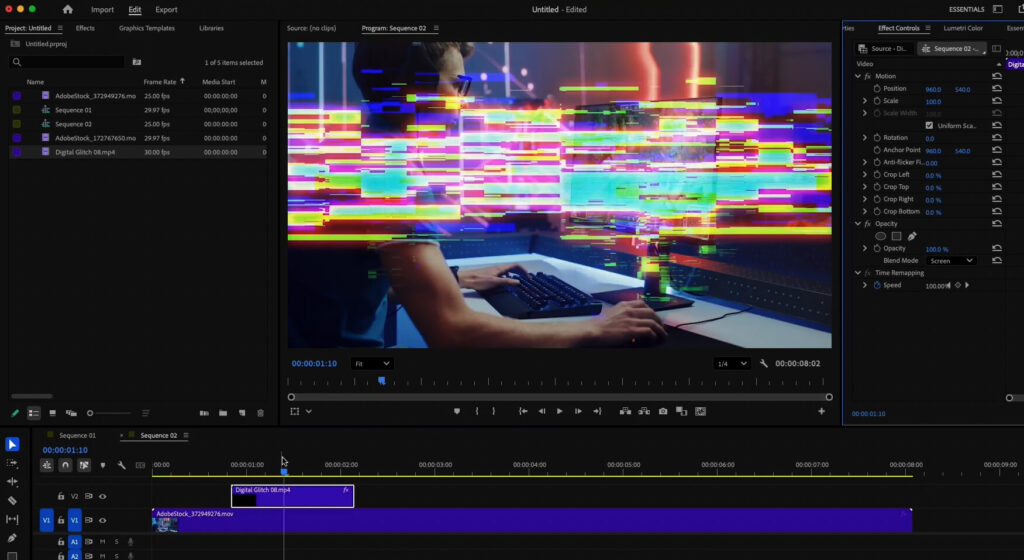
Place the glitch overlay on a track above your footage.
For a transition, make sure the glitch clip overlaps the edit point so the distortion affects both shots.

Step 4: Adjust the Speed (Optional)
Glitch effects often look better when you fine-tune their timing.
To adjust the speed:
- Right-click the glitch clip
- Choose Speed / Duration
- Increase or decrease the percentage
- Lower percentage → slower, more stretched glitch
- Higher percentage → quick, snappy hits
This helps you perfectly sync the glitch with your edit.
Step 5: Change the Blend Mode to Remove Black
Most glitch overlays come with a black background so they can be blended easily.
To remove the black:
- Select the glitch clip
- Open the Effect Controls panel
- Scroll to Opacity
- Change Blend Mode to Screen or Add

The black disappears instantly, leaving only the glitch distortion over your footage.
That’s it — instant digital chaos.
Creative Uses for Glitch Overlays
Glitches aren’t just for transitions. Try these ideas:
Add a Distorted Burst Over a Shot
Place a glitch overlay anywhere over your footage to create:
- Intense moment hits
- Digital distortion accents
- Tech-style flickers
- Stylized music-video effects
Lower the opacity if the effect feels too heavy.
Experiment With Different Blend Modes
While Screen is the go-to, try Linear Dodge (Add) for:
- Stronger RGB distortion
- Punchier digital breakup
- Bright, electrified flicker effects
Combine Multiple Overlays
Glitches layer beautifully.
Try stacking:
- A short burst
- A long waveform distortion
- A chromatic RGB split
Mixing variations gives you a custom look no preset can match.
Use Glitch Overlays Instead of a Preset
Overlays work in any editing software — and they’re more flexible than native transitions.
You can:
- Re-time them
- Trim them
- Reverse them
- Stack them
- Color grade them
You’re not locked into the behavior of a Premiere Pro preset.
Want Even More Glitch Effects?
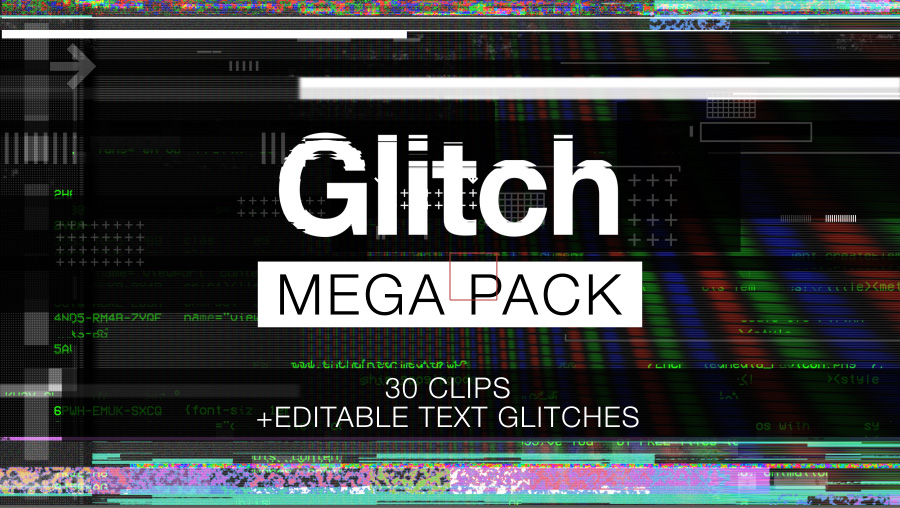
If you like this free pack, check out our full Mega 4K Glitch Pack, which includes:
- Dozens of glitch bursts, distortions, and interference effects
- Massive 4K resolution
- Drag-and-drop workflow
- A wide variety of styles (digital, analog, screen tear, RGB, and more)
- Suitable for YouTube, social content, ads, music videos, and cinematic edits
Explore the full Mega 4K Glitch Pack →
Final Thoughts
Glitch overlays are one of the simplest ways to boost the look of your Premiere Pro edits. No plugins, no complicated setups — just blend, time it right, and instantly add energy to your project.
If you found this helpful:
- Subscribe on YouTube for more editing tutorials
- Download the free glitch pack and try different variations
- Experiment with blend modes and timing for unique results
Happy editing ⚡️
FAQs
Screen works best for most digital glitches because it removes the black background cleanly. For stronger brightness and punch, try Linear Dodge (Add).
Put glitch overlays on a video track above your main footage. If you’re using them as a transition, make sure the clip overlaps both shots.
Yes. Adjust opacity, blend mode, or speed, or trim the clip for more intense or more subtle results.
No plugins needed — they use only standard blend modes.
No. Glitches work great over entire shots to add energy, distortion, and stylized digital motion.