How to Export a Video from PowerPoint: A Step-by-Step Guide Microsoft PowerPoint isn’t just for static slide presentations anymore. With built-in tools that allow for animations, transitions, voice narration, and even screen recordings, PowerPoint can now double as a simple video creation tool. Whether you’re building a tutorial, pitch deck, or training module, exporting your PowerPoint presentation as a video is a great way to make your content more accessible and engaging. In this blog post, we’ll walk you through how to export your PowerPoint presentation as a video, step by step. If you’d rather see how this is done watch this tutorial video from Jamie at Teacher’s Tech, which includes a variety of tips and tricks. Why Export to Video? Before diving into the “how,” let’s talk about the “why.” Here are a few reasons you might want to export your presentation as a video: Accessibility: Videos can… read more
Tutorial
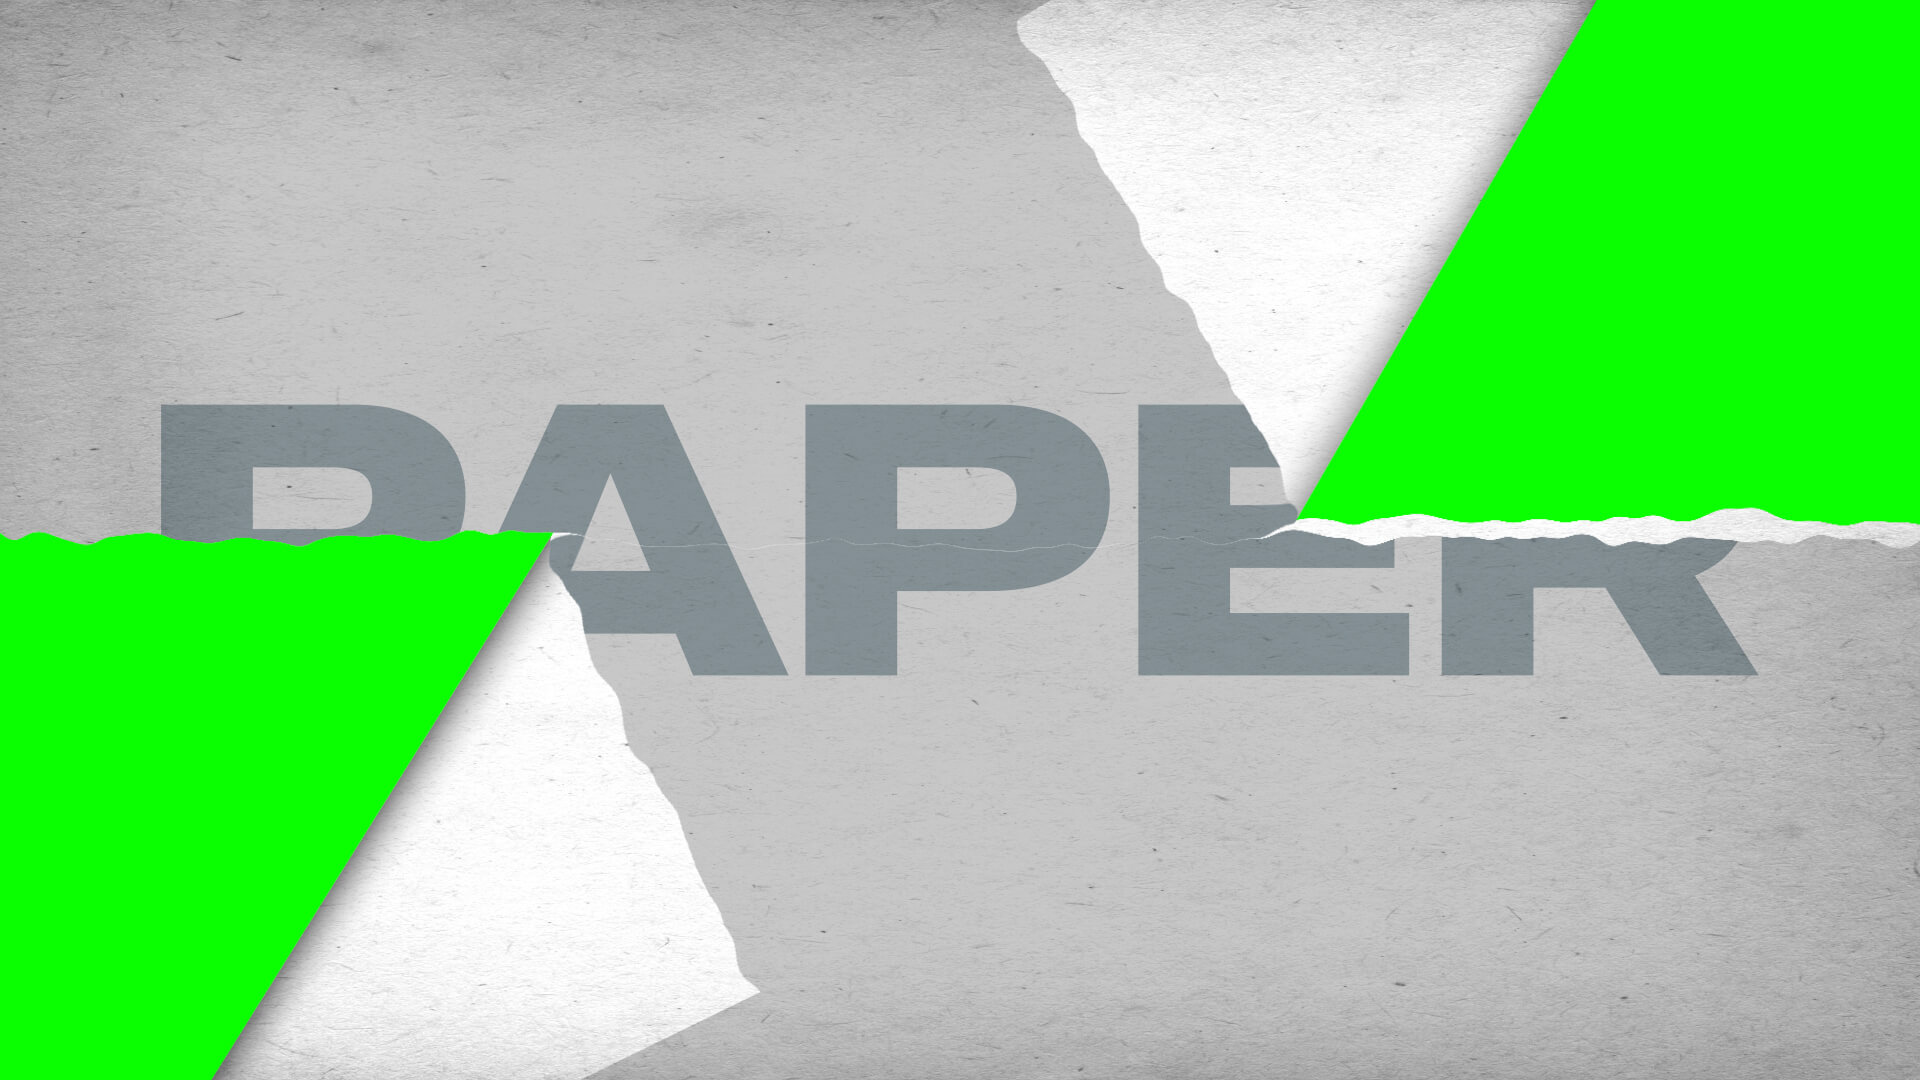
How to create a torn paper transition in After Effects Creating torn paper transition effects can add a unique, textured look to your video projects, giving them a handmade, organic feel that stands out from more typical transitions. These effects are especially popular in creative projects such as music videos, scrapbooking-style videos, or any content looking to evoke a tactile, crafted aesthetic. In After Effects, the process of creating torn paper transitions is highly customizable, thanks to its robust compositing tools and masking capabilities. You can craft the exact look of torn edges, layer textures for added realism, and use keyframes to animate the transition between scenes. This approach gives you full control over the transition, allowing you to achieve a highly detailed, professional result. In this guide, we’ll walk you through how to create torn paper transition effects in After Effects, showing you step-by-step techniques that you can adapt… read more
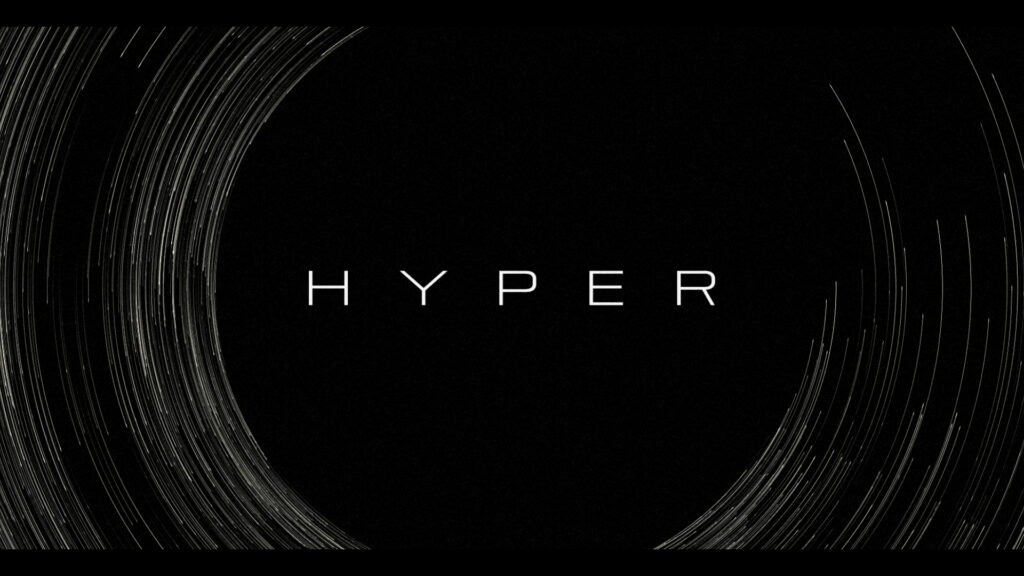
The goal was to create an atmospheric title sequence using only the built-in Adobe After Effects tools and without using any external images or footage. Firstly we wanted faded lines, akin to fiber optics, to be emitted horizontally from the side of the screen. After experimenting with CC Particle World using the default lines it was obvious that a bespoke particle would be needed. A long, thin Solid layer was faded using a Gradient Ramp of white to black. An additional tiny white Solid square was added for the tip. This formed the particle element. In a CC Particle World composition the Particle Type was changed to Textured Square and the Texture Layer set to our new particle element. For Physics, the Animation was set to Direction Axis with 0.10 Velocity and zero Gravity. Extra and Extra Angle values were zeroed out. Once done, it was time for some variations…. read more
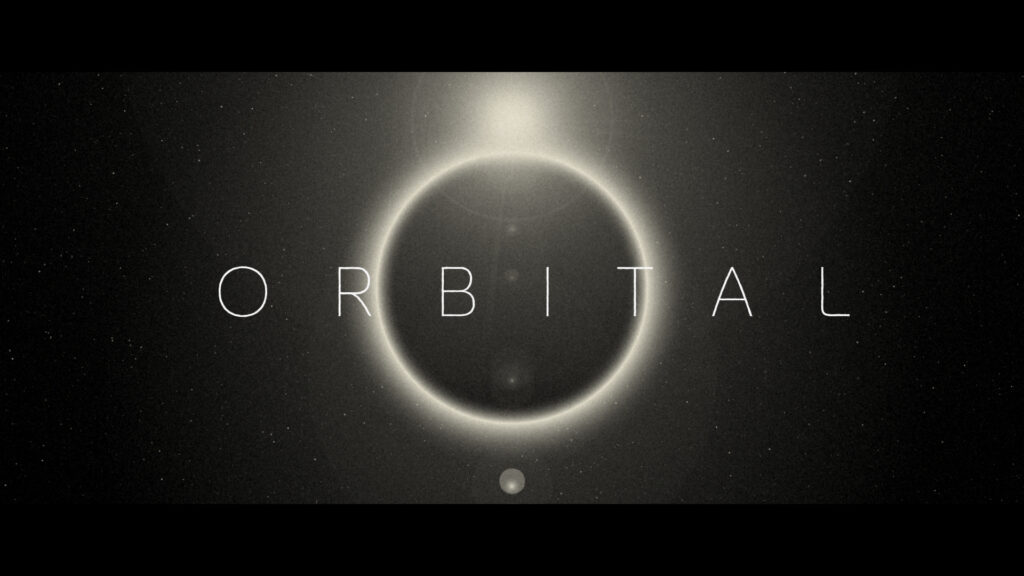
The goal was to create an atmospheric title sequence using only the built-in Adobe After Effects tools and without using any external images or footage. After some initial layout sketches were done, several scene compositions were created using just circular Shape layers. Using Layer Styles, adding a combination of Inner Glow and Outer Glow it was possible to create a realistic, spherical look. This was then applied to all the circle shapes. The ‘spheres’ were attached to Nulls and rotated to achieve the appearance of planets orbiting a sun. Lens Flare, Glow and CC Lens effects were added to provide additional brightness and distortion to the sun elements. Text was added over the top. Good Headline Pro Light was chosen as an elegant, timeless typeface that sits well within the concept of a vast solar system. CC Star Burst was used in the background of each scene to add faint… read more
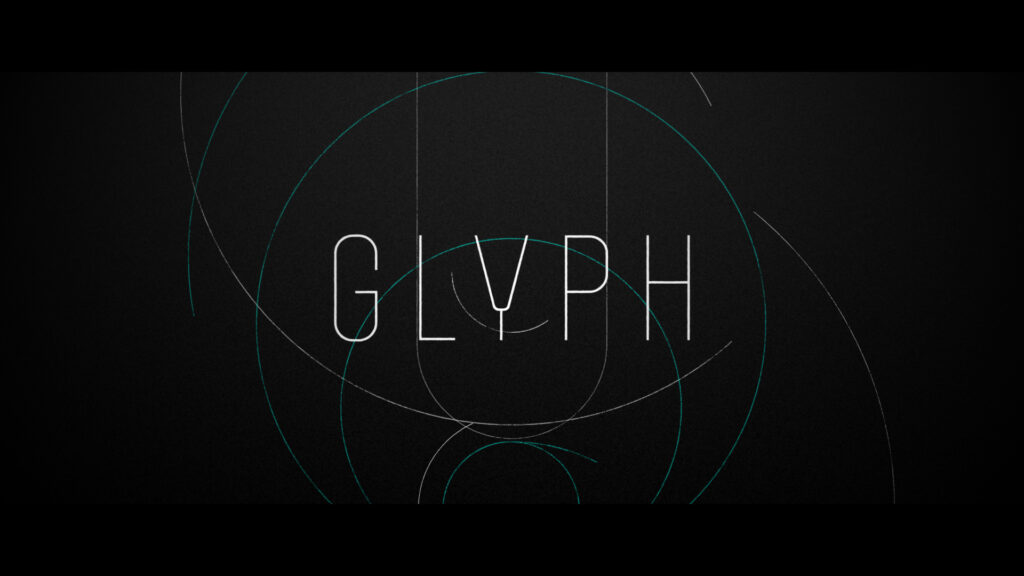
The goal was to create an atmospheric title sequence using only the built-in Adobe After Effects tools and without using any external images or footage. Firstly, admittedly, Adobe Illustrator was used to create the lozenge shapes which were imported into After Effects. Though, to animate these they had to be converted into Shape layers inside of After Effects. The lozenge shapes could have been formed directly inside After Effects but Illustrator is much more suited to this design task. Once the layered Illustrator files were imported and converted to shapes a Stroke was added, along with a Trim Paths effect. With an End Point of 50% the Offset was animated with the expression ‘time*40’ which moved the line going around the shapes at the desired speed. Each Shape layer was switched to 3D and their Z positions moved backwards in 3D space. To add texture to the lines a Solid… read more
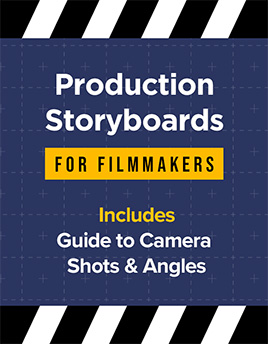
Close-up or medium shot? High angle or POV shot? What type of camera angle is best? We break down the basic camera shot types so you can storyboard your video or animation sequence with confidence! For video makers, film directors and animators using the correct, conventional camera terminology is key to giving the impression that you know what you’re doing! One of the basics is learning how to describe the framing of your subject matter to other people. This is where you’ll want to brush up on the language (or grammar) of camera shots. Of course, you can simply disregard all of the tried and tested findings from a hundred years of cinema, and develop your own unique style of communicating! But, it’s important to know the rules before you break them. Bear in mind everyone in the television and film industry will be using the same lingo, so don’t… read more
Creating cool animations in After Effects is often really quite straightforward, but to make things even easier you’ll want to be using these handy tips and expressions. We’ve spent years creating motion graphics and animated sequences, so we thought we’d share our go-to, time-saving pointers – the shortcuts we use all the time! Included in this list : → Handy Tips for After Effects – general hints, tips and pointers for making life easier!→ Useful After Effects Expressions – exciting code snippets to automate and elevate your animations!→ Essential AE Keyboard Shortcuts – memorize these simple keystrokes to speed up your workflow! Download this After Effects tips and expressions list as a PDF : Try After Effects for Free Use the link below to access a trial version of Adobe’s incredible motion graphics software. Handy Tips for After Effects Let’s start with some general After Effects hints and tips, from… read more
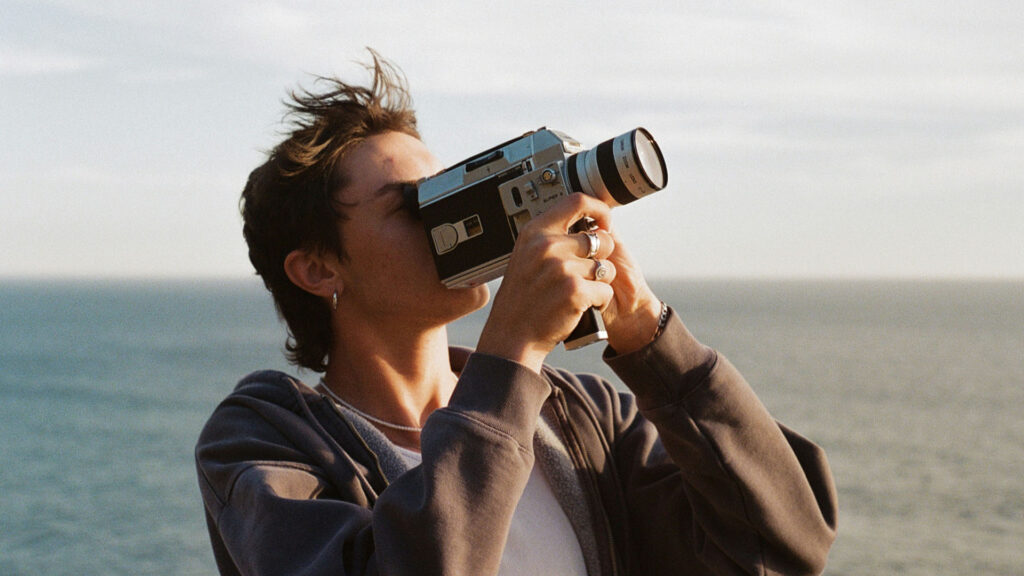
Turn your footage into 8mm film! In the realm of visual storytelling, the allure of vintage film formats endures, with 8 mm and Super 8 standing as iconic representatives of a bygone era. These compact films, once threaded through mechanical reels, capture moments with an intimate graininess that speaks to the artistry of analog recording. In this article, we look to achieve a vintage Super 8 film look using Adobe After Effects and find some handy free film overlays. But first, let’s quickly recap on the 8 mm film types. 8 mm Film: Overview: 8 mm film is a motion picture film format that is 8 millimeters wide. It was introduced by Eastman Kodak in 1932 as a more affordable and accessible alternative to expensive 16 mm and 35 mm film. Common Use: 8 mm film was popular for home movies and amateur filmmaking due to its compact size and… read more

Turn your footage into a silent movie! Creating a vintage silent movie look in After Effects involves emulating the characteristics of early film, such as black and white imagery, vignetting and film grain. Here’s a step-by-step guide to achieve this effect: Step 1: Import Footage Step 2: Convert to Black and White Step 3: Adjust Contrast and Brightness Step 4: Add Film Grain Step 5: Apply Vignette Step 6: Simulate Dust Marks Step 7: Simulate Scratches Step 8: Lower Frame Rate Step 9: Add a Film Frame Overlay (Optional) You can add a rounded overlay box, in an aspect ratio similar to vintage film, as follows: Step 10: Export Once satisfied with the vintage silent movie look, export your composition by clicking on File > Export > Add to Render Queue. By following these steps, you should be able to give your footage a convincing vintage silent movie look in… read more

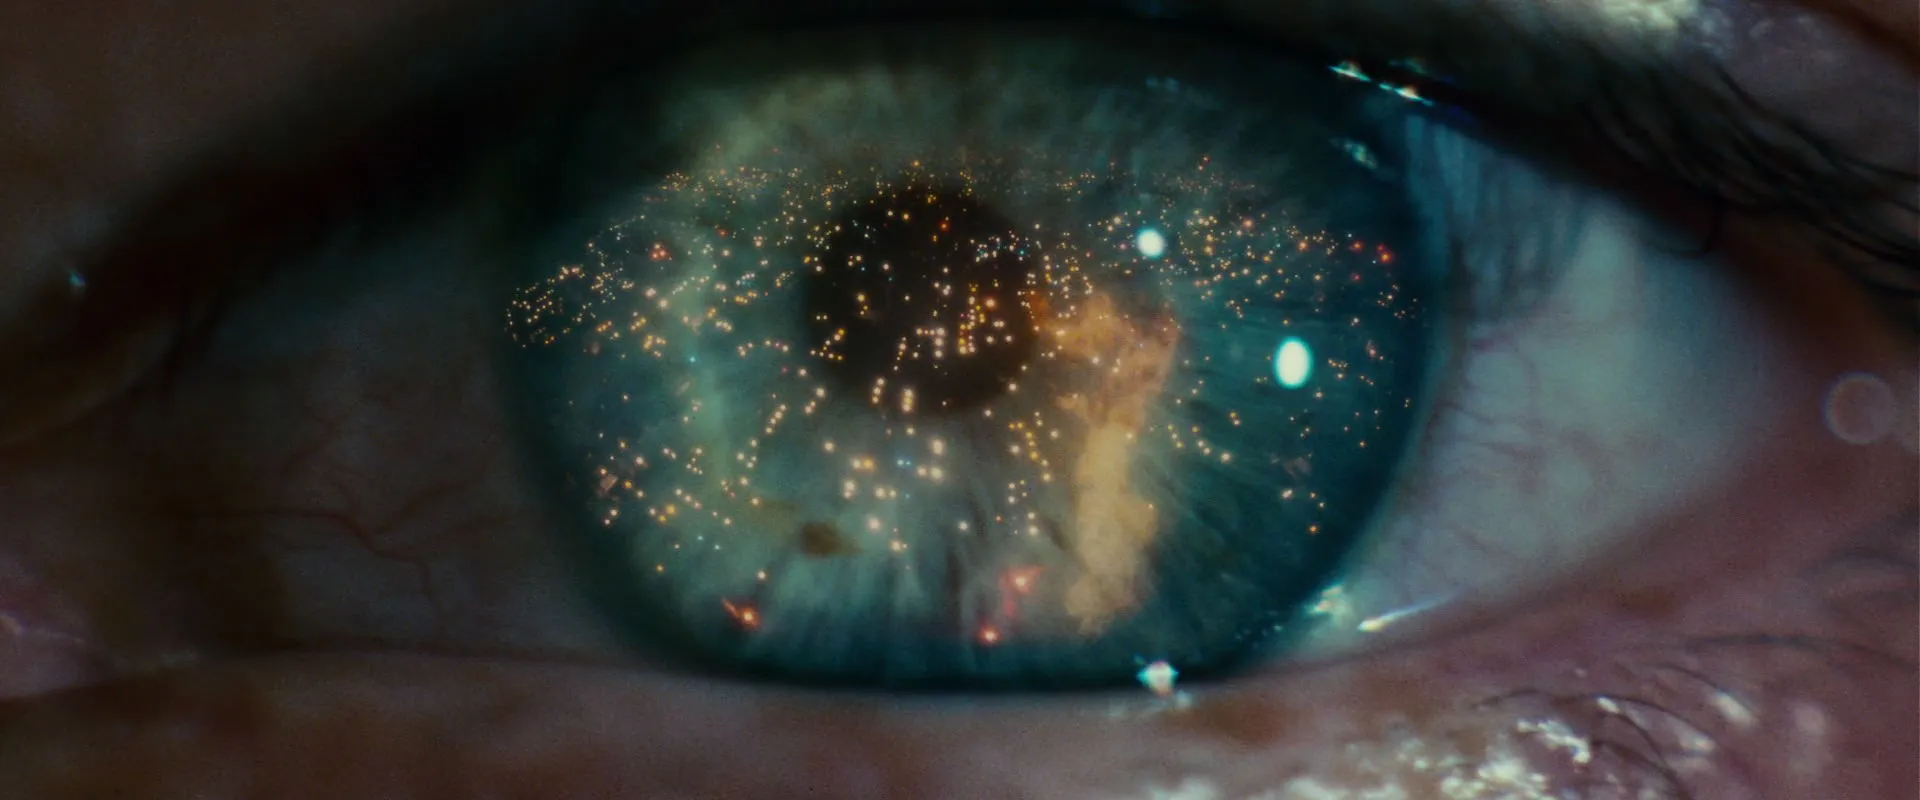
What is double exposure? Double exposure is a photographic technique that involves exposing a single frame of film or digital sensor to multiple images. Traditionally achieved by taking two separate photographs on the same frame, this technique results in a merged image where the elements from both exposures coexist in a single frame. This effect can be achieved easily through post-processing software, allowing photographers greater control and flexibility in creating surreal and dreamlike images. What’s the double-exposure effect used for? The double exposure style is versatile and can be employed for various artistic and expressive purposes. Here are some of its notable applications: Artistic Expression: Double exposure allows artists and photographers to create visually striking and surreal images that go beyond the boundaries of traditional photography. It provides a unique way to blend two separate visual elements into a single frame, resulting in a composition that is often dreamlike, abstract,… read more

If you want to add digital glitch effects to your text or logo then After Effects is the perfect place to do it. As a video manipulation program, creating digital distortions comes easy, and there are plenty of different techniques to choose from – all using After Effects’ built-in effects. Quick Links: Tutorial Text | Instant Glitch Overlays | More Glitch Tutorials In this video tutorial Avnish Parker shows how to add the glitch effect using a displacement map. Full, step-by-step text instructions can also be found below the video. Step 1: Setting Up the Composition Step 2: Create the Background Step 3: Logo Animation Step 4: Creating a Glitch Effect Step 5: Adding Displacement Step 6: Create Multiple Glitches Step 7: Add an Old TV Effect Step 8: Create RGB Split Effect (Optional) Step 9: Add Secondary Text Step 10: Create a Vignette Your glitch logo animation is complete!… read more
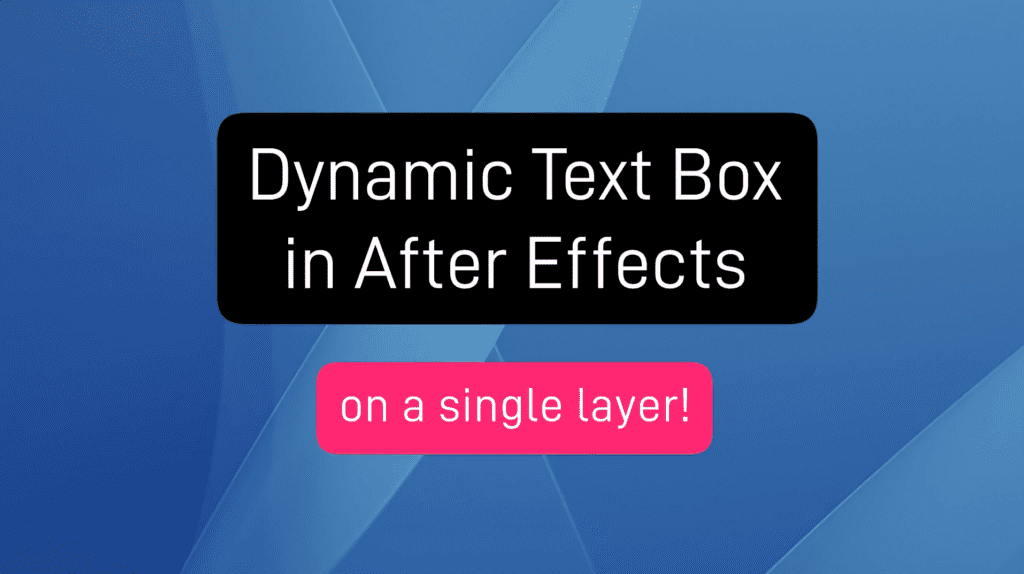
In this After Effects tutorial, we create a responsive box behind text using just the text layer itself. No shape layers are needed. Perfect for quick and easy social media caption overlays. Step 1: Add a Fill effect Add a Generate > Fill effect and choose your box color. Step 2: Add a Shift Channels effect Add a Channel > Shift Channels effect. Change ‘Take Alpha From’ to ‘Full On’. Step 3: Add a CC RepeTile effect Add a Stylize > CC RepeTile effect. Change all values to 40. This is the padding of your box so feel free to increase these values. Step 4: Add a CC Composite effect Add a Channel > CC Composite effect. This will make your original text visible again. Step 5: Add 2 Simple Choker effects For rounded corners add two Matte > Simple Choker effects. Use values of 15, and negative 15. These… read more
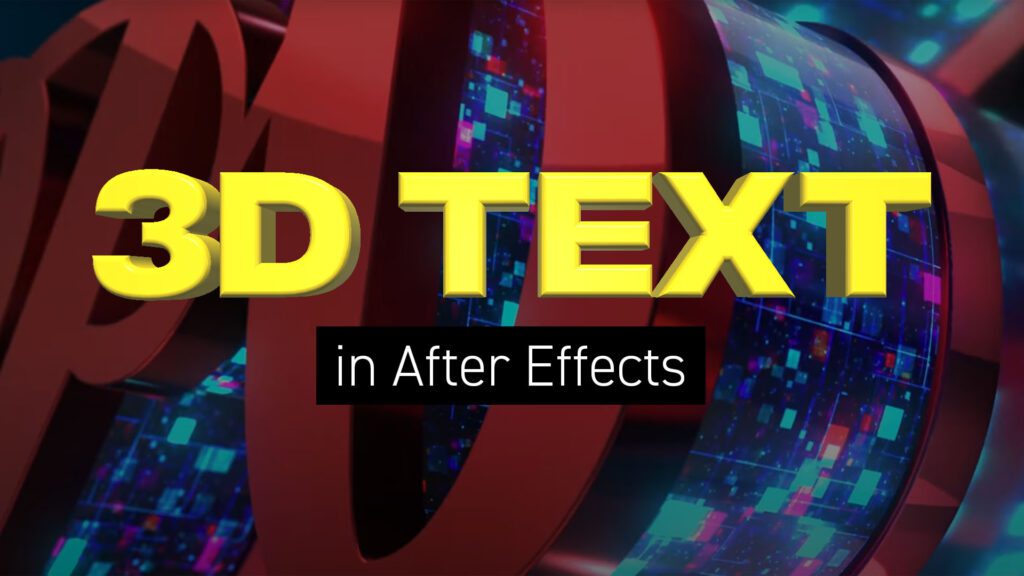
Creating 3D Text in After Effects – No Plugins In this article we’ll look at creating 3D text inside After Effects using a variety of techniques and approaches. Text Guide | Video Tutorials | Editable Templates Creating extruded 3D text in After Effects involves using its built-in 3D capabilities and may require some knowledge of the software. Here’s a step-by-step guide to help you achieve this without the need for any third-party plugins. Step 1: Create a New Composition Open Adobe After Effects on your computer and create a new composition by clicking on Composition > New Composition. Under Basic, set your preferred composition settings, including resolution, duration, and frame rate. Before you close this dialogue box, under 3D Renderer, choose Cinema 4D. This will enable 3D extrusions and environments. Step 2: Create a 3D Text Layer Click on the “T” icon in the toolbar to create a text layer…. read more

Replacing a sky in After Effects is a powerful and creative technique that can completely transform the mood and atmosphere of your videos. Whether you want to replace a dull sky with a beautiful sunset or create a fantasy world in your footage, here’s a step-by-step guide on how to do it: Step 1: Prepare Your Footage Before you start, make sure you have your footage and the replacement sky ready. Your replacement sky should ideally have a similar lighting and perspective to the original sky for a more realistic result. If you’re shooting your own sky footage, ensure the lighting and angles match. Step 2: Import Your Footage Step 3: Create a Composition Step 4: Add the Replacement Sky Step 5: Arrange Layers Step 6: Rotoscoping (if necessary) If your original footage includes subjects like people or objects that overlap with the sky, you may need to use the… read more

What are Motion Graphics Templates (MOGRTs)? Motion Graphics Templates, or MOGRTs, are installable project files that enable quick and easy, yet professional video and text effects. You can use MOGRTs to create instant video titles, lower thirds, transitions, and overlay VFX effects. What’s more, the beauty of Motion Graphics Templates is that you can create multiple style variations from a single file. With one MOGRT file users can create countless animated video clips – changing text, colors and style for each. What Software is Needed to Use MOGRT Files? MOGRT files are native to Adobe Premiere Pro, so a Creative Cloud subscription is required to use them. Premiere Pro is industry-leading video editing software for film, broadcast and web – for beginners and professionals alike. You can read more about the editing power of Premiere Pro here. For a free trial of Premiere Pro use the link below. How to… read more

Want to make confetti cannon video effects? Wondering how to add confetti explosion overlays onto video? Well, if you have Adobe After Effects look no further! We’ve got three simple video tutorials which will have you emitting colorful particles in minutes. These short video guides explain how to create amazing confetti particles using both the built-in CC Particle World effect, and the additional (but highly recommended) Trapcode Particular plugin from Maxon. So, if you need to add a celebration effect to your event promotion, product launch or milestone achievement video, fire up After Effects and follow these handy tips. How to make a confetti cannon – no plugins In this short video tutorial Joe, from Goatman Arts, explains how to create a confetti cannon in After Effects using the built-in CC Particle World effect. Joe adjusts the Particle World physics and emitter settings to produce a confetti explosion with falling… read more

- Why Your Brand Needs Adobe Express
- What is Adobe Express and Why It’s the Secret Weapon for Creators
- The Best Free AI Video Generators for TikTok, Reels & YouTube
- Best AI Video Tools for Business in 2025: Voice, Avatar & Automation Included
- Ranking Every Star Wars Movie (from Worst to Best – 2025)
Sponsored Resources

-
 Slot Machine Logo Reveal – Free After Effects Template
 - 100 Free Health & Beauty Stock Images Pack
- Holiday Season Content Pack for Premiere Pro

