Creating cool animations in After Effects is often really quite straightforward, but to make things even easier you’ll want to be using these handy tips and expressions. We’ve spent years creating motion graphics and animated sequences, so we thought we’d share our go-to, time-saving pointers – the shortcuts we use all the time! Included in this list : → Handy Tips for After Effects – general hints, tips and pointers for making life easier!→ Useful After Effects Expressions – exciting code snippets to automate and elevate your animations!→ Essential AE Keyboard Shortcuts – memorize these simple keystrokes to speed up your workflow! Download this After Effects tips and expressions list as a PDF : Try After Effects for Free Use the link below to access a trial version of Adobe’s incredible motion graphics software. Handy Tips for After Effects Let’s start with some general After Effects hints and tips, from… read more
Tutorial
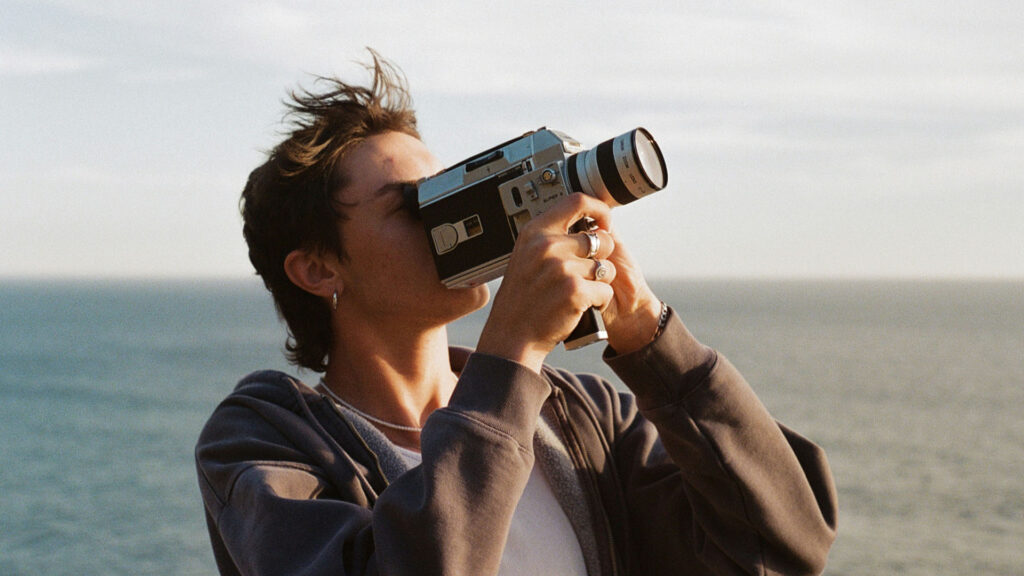
Turn your footage into 8mm film! In the realm of visual storytelling, the allure of vintage film formats endures, with 8 mm and Super 8 standing as iconic representatives of a bygone era. These compact films, once threaded through mechanical reels, capture moments with an intimate graininess that speaks to the artistry of analog recording. In this article, we look to achieve a vintage Super 8 film look using Adobe After Effects and find some handy free film overlays. But first, let’s quickly recap on the 8 mm film types. 8 mm Film: Overview: 8 mm film is a motion picture film format that is 8 millimeters wide. It was introduced by Eastman Kodak in 1932 as a more affordable and accessible alternative to expensive 16 mm and 35 mm film. Common Use: 8 mm film was popular for home movies and amateur filmmaking due to its compact size and… read more
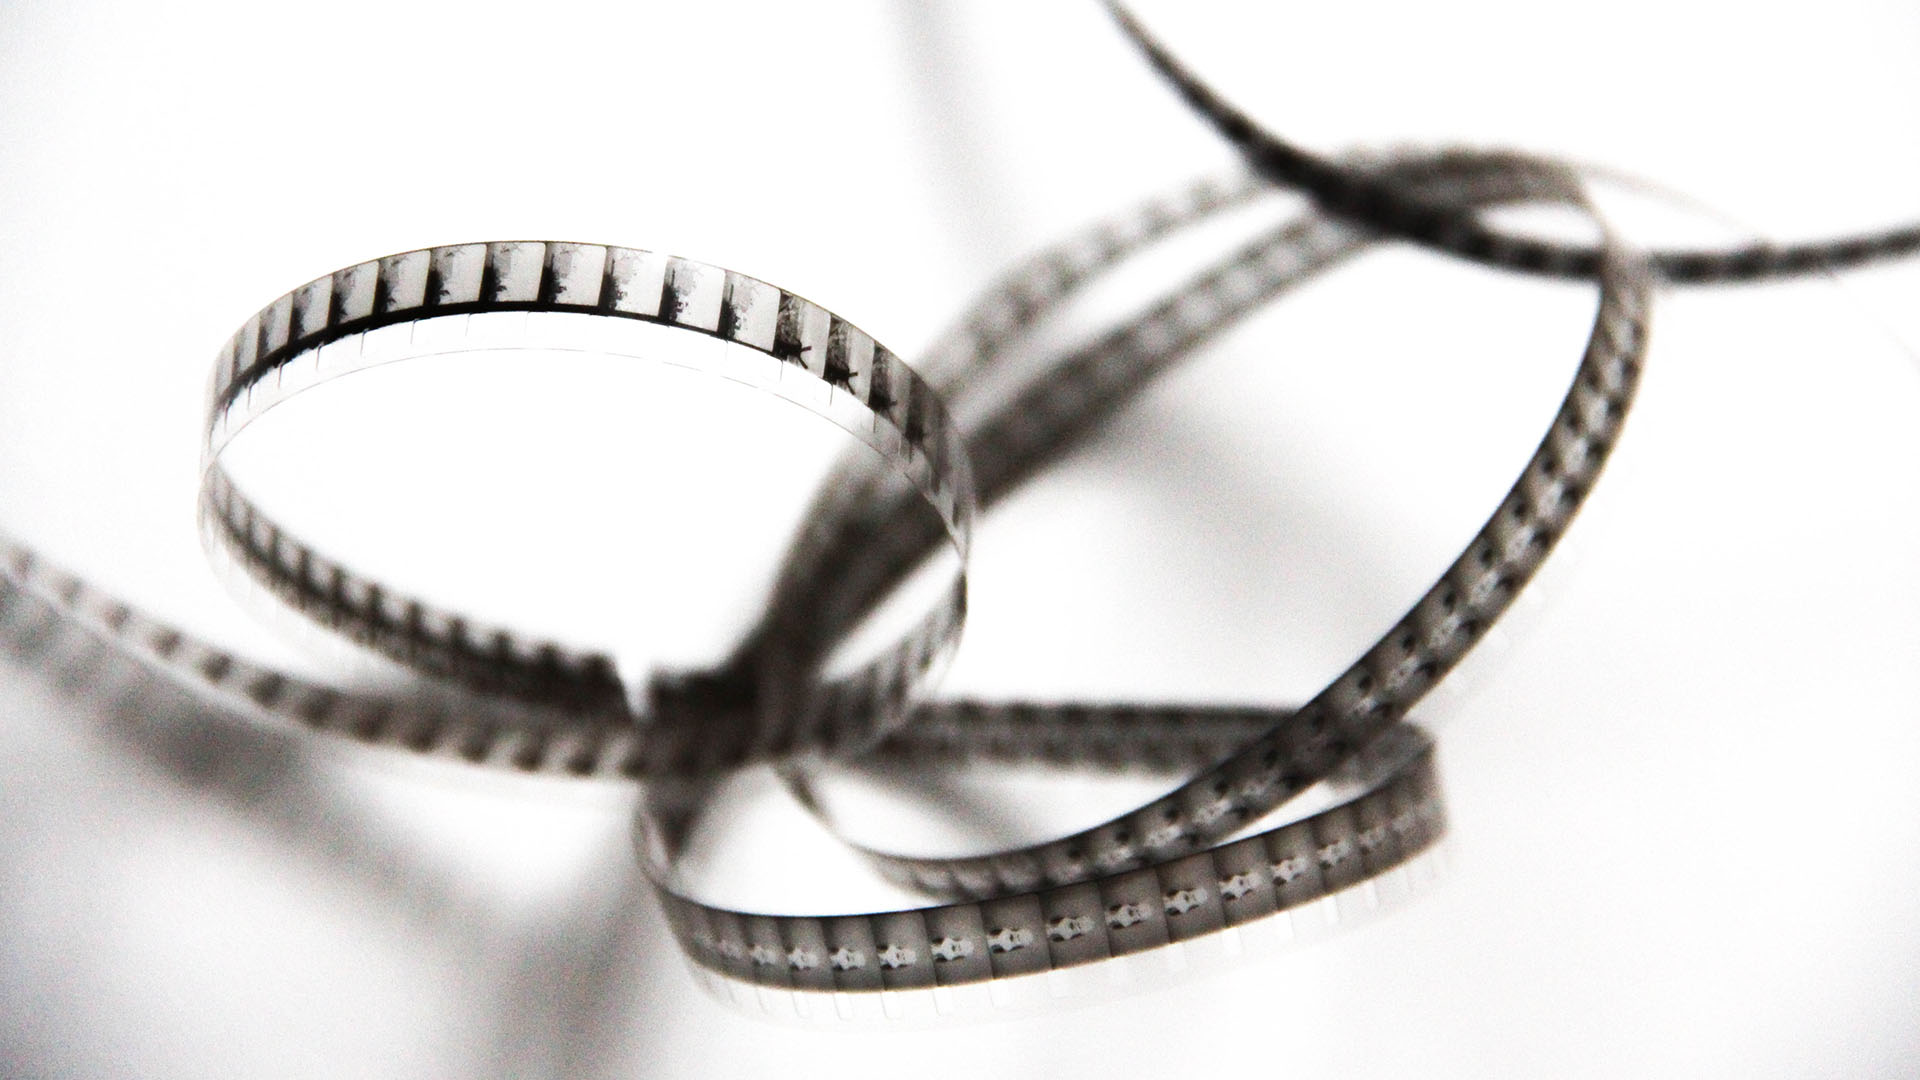
Turn your footage into a silent movie! Creating a vintage silent movie look in After Effects involves emulating the characteristics of early film, such as black and white imagery, vignetting and film grain. Here’s a step-by-step guide to achieve this effect: Step 1: Import Footage Step 2: Convert to Black and White Step 3: Adjust Contrast and Brightness Step 4: Add Film Grain Step 5: Apply Vignette Step 6: Simulate Dust Marks Step 7: Simulate Scratches Step 8: Lower Frame Rate Step 9: Add a Film Frame Overlay (Optional) You can add a rounded overlay box, in an aspect ratio similar to vintage film, as follows: Step 10: Export Once satisfied with the vintage silent movie look, export your composition by clicking on File > Export > Add to Render Queue. By following these steps, you should be able to give your footage a convincing vintage silent movie look in… read more

What is double exposure? Double exposure is a photographic technique that involves exposing a single frame of film or digital sensor to multiple images. Traditionally achieved by taking two separate photographs on the same frame, this technique results in a merged image where the elements from both exposures coexist in a single frame. This effect can be achieved easily through post-processing software, allowing photographers greater control and flexibility in creating surreal and dreamlike images. What’s the double-exposure effect used for? The double exposure style is versatile and can be employed for various artistic and expressive purposes. Here are some of its notable applications: Artistic Expression: Double exposure allows artists and photographers to create visually striking and surreal images that go beyond the boundaries of traditional photography. It provides a unique way to blend two separate visual elements into a single frame, resulting in a composition that is often dreamlike, abstract,… read more
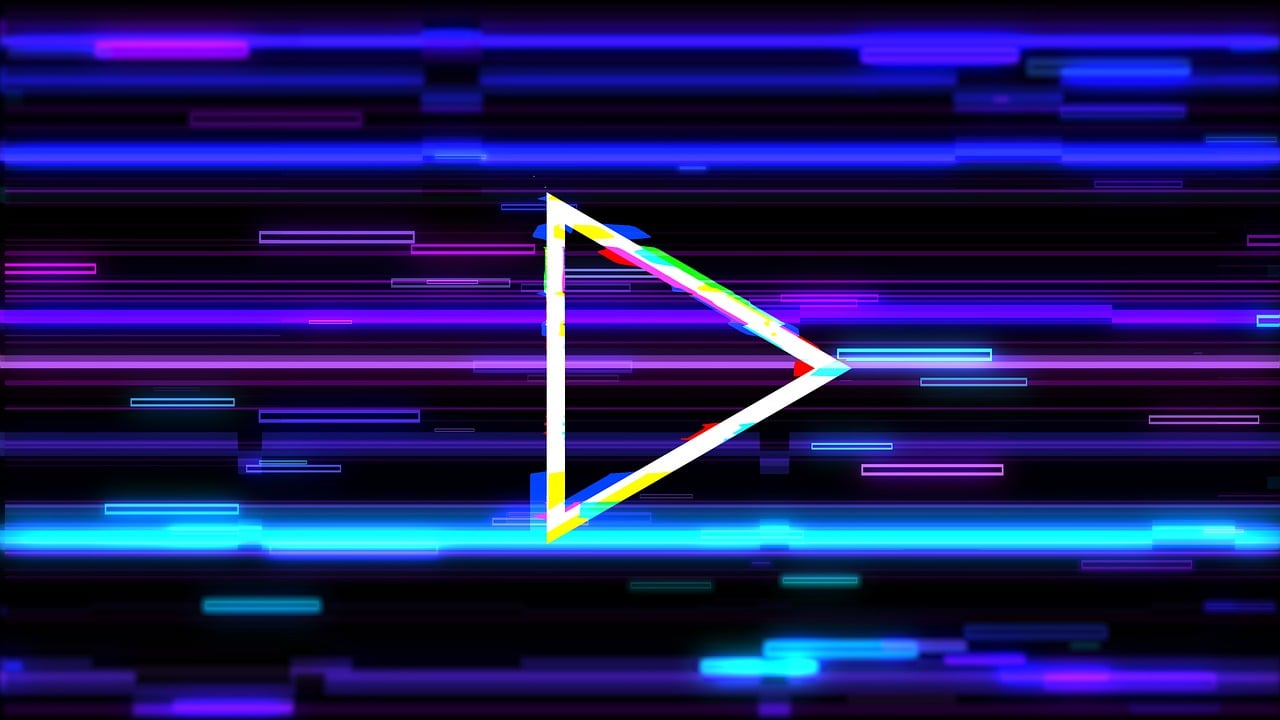
If you want to add digital glitch effects to your text or logo then After Effects is the perfect place to do it. As a video manipulation program, creating digital distortions comes easy, and there are plenty of different techniques to choose from – all using After Effects’ built-in effects. Quick Links: Tutorial Text | Instant Glitch Overlays | More Glitch Tutorials In this video tutorial Avnish Parker shows how to add the glitch effect using a displacement map. Full, step-by-step text instructions can also be found below the video. Step 1: Setting Up the Composition Step 2: Create the Background Step 3: Logo Animation Step 4: Creating a Glitch Effect Step 5: Adding Displacement Step 6: Create Multiple Glitches Step 7: Add an Old TV Effect Step 8: Create RGB Split Effect (Optional) Step 9: Add Secondary Text Step 10: Create a Vignette Your glitch logo animation is complete!… read more

In this After Effects tutorial, we create a responsive box behind text using just the text layer itself. No shape layers are needed. Perfect for quick and easy social media caption overlays. Step 1: Add a Fill effect Add a Generate > Fill effect and choose your box color. Step 2: Add a Shift Channels effect Add a Channel > Shift Channels effect. Change ‘Take Alpha From’ to ‘Full On’. Step 3: Add a CC RepeTile effect Add a Stylize > CC RepeTile effect. Change all values to 40. This is the padding of your box so feel free to increase these values. Step 4: Add a CC Composite effect Add a Channel > CC Composite effect. This will make your original text visible again. Step 5: Add 2 Simple Choker effects For rounded corners add two Matte > Simple Choker effects. Use values of 15, and negative 15. These… read more

- Why Your Brand Needs Adobe Express
- What is Adobe Express and Why It’s the Secret Weapon for Creators
- The Best Free AI Video Generators for TikTok, Reels & YouTube
- Best AI Video Tools for Business in 2025: Voice, Avatar & Automation Included
- Ranking Every Star Wars Movie (from Worst to Best – 2025)

-
 Old Vintage Tintype Media Filter – Premiere Pro Template
 - Editable Breaking Global News Title – Premiere Pro Template
- Glowing Energy Beam Effect Overlay – Premiere Pro Template


