
The Complete Guide to Video Overlays (Effects, Types, Techniques & Software)
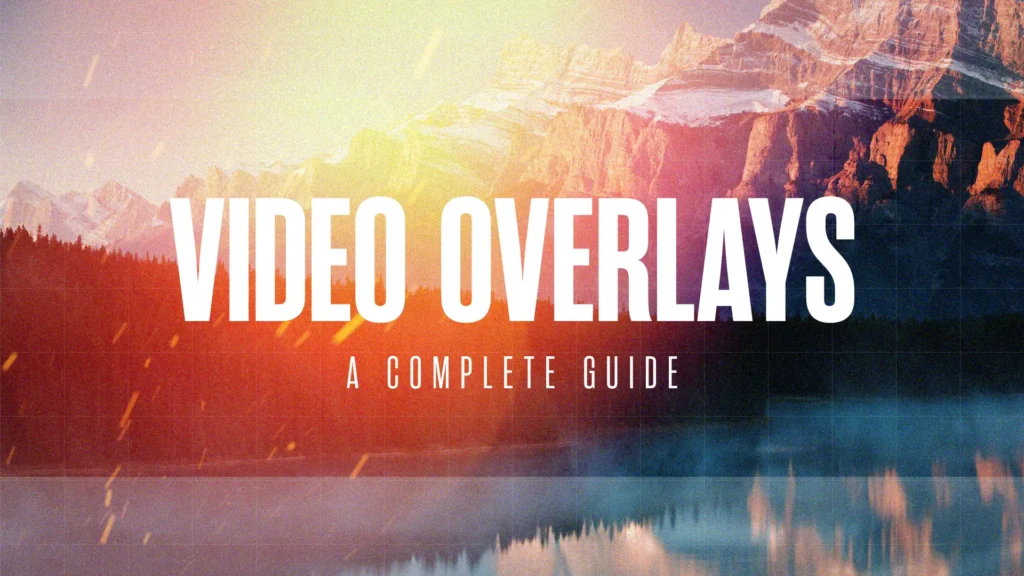
A comprehensive resource for filmmakers, video editors, and content creators
Video overlays are one of the simplest and most powerful ways to elevate your footage. Whether you’re creating cinematic b-roll, dramatic title sequences, moody atmosphere, or stylized transitions, overlays allow you to add texture, depth, and emotional impact without complex VFX work.
This guide covers everything you need to know—from what overlays actually are, to how blend modes work, to the most popular types of overlays, and how to use them in every major editing app.
Let’s dive in.
1. What Are Video Overlays?
A video overlay is any visual element placed on top of your main footage. They’re usually:
- transparent (created with alpha channels or keyed green screen), or
- black-background footage designed to be blended using blend modes like Screen, Add, or Overlay.
You’ve almost certainly seen overlays in:
- cinematic YouTube videos
- wedding films
- travel vlogs
- music videos
- short films and commercial edits

Common examples include:
- light leaks
- film grain
- dust and particles
- rain and snow
- bokeh
- scratches
- glitch textures
- lens flares
- smoke and fog
Overlays help editors create the feel of an image—not just the look. Soft light leaks can add warmth or nostalgia; film grain and scratches introduce a tactile, analog vibe; particles, rain, and snow add motion and atmosphere; and flares, bokeh, glitch textures, and drifting fog can push a scene toward dreamy, gritty, or stylized moods.
These elements work together to guide how a viewer emotionally experiences the shot.

2. Why Use Video Overlays?
Editors use video overlays because they deliver results that would normally require far more time, tools, and technical skill. Instead of relying on plugins, motion graphics packs, or manual VFX, overlays let you drag ready-made textures, lights, and atmospherics straight onto your timeline.
Fast
You simply drag them onto your timeline—no compositing, no plugins.
Flexible
One overlay can be reused and recolored dozens of ways.
Cinematic
They instantly add atmosphere, texture, and character.
Cross-platform
They work in all major editing software.
Efficient
They save hours of complex VFX work.
Whether you want subtle realism or bold stylization, overlays give you the power to transform footage in seconds.
3. The Main Types of Video Overlays
Below are the overlays most commonly searched for and used by editors today.
3.1 Film Grain Overlays
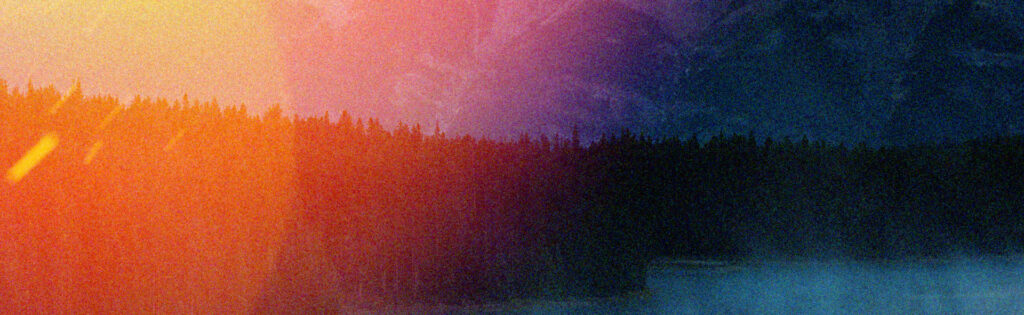
Film grain adds an organic texture that makes digital footage feel more cinematic and less “clinical.”
Use this for:
- narrative films
- moody edits
- retro looks
- grounding VFX shots
Grain ranges from 8mm to 35mm styles.
To achieve an aged, analog look, editors often incorporate scratched film frame overlays for authentic texture.
3.2 Light Leak Overlays
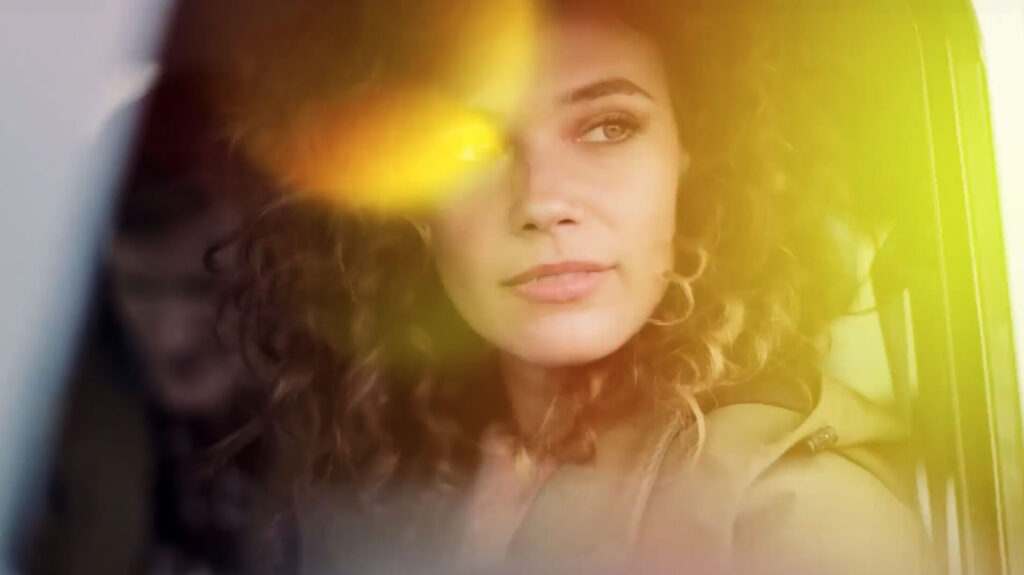
These mimic light hitting the lens. Perfect for:
- wedding videos
- travel vlogs
- emotional sequences
- stylized transitions
Warm, dreamy, nostalgic and highly flexible.
You can experiment with different styles by trying these example light leak and bokeh overlays to see how they blend into your footage.
3.3 Dust & Particle Overlays

These add realism and atmosphere:
- floating dust in a sunlit room
- airborne particles
- atmospheric haze
- environmental texture
Great for footage that feels “too clean.”
For subtle atmospheric movement, try layering a cinematic dust overlay example to add depth and realism.
3.4 Rain, Snow & Weather Overlays
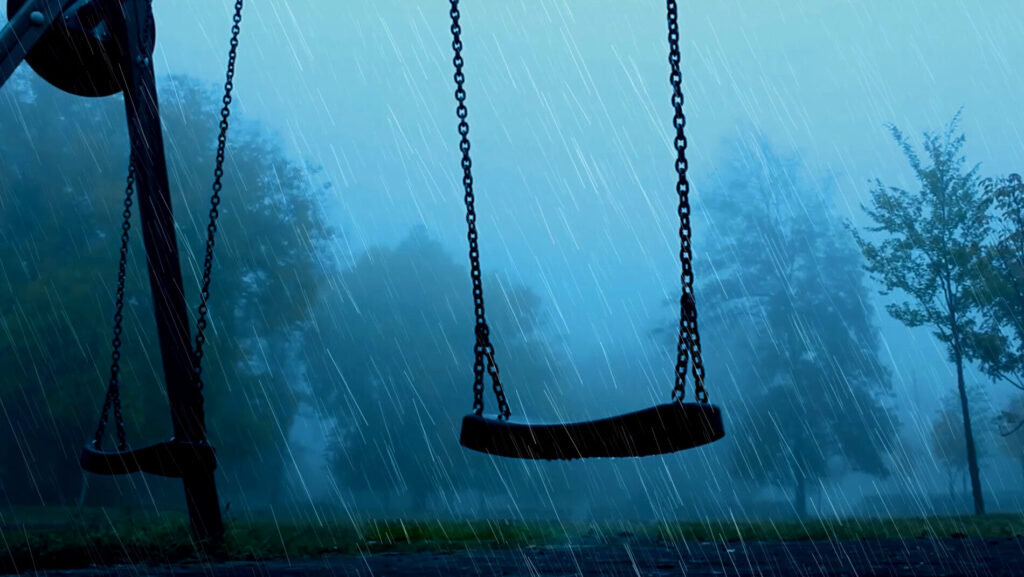
Used heavily in cinematic storytelling and music videos.
- rain (light, heavy, stormy)
- falling snow
- fog, smoke, mist
Weather overlays dramatically change mood.
You can experiment with different atmospheric looks using fog, snow, or rain overlays to add mood and realism to a scene.
3.5 Glitch Overlays
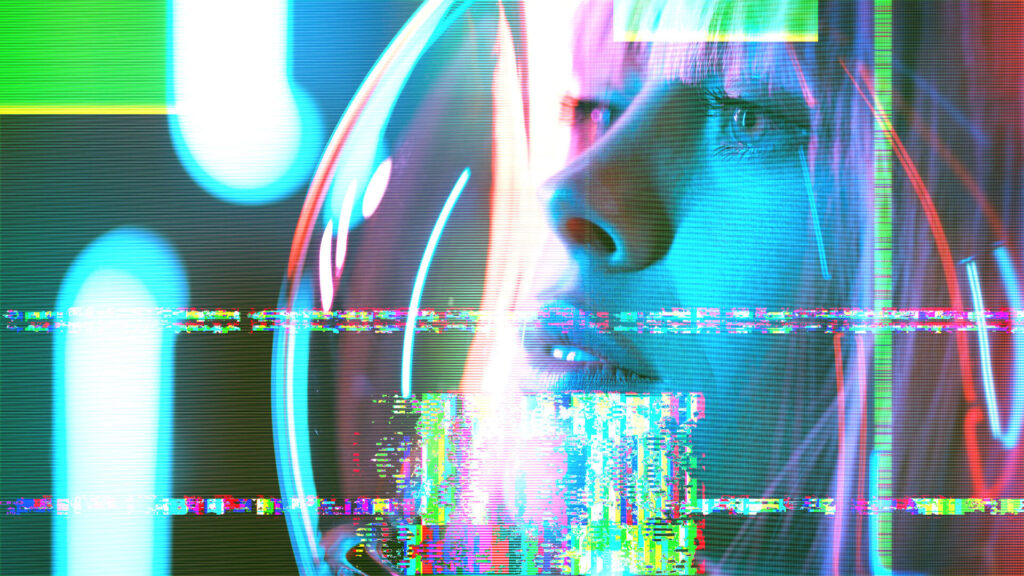
Perfect for:
- tech edits
- sci-fi videos
- music visuals
- transitions
- digital chaos effects
Includes distortion, RGB split, scanlines, digital noise, and datamosh-style textures.
For techy or chaotic aesthetics, you might test a digital glitch overlay example to introduce distortion or momentary signal breaks.
3.6 Bokeh & Lens Flare Overlays

For dreamy, elegant, atmospheric looks.
Common in:
- wedding films
- product videos
- fashion content
- lifestyle vlogs
These add visual polish without looking artificial.
Soft depth-of-field effects can be achieved with a subtle bokeh lights overlay that enhances highlights and ambience.
3.7 Fire, Smoke & Energy Overlays
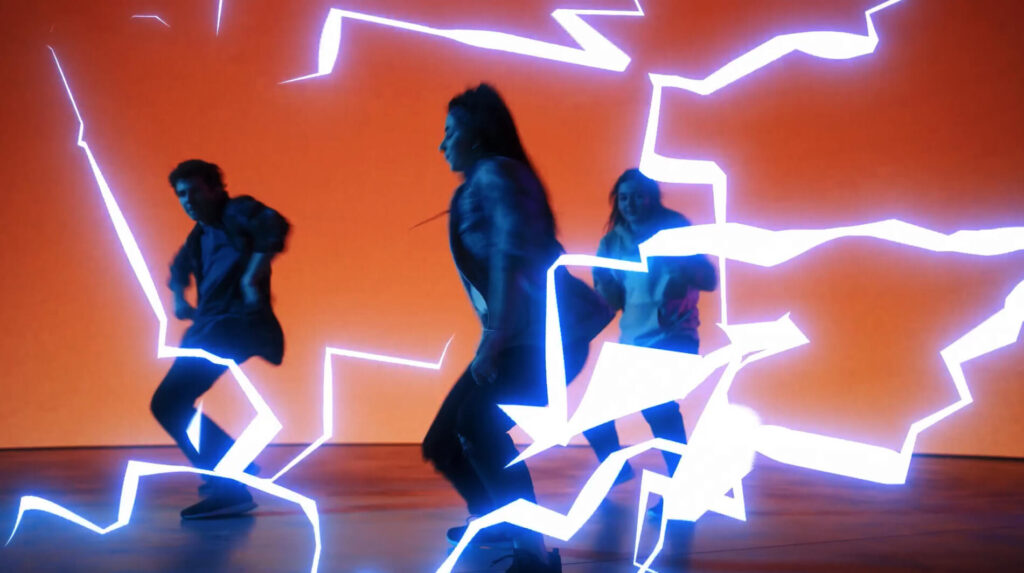
Often used in VFX or music videos:
- fire bursts
- energy waves
- smoke plumes
- atmosphere plates
These usually require blend modes but sometimes include alpha channels.
To build warmth or intensity, editors often drop in fire ember overlays as a foreground texture.
4. How Video Overlay Blend Modes Work
Blend modes control how the pixels in your overlay (the blend layer) interact with the pixels in your footage (the base layer).
Each mode uses a different mathematical operation to combine the color values of both layers, which is why some modes lighten an image, some darken it, and others add contrast or texture.
Below are the most useful modes for video overlays and what’s actually happening under the hood.
4.1 Screen (Most Common)

What it does:
Screen creates a lighter composite by multiplying the inverse of both layers. In plain English: dark areas disappear, bright areas remain. Black becomes transparent.
Great for:
- dust
- grain
- light leaks
- smoke
- particle effects
Use Screen Mode When:
- Your overlay has a black background
- You want to add light, glow, or airy textures without darkening the shot
4.2 Add / Linear Dodge

What it does:
Add (or Linear Dodge) also brightens the image, but it does so by literally adding pixel values together. This makes it even more intense than Screen—highlights get hotter and glow more strongly.
Best for:
- bright flares
- energetic sci-fi effects
- punchy light leaks
- anything meant to emit strong light
Use Add When:
- You want a more vivid, high-energy version of Screen
- Your overlay should feel like a real light source
4.3 Overlay / Soft Light

What they do:
Both Overlay and Soft Light are adaptive blend modes—they use a mix of lightening and darkening depending on pixel values.
- Overlay blends with a combination of Multiply (for dark areas) and Screen (for light areas), adding punch and contrast.
- Soft Light works similarly but with gentler math (Darken/Lighten), producing a lower-contrast, more natural, “filmic” look.
Use for:
- subtle film grain
- organic textures
- gentle lighting accents
- double-exposure-style effects
Use Overlay When:
- You want bolder contrast or a more dramatic visual impact
Use Soft Light When:
- You want something softer and more natural
4.4 Multiply
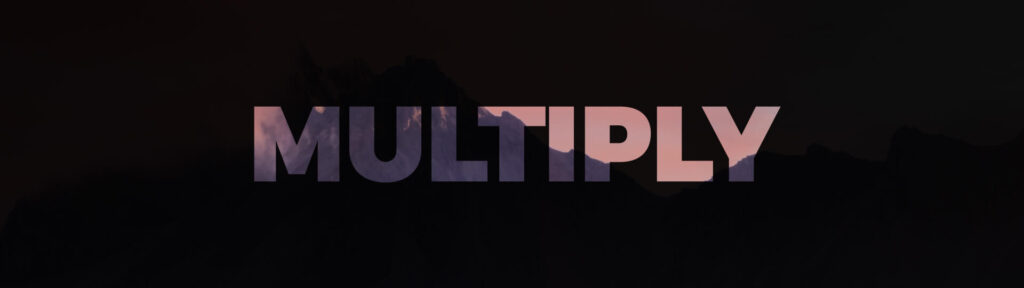
What it does:
Multiply darkens the image by multiplying the color values of both layers. Think of each pixel value as a fraction: multiplying two fractions always gives a smaller number—hence the darker result. White becomes invisible.
Great for:
- grunge textures
- dirt and scratches
- ink stains
- paper textures
- vignettes or shadow composites
Use Multiply When:
- You want to remove white backgrounds
- You need to add grit, shadow, or texture without brightening the image
5. How to Use Video Overlays in Popular Editing Software
Below is a quick overview for each major app.
5.1 Premiere Pro
- Import your overlay
- Place it above your footage
- Change blend mode (Screen, Add, Overlay)
- Adjust opacity
- Recolor using Lumetri if needed
- Speed up / slow down to taste
Premiere handles overlays extremely well.

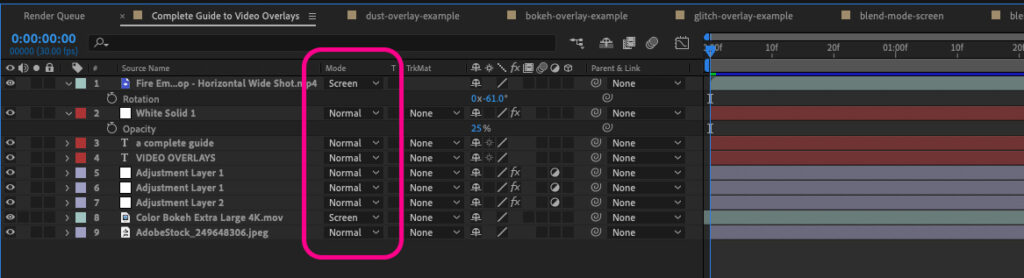
5.2 After Effects
- Import your overlay
- Place it above your footage
- Change blend mode (Screen, Add, Overlay)
- Adjust opacity & color
- Use masking, roto, or motion tracking if needed
- Apply time remapping or plugins for stylization
After Effects is perfect for precise control and custom looks.
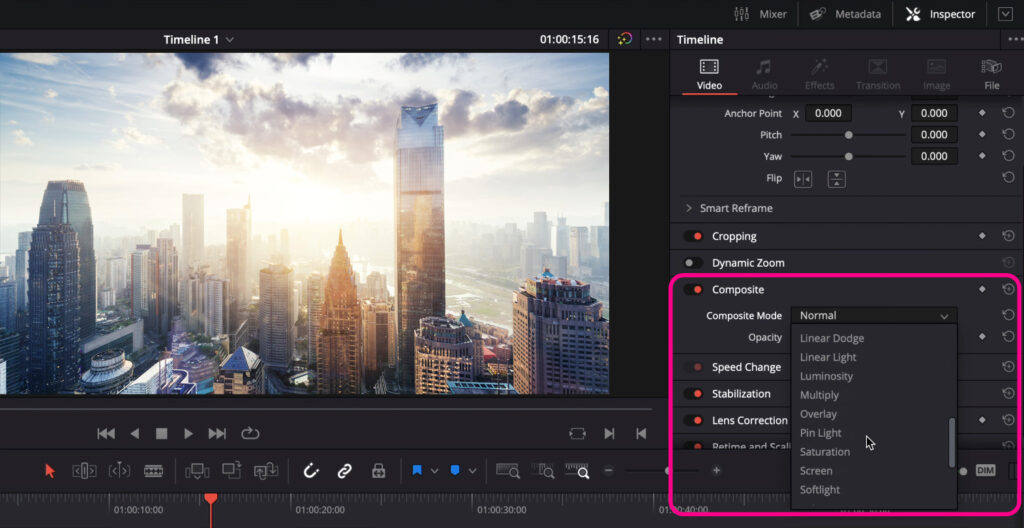
5.3 DaVinci Resolve
- Place overlay on top track
- Change Composite Mode in the Inspector
- Adjust opacity & color
- Refine with Color page tools
Resolve’s color tools make overlays incredibly flexible.
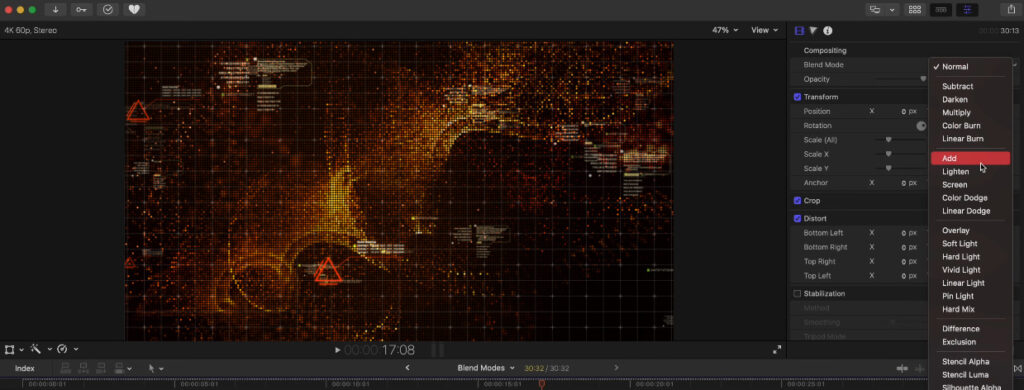
5.4 Final Cut Pro
- Drop overlay above your clip
- Change blend mode in Video Inspector
- Adjust color/opacity
- Use retiming for subtle effects
FCP is fast and great for editors who rely on speed.
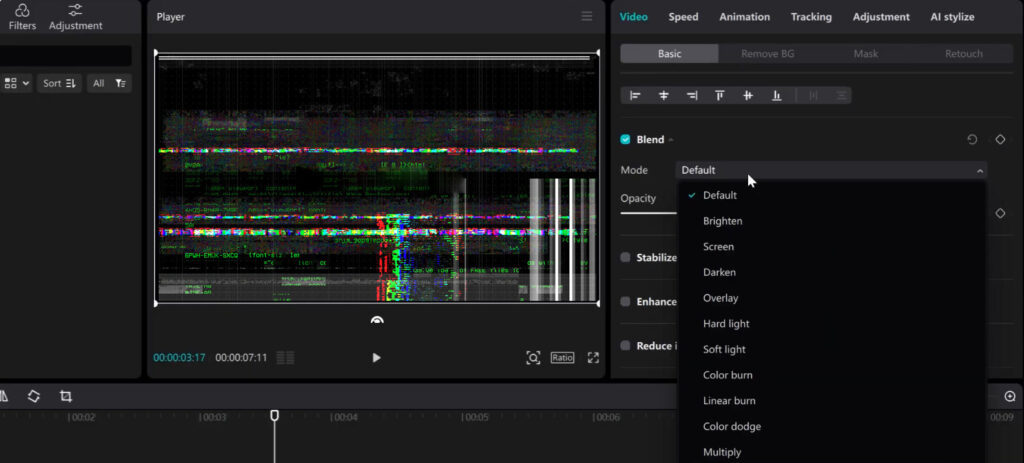
5.5 CapCut
- Import your overlay
- Place it above your clip on the timeline
- Tap on Blend to choose modes like Screen, Add, or Overlay
- Adjust opacity and color with the filters or color tools
- Use Mask or Keyframe for movement or custom effects
- Speed up or slow down overlay if desired
CapCut is easy and fast, great for quick edits on mobile with flexible overlay options.
6. Pro Tips for Using Overlays Like a Filmmaker
Here’s how to use overlays artistically, not just technically:
6.1 Match the overlay to the light in the scene
Light leaks should match:
- color temperature
- direction
- intensity
This avoids a “sticker-like” look.
6.2 Use overlays to enhance emotion
Examples:
- warmth → nostalgia
- grain → realism
- dust → atmosphere
- glitch → tension
- rain → melancholy
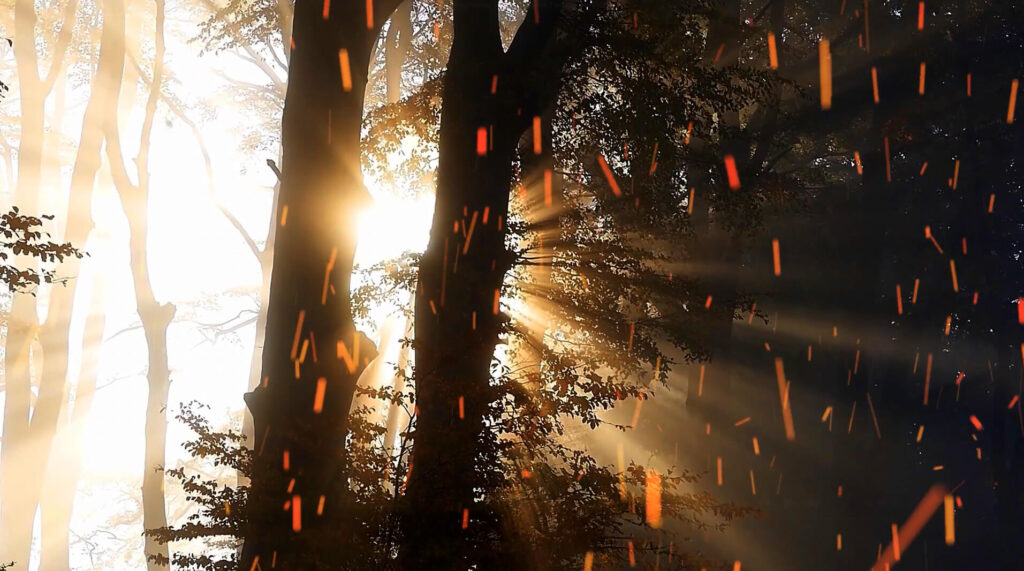
Overlays aren’t decoration — they’re storytelling tools.
6.3 Color grade AFTER overlays
This blends everything naturally.
6.4 Use overlays subtly
A little goes a long way.
Opacity between 20–60% is usually ideal.
6.5 Combine overlays
Many editors layer:
- grain + dust
- light leaks + bokeh
- particles + fog
The combinations can be stunning.
7. Where to Get High-Quality Video Overlays
Searches for overlays almost always fall into these categories:
- glitch overlays
- dust overlays
- particles overlays
- light leaks
- weather overlays
- film grain
- cinematic textures
If you’re looking for cinematic, professionally-crafted overlays designed for filmmakers and content creators, Enchanted Media offers collections including:
- atmospheric dust & particles
- cinematic light leaks
- film grain
- bokeh & lens textures
- glitch distortion overlays
- weather (rain, snow, fog)
Optimized for Premiere Pro, After Effects, Final Cut & Resolve.
8. Final Thoughts
Video overlays are one of the most versatile creative tools in video editing. They allow you to:
- add emotion
- create atmosphere
- stylize footage
- enhance realism
- save hours on VFX
Whether you’re a beginner or a professional editor, mastering overlays can dramatically improve the visual impact of your work.
If you want your footage to feel richer, deeper, more cinematic—and more you—overlays are an essential part of your toolkit.