How to Export a Video from PowerPoint: A Step-by-Step Guide
Microsoft PowerPoint isn’t just for static slide presentations anymore. With built-in tools that allow for animations, transitions, voice narration, and even screen recordings, PowerPoint can now double as a simple video creation tool. Whether you’re building a tutorial, pitch deck, or training module, exporting your PowerPoint presentation as a video is a great way to make your content more accessible and engaging.
In this blog post, we’ll walk you through how to export your PowerPoint presentation as a video, step by step.
If you’d rather see how this is done watch this tutorial video from Jamie at Teacher’s Tech, which includes a variety of tips and tricks.Why Export to Video?
Before diving into the “how,” let’s talk about the “why.” Here are a few reasons you might want to export your presentation as a video:
- Accessibility: Videos can be shared on platforms like YouTube, embedded on websites, or sent via email.
- Automation: Videos play automatically, making them ideal for unattended presentations or kiosks.
- Engagement: Voiceovers, animations, and transitions can make your message more dynamic.
Step-by-Step: Exporting Video from PowerPoint
Step 1: Finalize Your Presentation
Before exporting, make sure:
- All slides are in order
- Transitions and animations are properly timed
- Any embedded audio or video is working
- You’ve added narration if needed (see below)

Step 2: Add Narration or Timings (Optional)
You can record a voiceover or slide timings directly in PowerPoint.
- Go to Slide Show > Record Slide Show
- Choose to record from the current slide or from the beginning
- As you present, PowerPoint records your narration and timing
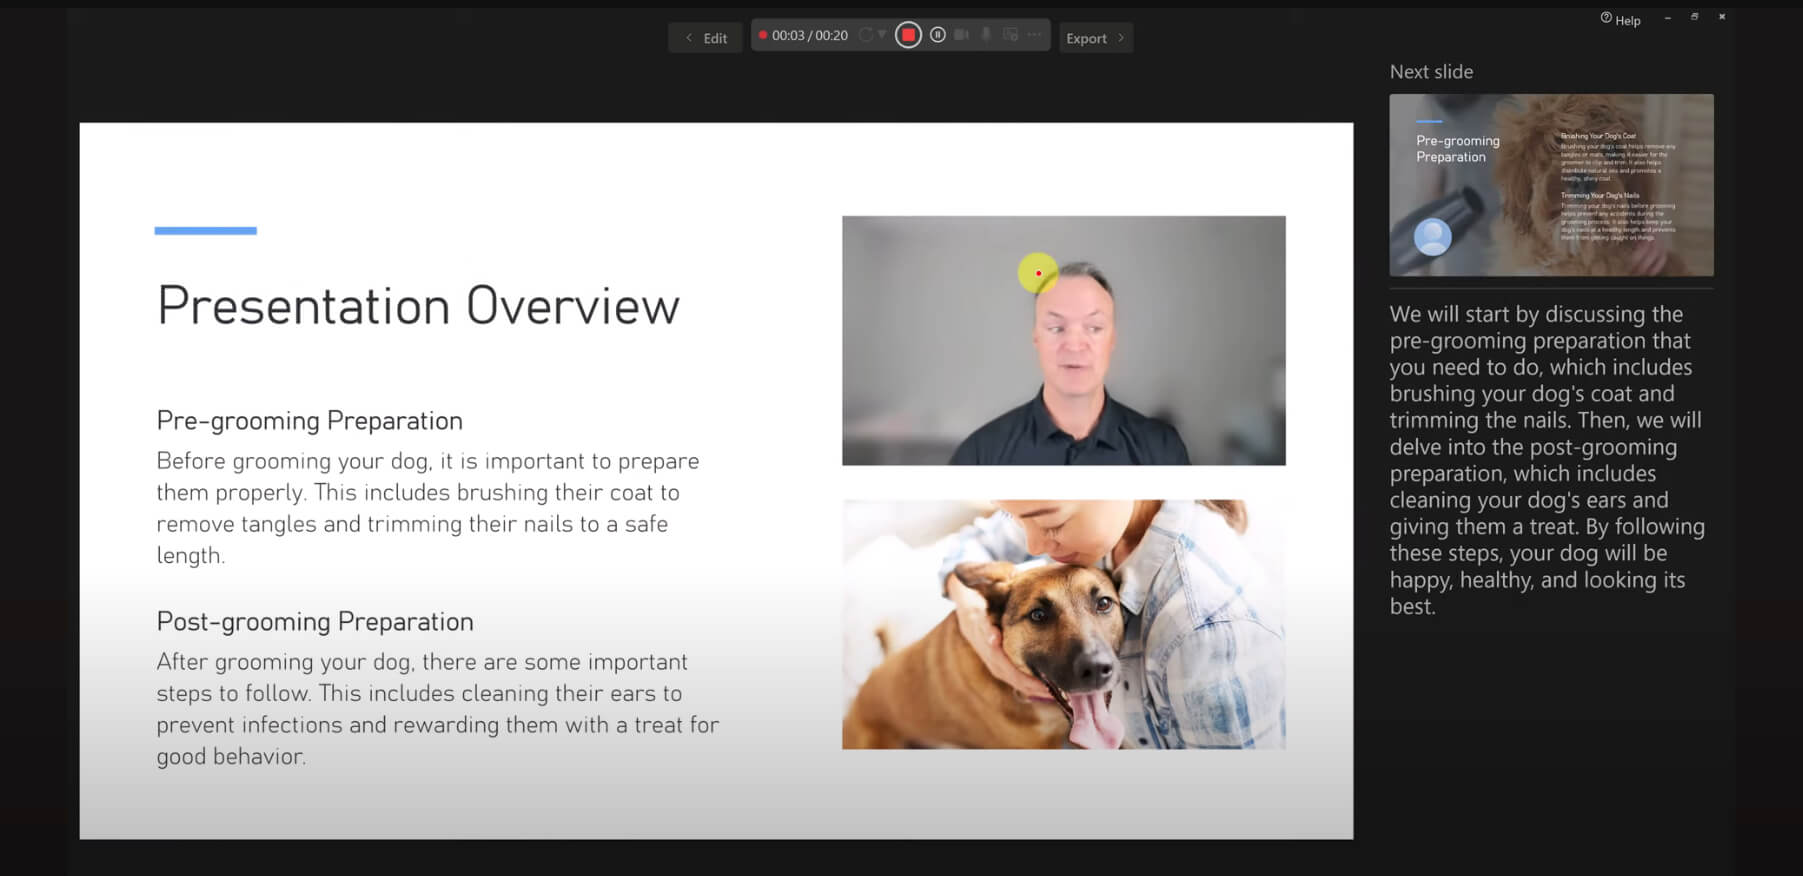
When you’re done, this information will be embedded in the file and used in the video export.
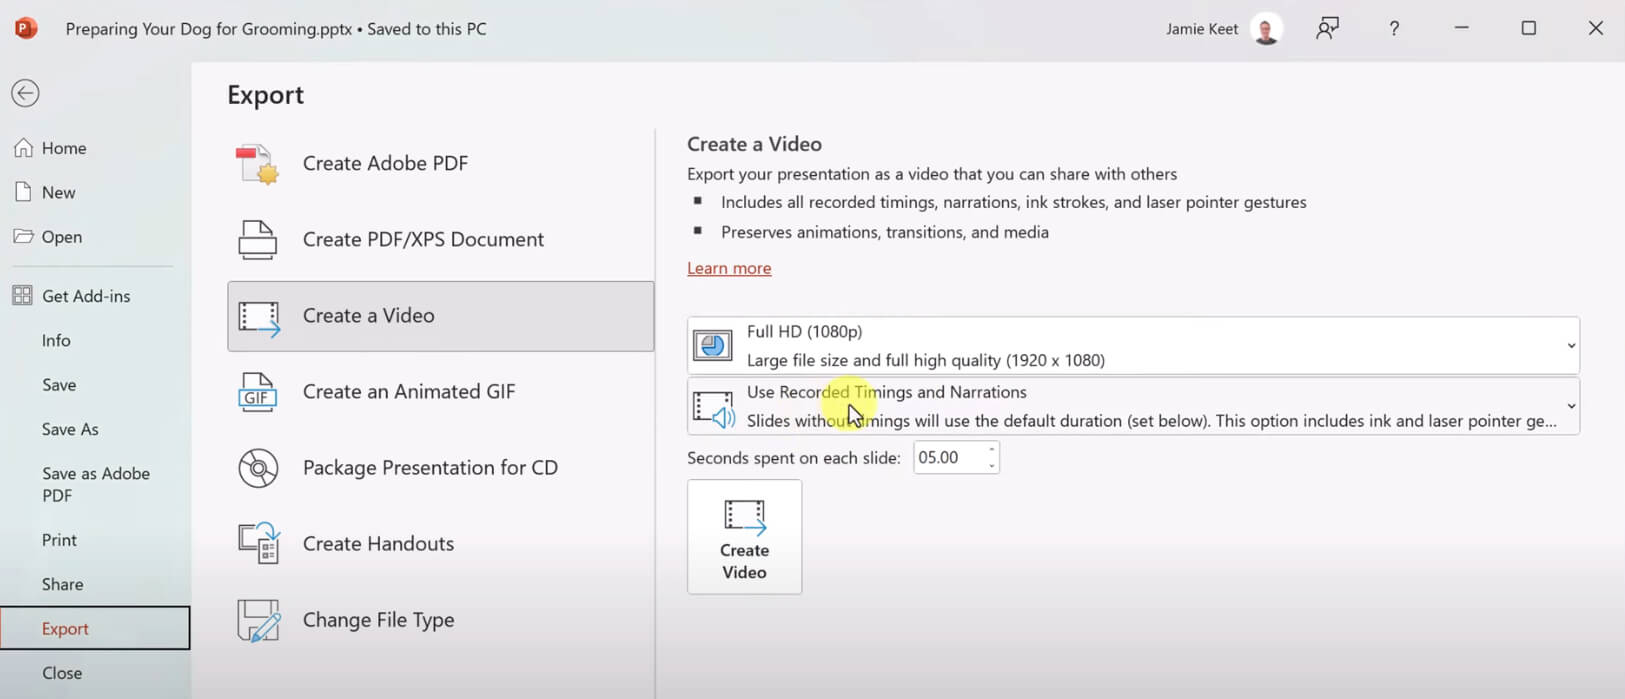
Step 3: Export as a Video
- Click on File > Export
- Select Create a Video
- Choose your video quality (e.g., Full HD, Ultra HD)
- Decide whether to use recorded timings and narrations
- Choose how long each slide should display if no timings are set (default is 5 seconds)
- Click Create Video
- Save the file as an MP4 or WMV
PowerPoint will begin rendering the video, and this might take a few minutes depending on the length and complexity of your presentation.
Tips for Better Video Presentations
- Keep it concise: Just because you can add a 10-minute narration doesn’t mean you should.
- Use consistent transitions: Jarring animations can distract from your message.
- Add subtitles or captions for accessibility.
- Preview your video before sharing to ensure everything plays correctly.
Common Questions
Q: Can I upload the video to YouTube or social media? Absolutely! PowerPoint exports to MP4, which is widely supported.
Q: What version of PowerPoint supports video export? Video export is available in PowerPoint 2010 and later for Windows, and PowerPoint 2016 and later for Mac.
Q: Can I edit the video after exporting? Not in PowerPoint, but you can import the file into a video editor like iMovie, Adobe Premiere, or Clipchamp.
Conclusion
Turning your PowerPoint into a video can breathe new life into your presentations, making them more dynamic and shareable. With just a few clicks, you can transform static slides into compelling visual content ready for any platform.
Try it out and see how easy it is to become your own video producer—right from PowerPoint!
Whether you’re a teacher creating online lessons, a marketer making product demos, or a professional sharing training materials, exporting to video from PowerPoint is a simple and powerful tool. With just a few extra steps, you can turn your presentation into content that lives beyond the boardroom.
Happy presenting—and happy exporting!