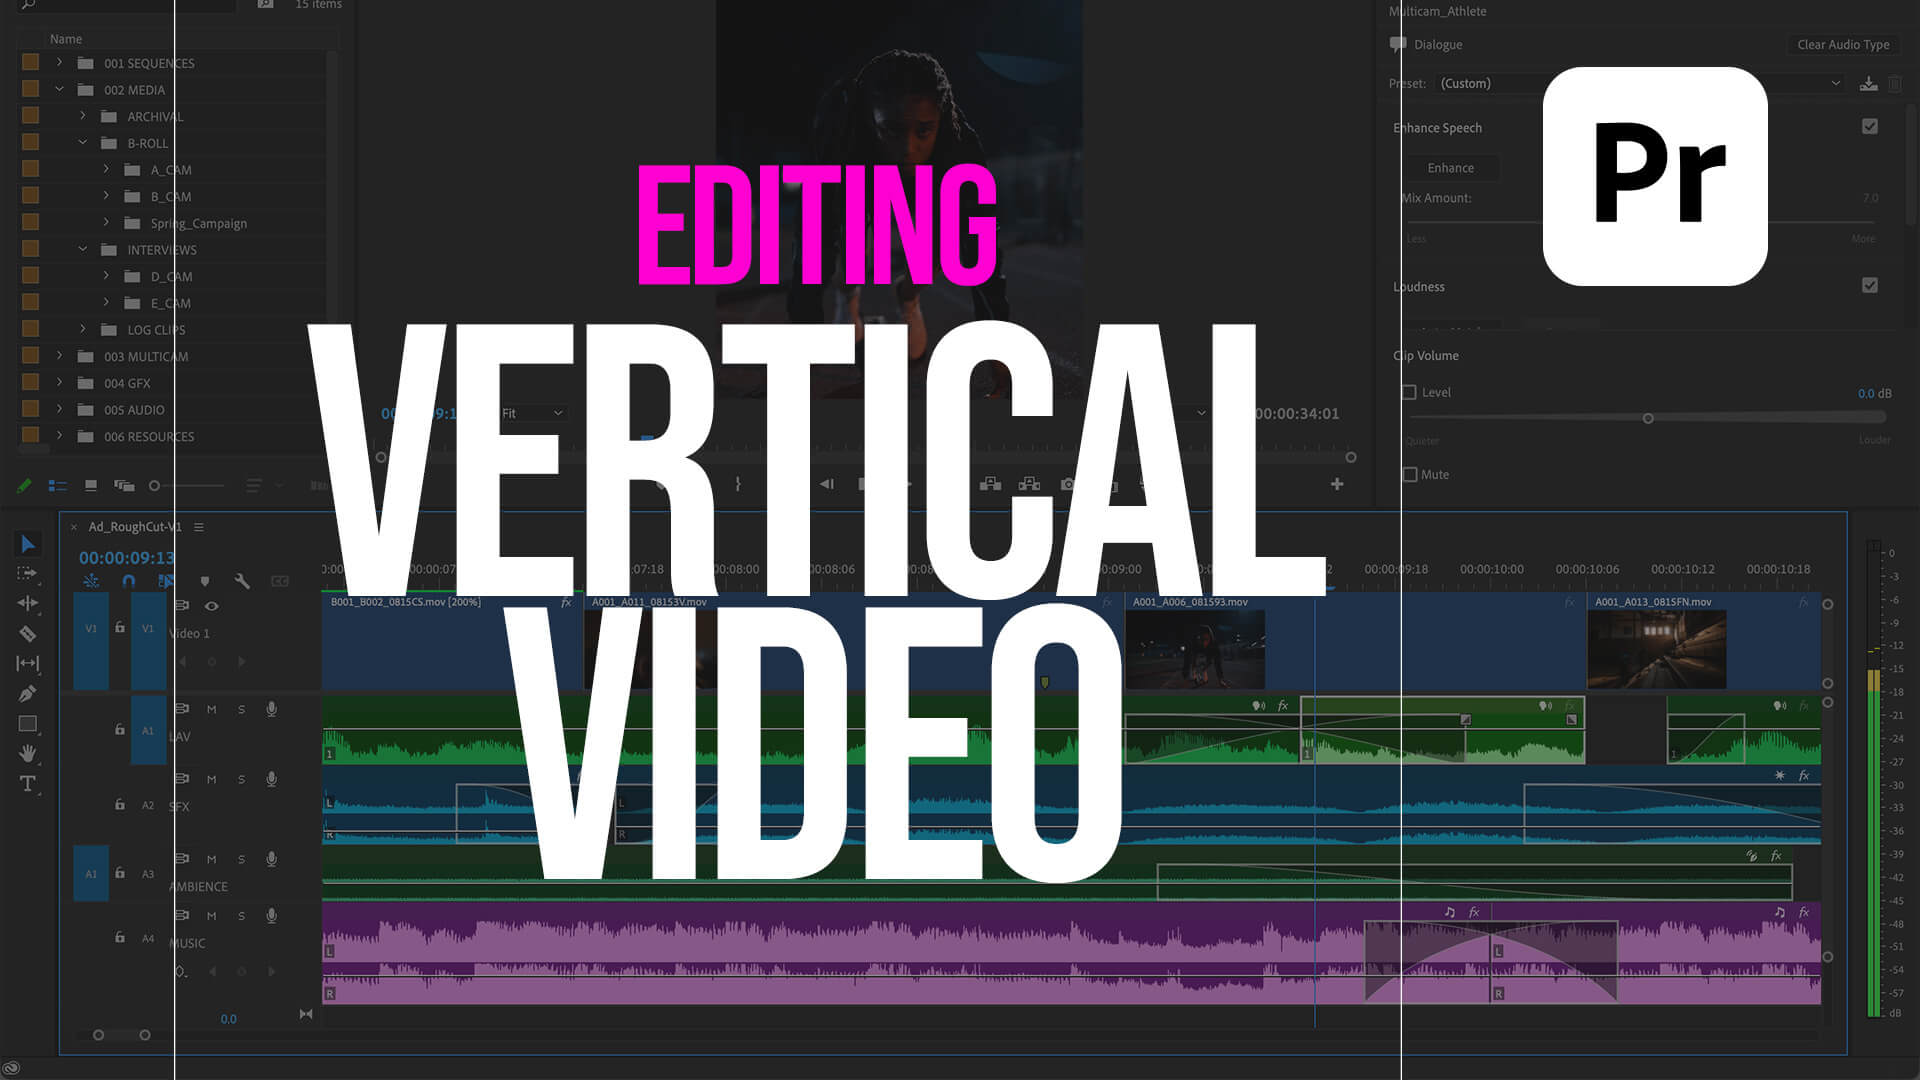
Learn how to professionally edit vertical videos in Adobe Premiere Pro. This tutorial covers motion graphics, framing, rotoscoping, and more. Perfect for YouTube Shorts, Instagram Reels, and TikToks.
View Full Transcript
Introduction
Editing vertical videos on your phone is super convenient on the go, right?
But it’s hard to get that precision with, you know, your fingertips.
That’s why I prefer to edit my vertical videos in Premiere Pro—because I just get more control.
But if you’re intimidated by Premiere Pro and don’t know where to start, don’t worry. You’re in the right place.
In this video, I’m going to show you everything you need to know. Let’s jump on in.
🎵 [Music]
Getting Started with Premiere Pro
Right now, I’m inside of Premiere Pro’s vertical editing workspace.
And all that means is that it puts the program monitor on the right so you can see things more clearly.
If you go up to this little icon here, it shows you all the different workspaces that are available.
Right now, we’re in the vertical workspace.
I have a finished vlog here already edited—you can see…
Creating a Vertical Video Timeline
It’s already all put together here.
Now, how do you create this timeline in the first place?
Before you add footage to it, you can go down here into your project panel.
There’s a little icon here that looks like a flipping page. Just click on that to create a new item, and you’re going to create a sequence.
A sequence is essentially just your timeline.
You can see there’s different presets to work with.
If you’re editing vertical video, you can just use “Social,” and you’ll see there’s a Social Media Portrait or Vertical preset, which is 9:16.
The default is 30 frames per second.
If you want to edit in a different frame rate—no worries.
You can select this, then go to settings and change it to any of these frame rates you want.
I’m going to keep mine at 30 fps.
In my case, I’ll use 1080×1920 because I want more resolution to work with—some of the videos I shot were in 4K.
That way, I can scale up or down and have more flexibility.
Let’s go ahead and name it “Demo” and press OK.
This is our empty sequence.
If you accidentally close it, don’t worry—it didn’t disappear. Just double-click on it and it’s opened again.
Resizing and Rotating Clips
I’m going to drag and drop my first clip into the sequence here.
You’ll get a warning if your footage is in a different resolution than your sequence.
I want to keep the sequence settings because I want more resolution to work with—I don’t want it to change to 2K, I want to keep it in HD.
To resize: go to the Properties panel, and now there’s a “Fit” option.
Now you can see it’s actually the full frame in here.
If you want to resize it further, use the Scale and Reposition controls.
If you make a mistake, just press Command+Z to undo.
Sometimes, clips shot vertically on a camera still import in landscape.
For example, I filmed some tennis at the Italian Open on my Canon EOS R.
I shot it vertically, but it still displays in landscape.
It doesn’t rotate automatically.
If you try “Fit” in the Properties panel—it just scales down to 56%, which we don’t want.
Undo that.
Instead, just rotate it 90°.
Now it fits perfectly because it’s HD, just rotated.
If you shot something in landscape and want to fill the frame, select the clip, go to Properties, and click “Fill” (not “Fit”).
That’s how to resize your clips.
Basic Cuts and Edits
Before I show you how to do split screens, let me show you how to do basic cuts.
Here’s a clip where I’m in my house clothes and I want to jump into my outfit for the day.
So I scroll to my best take—I think this one is good—I jump up, and when I land, I’m in my new outfit.
Trying to be a TikToker here.
Let’s make our first cut.
Press C to activate the Razor Tool.
Then press V to go back to the Selection Tool.
Select this clip and press Option (or Alt on a PC) + Delete. That ripple deletes it back.
Now, play it through.
“When I jump up…” That’s where I want the next cut. Press C again and cut.
Then scrub forward to the part where I’m in the final outfit.
Let’s say this take is fine.
Select it and press Option (or Alt) + Delete again.
Now it looks like this: “Here’s my outfit for the day for the Italian Open.”
Split Screen Effect
Let’s go into the actual vlog edit and talk about some effects.
One is the split screen effect.
If I want to stack clips, I just move one on top of the other.
Then I select the top one and go to the Properties panel to reposition it up.
If you don’t see rulers on your Program Monitor, select it, go to View > Show Rulers and Show Guides.
Make sure the rulers are set to percent.
Click and drag from the top ruler down to 50%.
That gives you a guide in the middle.
With the top clip selected, use the Crop control to crop it to 50%.
You can zoom in for precision and use the Crop Tool below to drag the crop manually.
Then, reposition the bottom clip down slightly.
Now you’ve got a clean split screen with two clips playing at once. 🎵
Spotter Studio Sponsorship
One of the most important rules of YouTube: if they don’t click, they don’t watch.
But coming up with new video ideas every week can be stressful.
Last fall, I started using Spotter Studio—it helps me create better thumbnails and titles based on YouTube data.
I partnered with them, and they’re sponsoring this video.
If I’m stuck, I browse their AI-generated thumbnails and titles tailored to my audience.
You can also input your idea and it will help you brainstorm a title, thumbnail, and hook.
You can refine the thumbnail using their tools and then send it to your designer.
The best part: I can validate an idea before spending time and money.
Plus, the “Outliers” feature shows what’s connecting with my audience.
Right now, you can get your first year for only $99 (over 80% off).
Use my link below for a 7-day free trial before committing.
Thanks to Spotter Studio for sponsoring!
Creating Titles in Premiere Pro
Let’s talk about titles.
Here’s an example from my vlog in Monaco with a fun idea—us walking past text like Emily in Paris.
Use the Type Tool and click on the Program Monitor.
Type “Monaco.” Then click again and type “Vlog.”
Align it center, reposition it as needed, and stretch the layer out to last the full clip.
To walk in front of the text, we need to rotoscope ourselves.
Rotoscoping with After Effects
First, duplicate the video.
Hold Option (or Alt) and drag it above the text layer.
Cut out only the portion where you walk across.
Then right-click and choose Replace with After Effects Composition.
In After Effects, double-click the clip to open the Layers panel.
Select the Roto Brush Tool, outline your subject with the green brush.
Use Option to get the red brush and subtract unwanted parts.
Zoom in if needed, use the Hand Tool to move around.
Once done, press the space bar to preview it.
When it looks good, click Freeze to lock it in.
Go back to Premiere Pro—you’ll now walk in front of the text!
Using Transitions
Premiere Pro has built-in transitions.
Go to the Effects panel and search “Transitions.”
You’ll find dissolves, wipes, page peels, and more.
Drag one between clips to apply it.
Want more advanced options?
Check out the Gal Toolkit Extension—I made it with over 300 transitions and effects.
Let’s use a Scratch Transition. Double-click to apply, and it’s added to the timeline automatically—with sound effects too.
Adding Captions
In my finished vlog, I used Brevity Captions—animated karaoke-style captions.
Brevity is a paid plugin, but great if you’re producing a lot of content.
You can find a full tutorial in the description.
If you want a free option, Premiere Pro can create static captions.
Go to the Text Panel—it should already have auto-transcribed your sequence.
You can edit the text directly.
Click CC to turn the transcript into captions.
Choose your style, max characters (20 is good for vertical), and set it to single-line captions.
Click Create.
Then, go to the Properties panel to stylize:
Change the font
Reposition captions
Add background, padding, and roundness
To apply your styling to all captions, save it as a new style (e.g., “Demo”).
Then apply it to the rest.
Even without animation, the movement of words makes them feel dynamic.
Exporting Your Video
Once your captions and edits are done, how do you export?
Go to the Export tab.
Use the preset Match Source – Adaptive High Bitrate.
Name your file, choose a save location, and click Export.
There’s a lot more—like sound design—which I cover in other videos.
Click here to learn how to mix sound in Premiere Pro for Reels and Shorts.
That’s all for this video!
If you enjoyed it, give it a thumbs up.
And as always—keep creating better video with Gal.
See you next time. Bye!