
Shattered Text Effect – Motion Graphics Template
Overview
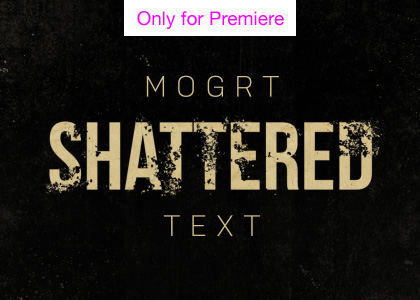
Text that slowly breaks apart, shattering into tiny pieces.
Shattered text animation in Premiere Pro.
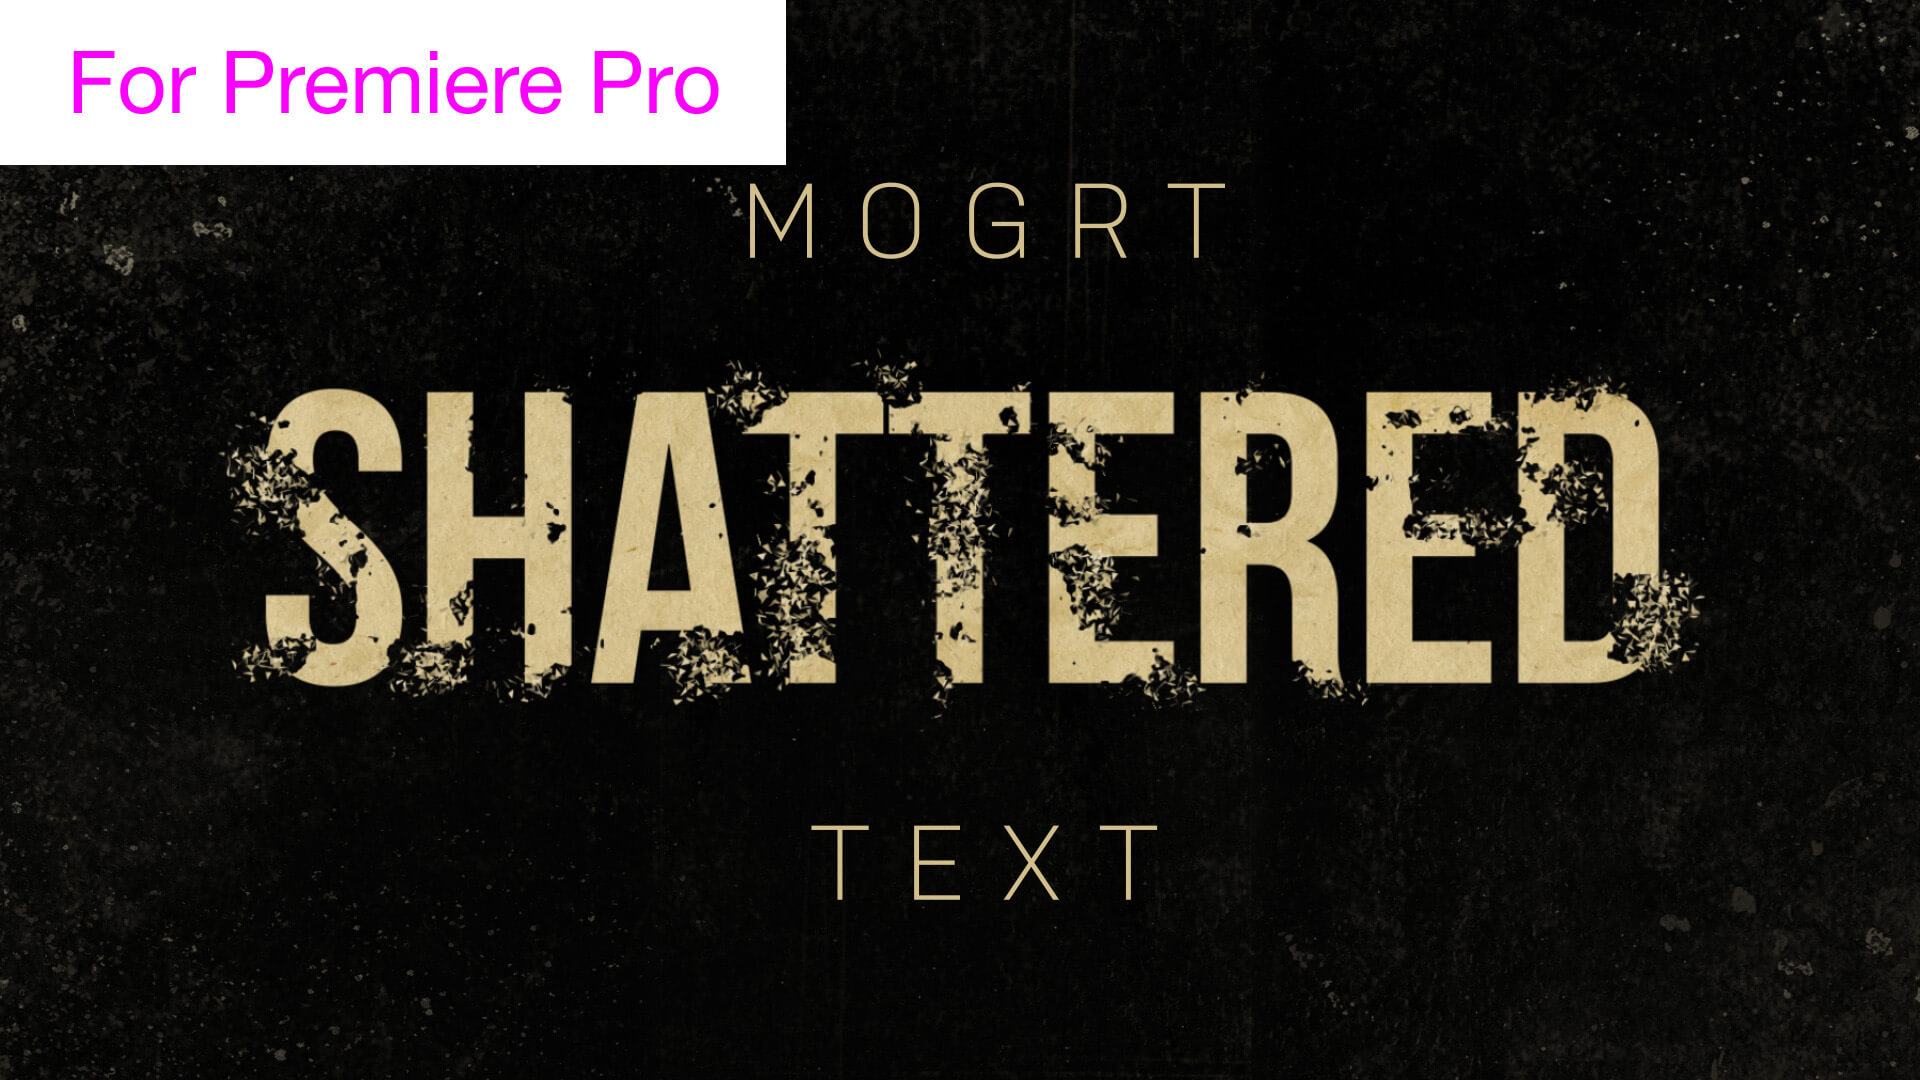
This creepy shatter effect features custom font ability plus controls for scale, position, texture and color. Turn the background off for transparency, so you can overlay the text over your own images or video footage, or combine several shattered text instances. Great for sinister horror movie or thriller titles.
Features
• Simple text adjustment
• Custom fonts
• Text formation and destruction
• Custom color options
• 1920 x 1080 px
• Optimized for Premiere
Software Requirements
This is a Motion Graphics Template for use in Adobe Premiere Pro CC 2020 or later. Motion Graphics Templates allow complex animations, created in After Effects, to be edited directly within Premiere Pro with simplified controls.
For more information about Motion Graphics Templates, watch our Video Guide and read our comprehensive walkthrough on how to install and edit templates in the current version of Premiere Pro.
Try Premiere Pro for free!Buy Now ($10) or License from Adobe Stock:
Purchase this item directly via Gumroad or license from Adobe Stock.
Checkout on or License from Adobe Stock
More Templates for Premiere Pro
If we don't have the exact project you're looking for try SonduckFilm, who have some incredible template bundles for After Effects and Premiere Pro, or Adobe Stock, which holds a huge library of template style and themes.Need Stock Footage?
Adobe Stock is also our recommended library for high quality stock footage, animated backgrounds and video overlays. Use the following link and you can get your first month absolutely free!Try Adobe Stock for free!
Installing Motion Graphics Templates (Premiere Pro 2025)
To install a MOGRT file into Premiere Pro, please use the following updated instructions:1. Extract the Zip file to reveal the .mogrt file.
2. Open Premiere Pro and go to Window > Graphics Templates. Click the Install Motion Graphics Template icon (square with a plus sign) at the top right of the panel. (Note: In older versions, this was the Essential Graphics panel).
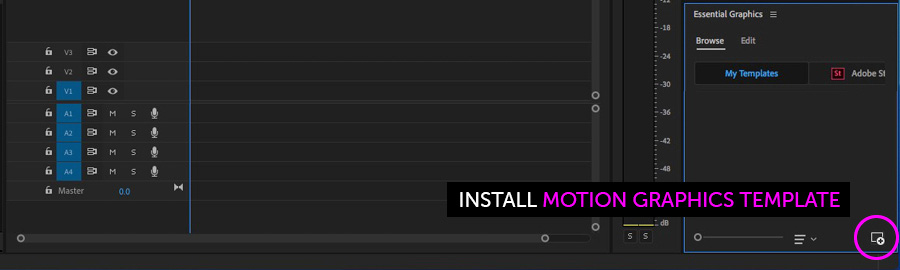
3. Locate the .mogrt file and choose Open.
Once installed, drag the template from the Graphics Templates panel to your timeline to create an instance.
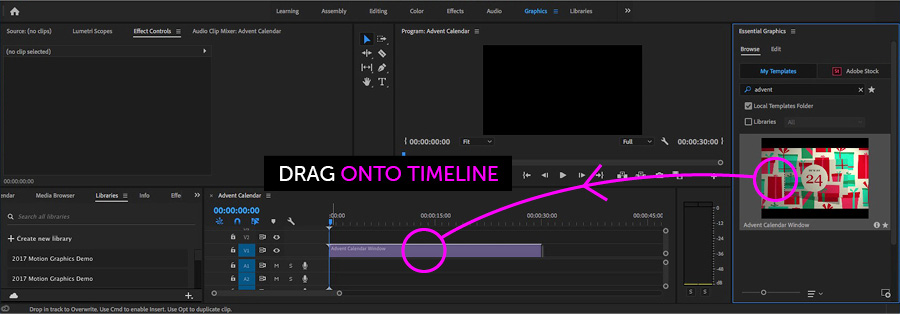
When a MOGRT is selected on your Timeline, use the new Properties panel (previously the Edit tab) to adjust settings.
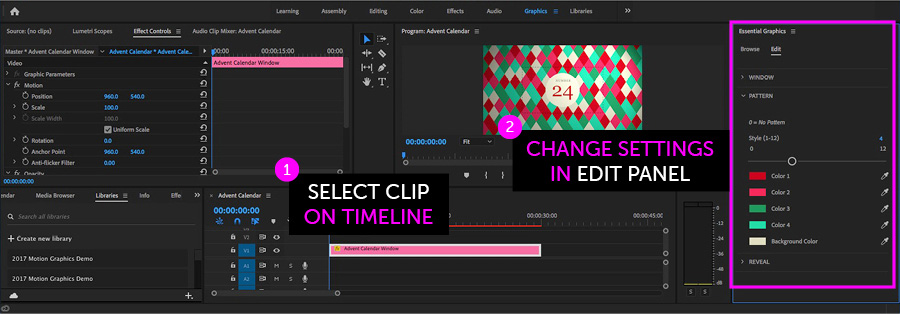
Looking for a video walkthrough? Check out our Full Guide to using MOGRTs in Premiere Pro 2025.
Adobe Stock Search
Please use the search form below to find footage and video templates directly from Adobe Stock.
Great Value Packs
Popular Products
Sponsored Resources